
Fair warning, I’m not sure how well this spreadsheet copy and paste will work across multiple platforms, but it looks okay on my laptop!
| Description | Link | Cost | Quantity | Extended Cost | |
| 3′ 80/20 in black | https://www.mcmaster.com/47065t503 | $15.36 | 4 | $61.44 | |
| Knobs for Maxtrax | https://www.mcmaster.com/5993k27 | $2.00 | 4 | $8.00 | |
| Studs for Maxtrax | https://www.mcmaster.com/92997a308 | $2.60 | 4 | $10.40 | |
| Angle for ends 2′ | https://www.mcmaster.com/8982k19 | $12.83 | 1 | $12.83 | |
| Angle for end uprights 2′ | https://www.mcmaster.com/8982k32 | $22.55 | 1 | $22.55 | |
| T-Slot Insterts | https://www.mcmaster.com/47065T383 | $1.40 | 4 | $5.60 | |
| Bolts | https://www.mcmaster.com/98164a222 | $10.32 | 1 | $10.32 | |
| more bolts | https://www.mcmaster.com/98164a214 | $11.36 | 1 | $11.36 | |
| Nuts | https://www.mcmaster.com/91831a029 | $5.10 | 1 | $5.10 | |
| t slot insert 4 pack | https://www.mcmaster.com/47065t142 | $2.30 | 8 | $18.40 | |
| Bolts to stock rack | https://www.mcmaster.com/92095a242 | $7.77 | 1 | $7.77 | |
| $173.77 | Total |
Anyway that’s how this build started was with an idea and a few hours on the McMaster website working out the details. Once everything showed up we got to work.
I had Jamie start cutting the 1.5″ angle into 3″ sections, and we got like 7 and 3/4 of them. In hindsight I should have ordered an extra foot of this to account for blade width. It started to add up after the seventh one and now I’ve got one mount that should be re-done.
The upright portion had a hole drilled at a half inch from the edge, the bottom was lined up to be centered with the existing roof rack track. Sorry I don’t remember that measurement.
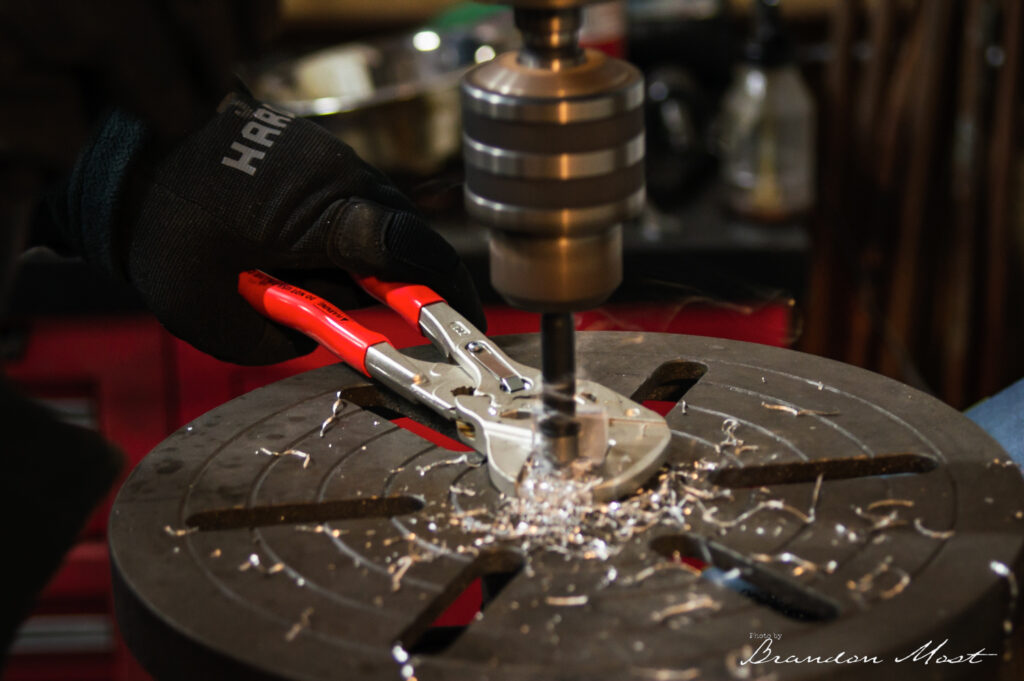
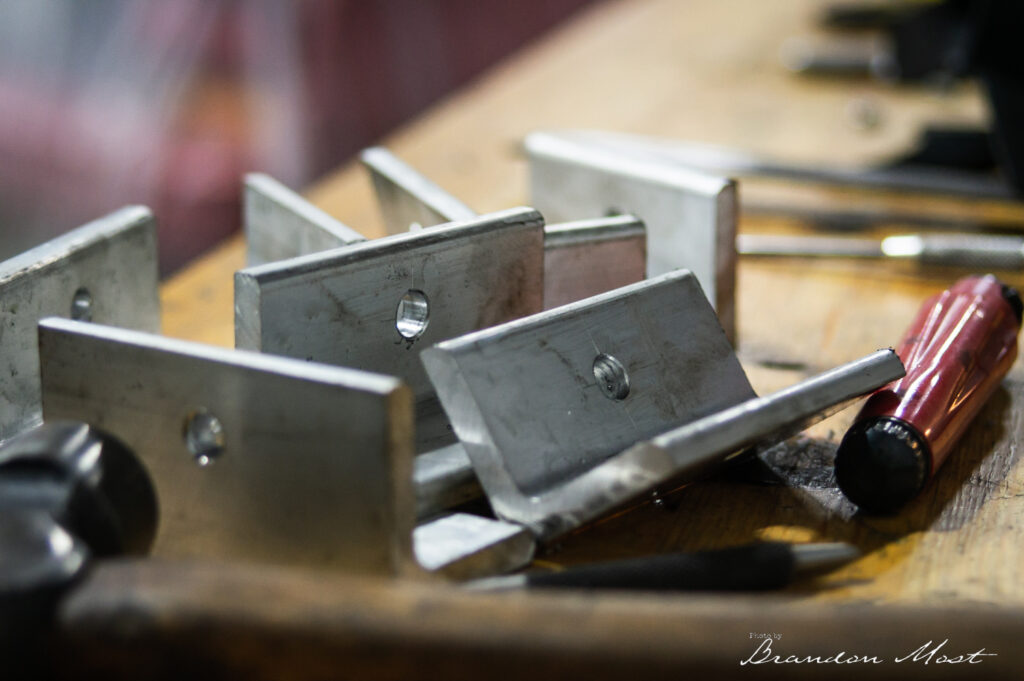
While I was marking these Jamie started cutting the 1″ angle into 1″ length pieces. These then got center drilled on both sides. (pictured above) You can also buy these types of brackets pre-made for various prices from McMaster, but our labor was pretty cheap, and when you already have the tools out and dirty, then why not make them.
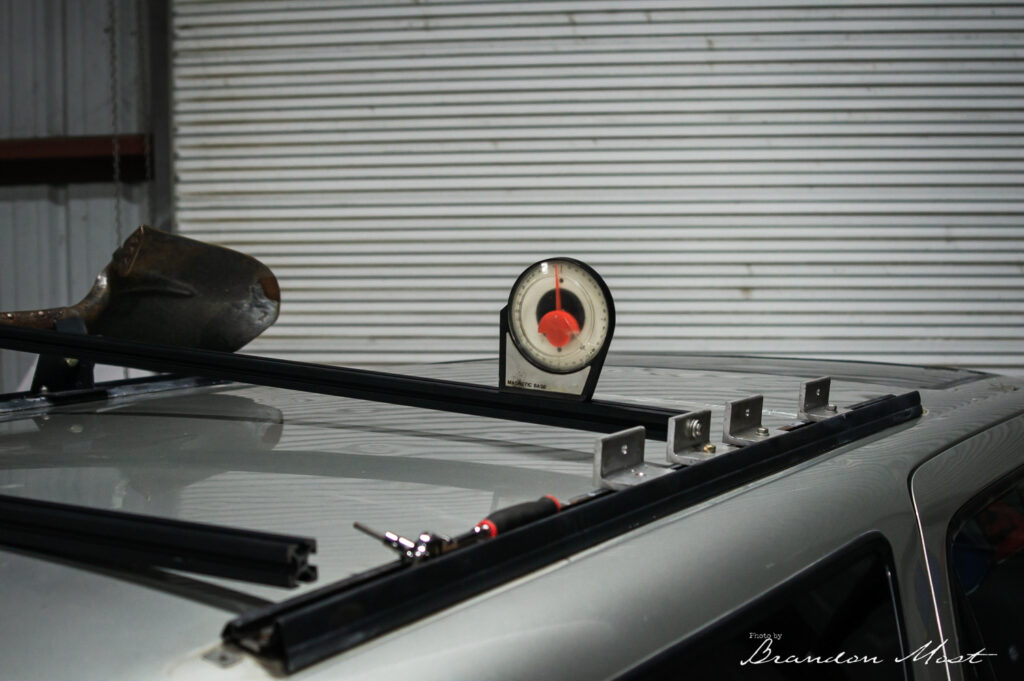

The 80/20 extrusions came with a center hole that is the perfect size for a 1/4-20 thread. I tapped all of the ends and threaded the first piece into the roof. This resulted in about a 5° upwards angle. I then sanded the ends of the rails to match the angle and bring things into alignment with the bracket on the opposite side of the truck. It took a bit of trial and error to get them perfect. For the other end of the 80/20 I simply marked it with a pen and cut/sanded about a 1/4″ off at the right angle to align with the upright bracket.
The next step was to install the the smaller angle and mark the uprights to drill the receiving holes. Just make sure the 80/20 isn’t twisted when you mark it.

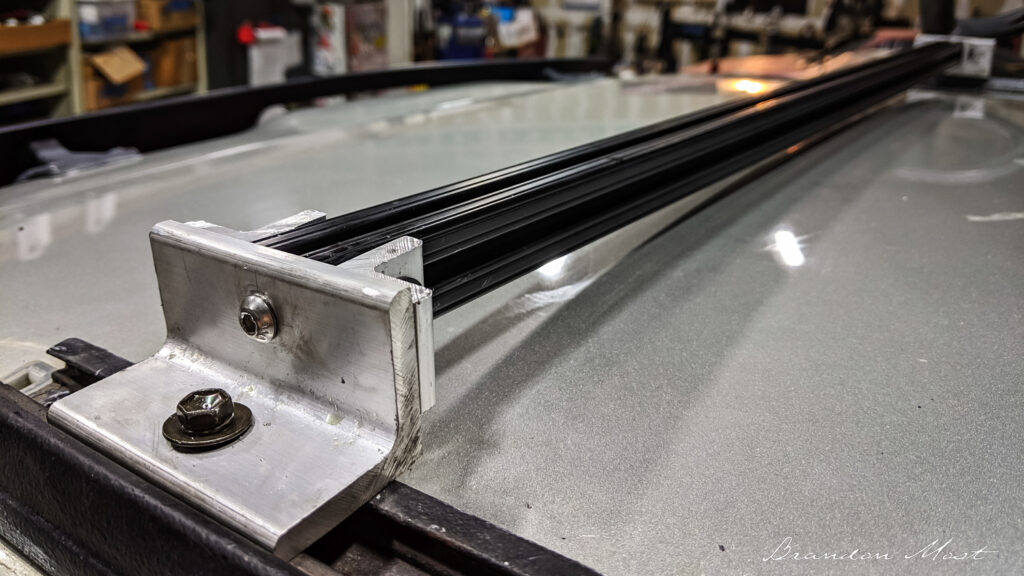
The results after the other support holes were drilled and the the brackets were rounded off and cleaned up a bit.


After a little paint things were looking pretty good. I probably should have cleaned the brackets up better, but they look great from the ground while they’re on the roof!

The results look something like that. I ordered a couple of different types of inserts. The spring loaded ones are way easier to deal with and I used those four on the Maxtrax studs. That way they wouldn’t slide around while the truck was moving with out them in place. For the rest I used the cheaper option that doesn’t have the spring loaded part built in. They do work, but they can be a pain to start a screw into. Particularly when they fall at an angle. The other downside to these is that they will slide around if you don’t have them in use. McMaster also shows another style that can snap into place with out needing to unbolt the ends. I may pick up a few of these to keep in the truck for easy on the go addition of items.
If you’re following these exactly don’t bother with the longer 1/4-20 bolts. They were actually too long for a standard length tap into the 80/20, and the box of 1″ bolts had the perfect quantity to handle everything. The M6 bolts into the existing roof rack T nuts should be 16 or 17mm length and not what I ordered above. I ended up picking those up locally. The final thing I will mention is that the center bolt will end up crooked by that magic 5° number and not sit perfectly flat. I was originally planning to counter bore this, but decided a few times of tightening this into the aluminum would probably do that all on it’s own. If you have the extra time and means I suggest doing that.
I ran out of time to finish the Pelican mounts so look for a future post regarding that part of this process.