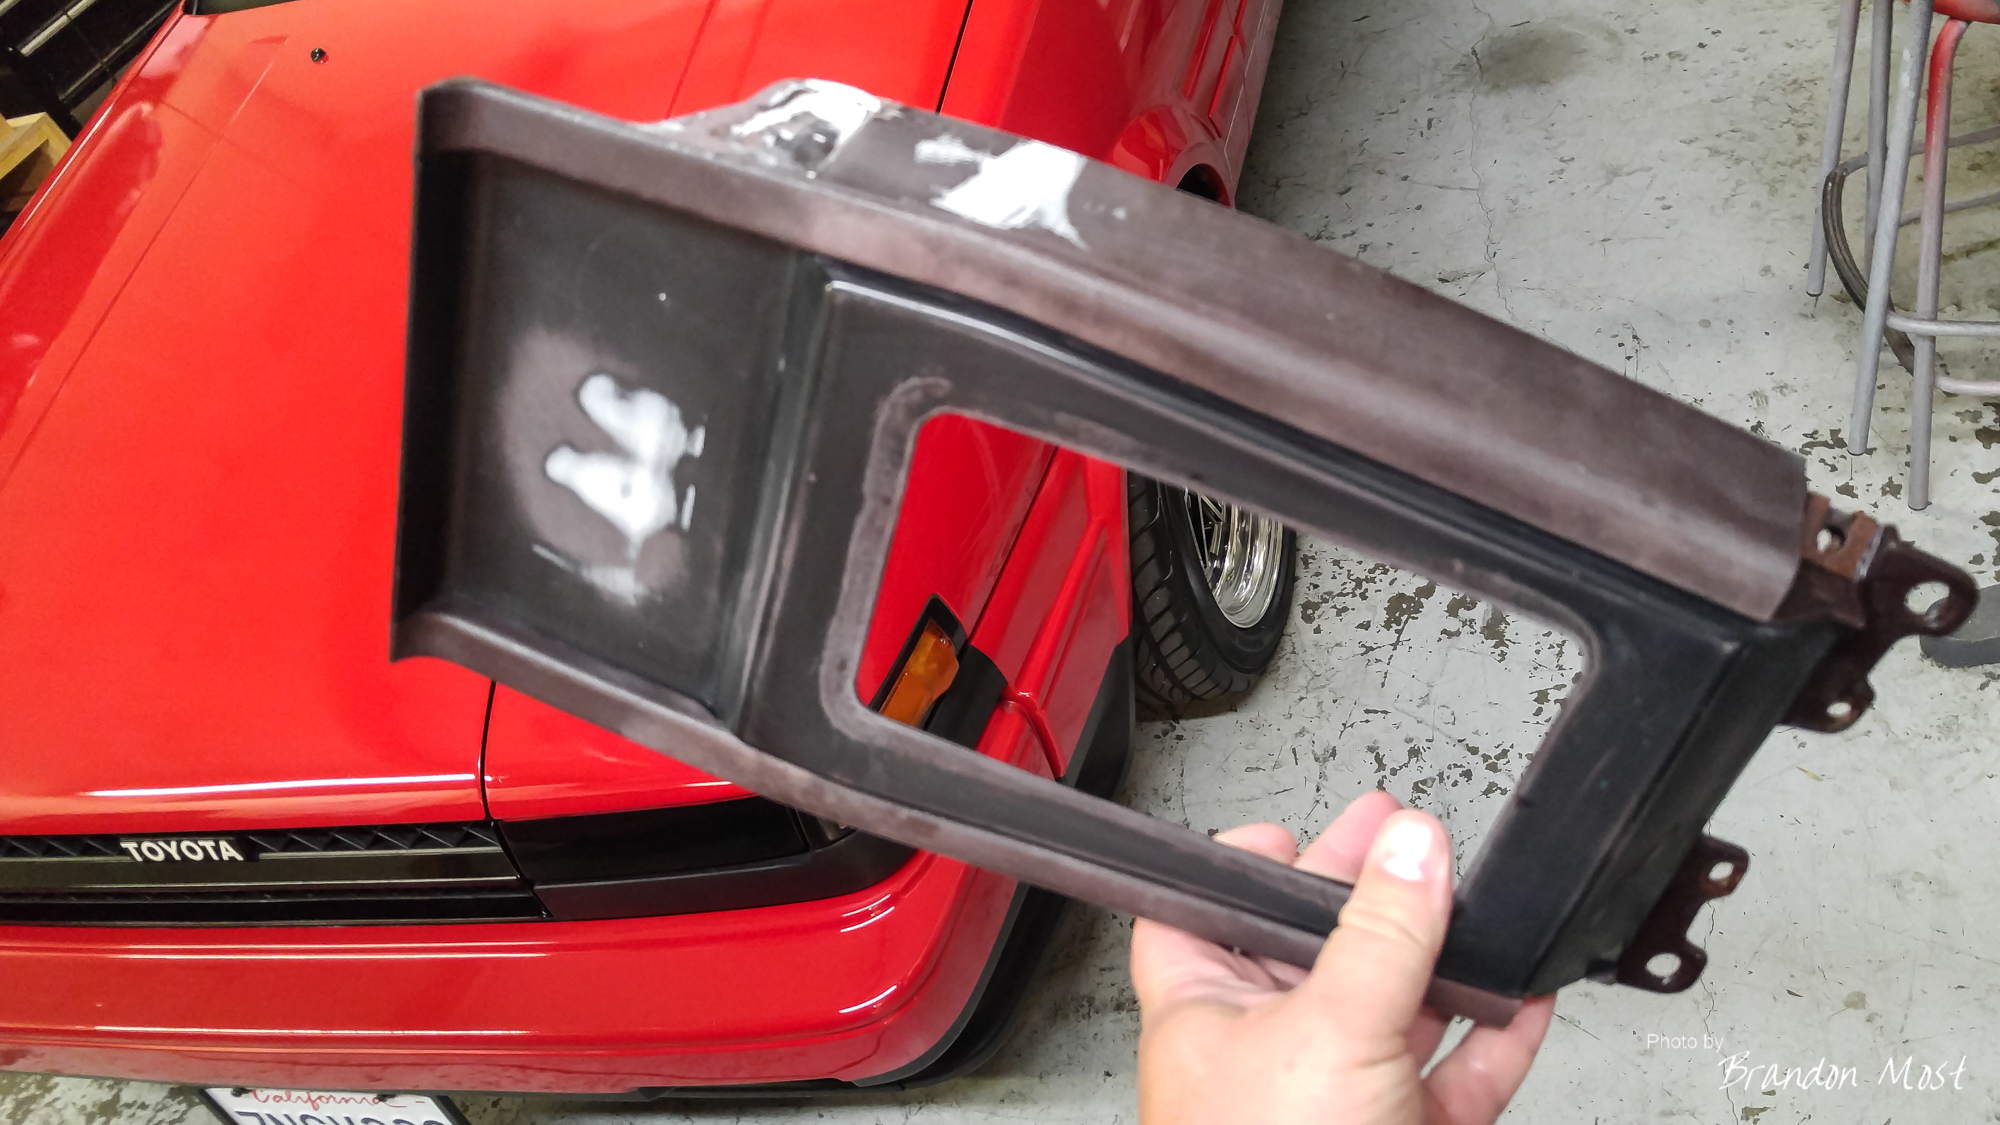
Most of the center console was in less than perfect shape, so I picked up a new shifter surround and radio surround to experiment on before I tried my hand at the existing interior panels.

As you can see they started off looking pretty rough.

The first step was to fix the big flaws. I used some 3M 08101 Structural Adhesive as filler to after sanding down any high spots.

I sprayed the console with Satin Black SEM Paint so I could then mask the center and add the texture back to the repaired sides.

Duplicolor Bedliner won’t give you an exact match to the original, but if you play with the distance of the can to panel you can get it to look pretty close.
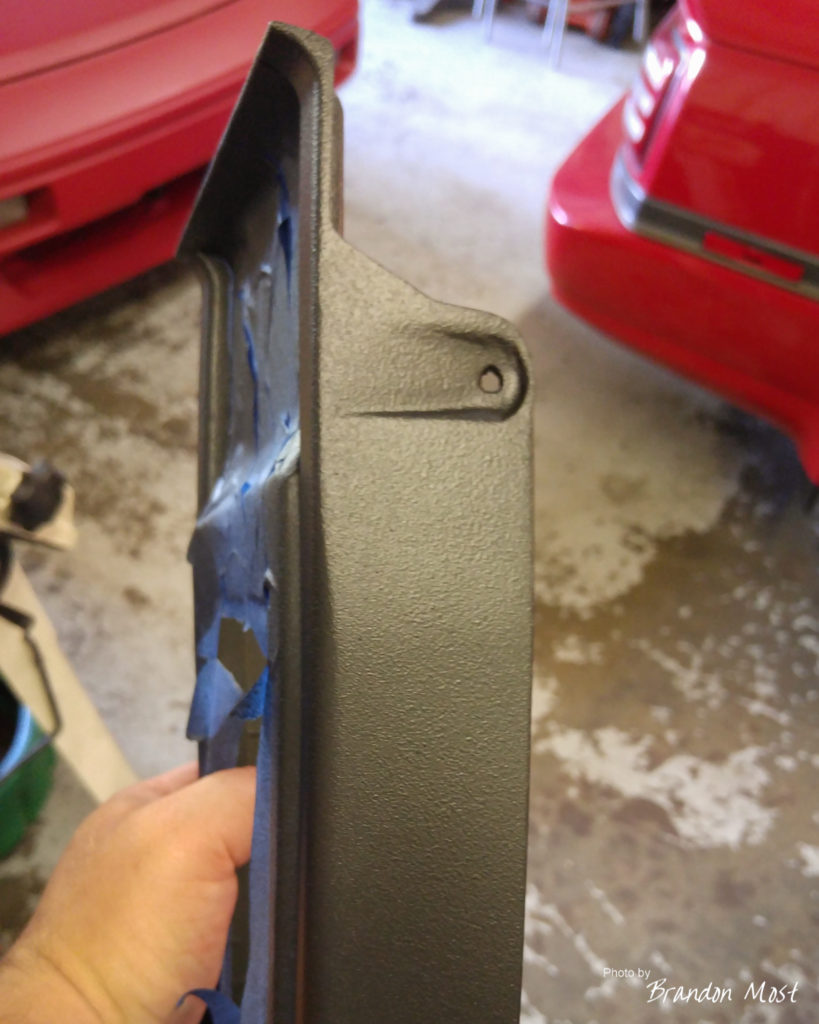
Just make sure you leave it a little extra rough since the color coat will smooth out the texture some.

Particularly if you are trying to re-create the original burgundy color. Again I I used a combination of Burgundy and Cordovan Brown SEM interior paint to try and match the original color as close as possible.

Everything was looking really good until I peeled the mask. I was a bit too impatient in letting the black dry and masked too soon. 
After giving everything an extra amount of dry time, I wet sanded the black to smooth the texture out of it and resprayed it. Second time around worked like a charm.
While I had the center console apart I took the time to touch up a couple of other things that bothered me greatly.


The E-Brake handle got treated to a sand and repaint. The shift boot had to be replaced with a better condition used piece. After pics of these will have to wait until the next post or so since I am doing all of this in preparation of Toyotafest.