The truck has starting making a bit of bearing noise recently. After a little bit of diagnostics, it turns out it was the fake water pump looking idler bracket in the center of the engine. You know the one, it’s the one your cooling fan hangs out on. Well Mr T is pretty damn proud of this bracket assembly, and it retails out over $500. There are much cheaper aftermarket versions available, but they get the reviews you would expect from a part costing a fifth of the price of the real one.
So what to do? Lets just get rid of the whole damn thing.

I started by cutting the whole thing in half with the chop saw. Not the most elegant tool for the job, but it worked.

Next I cleaned up the cut and removed the remains of the damaged bearing. Then replaced them with a freeze plug to make it look halfway presentable.
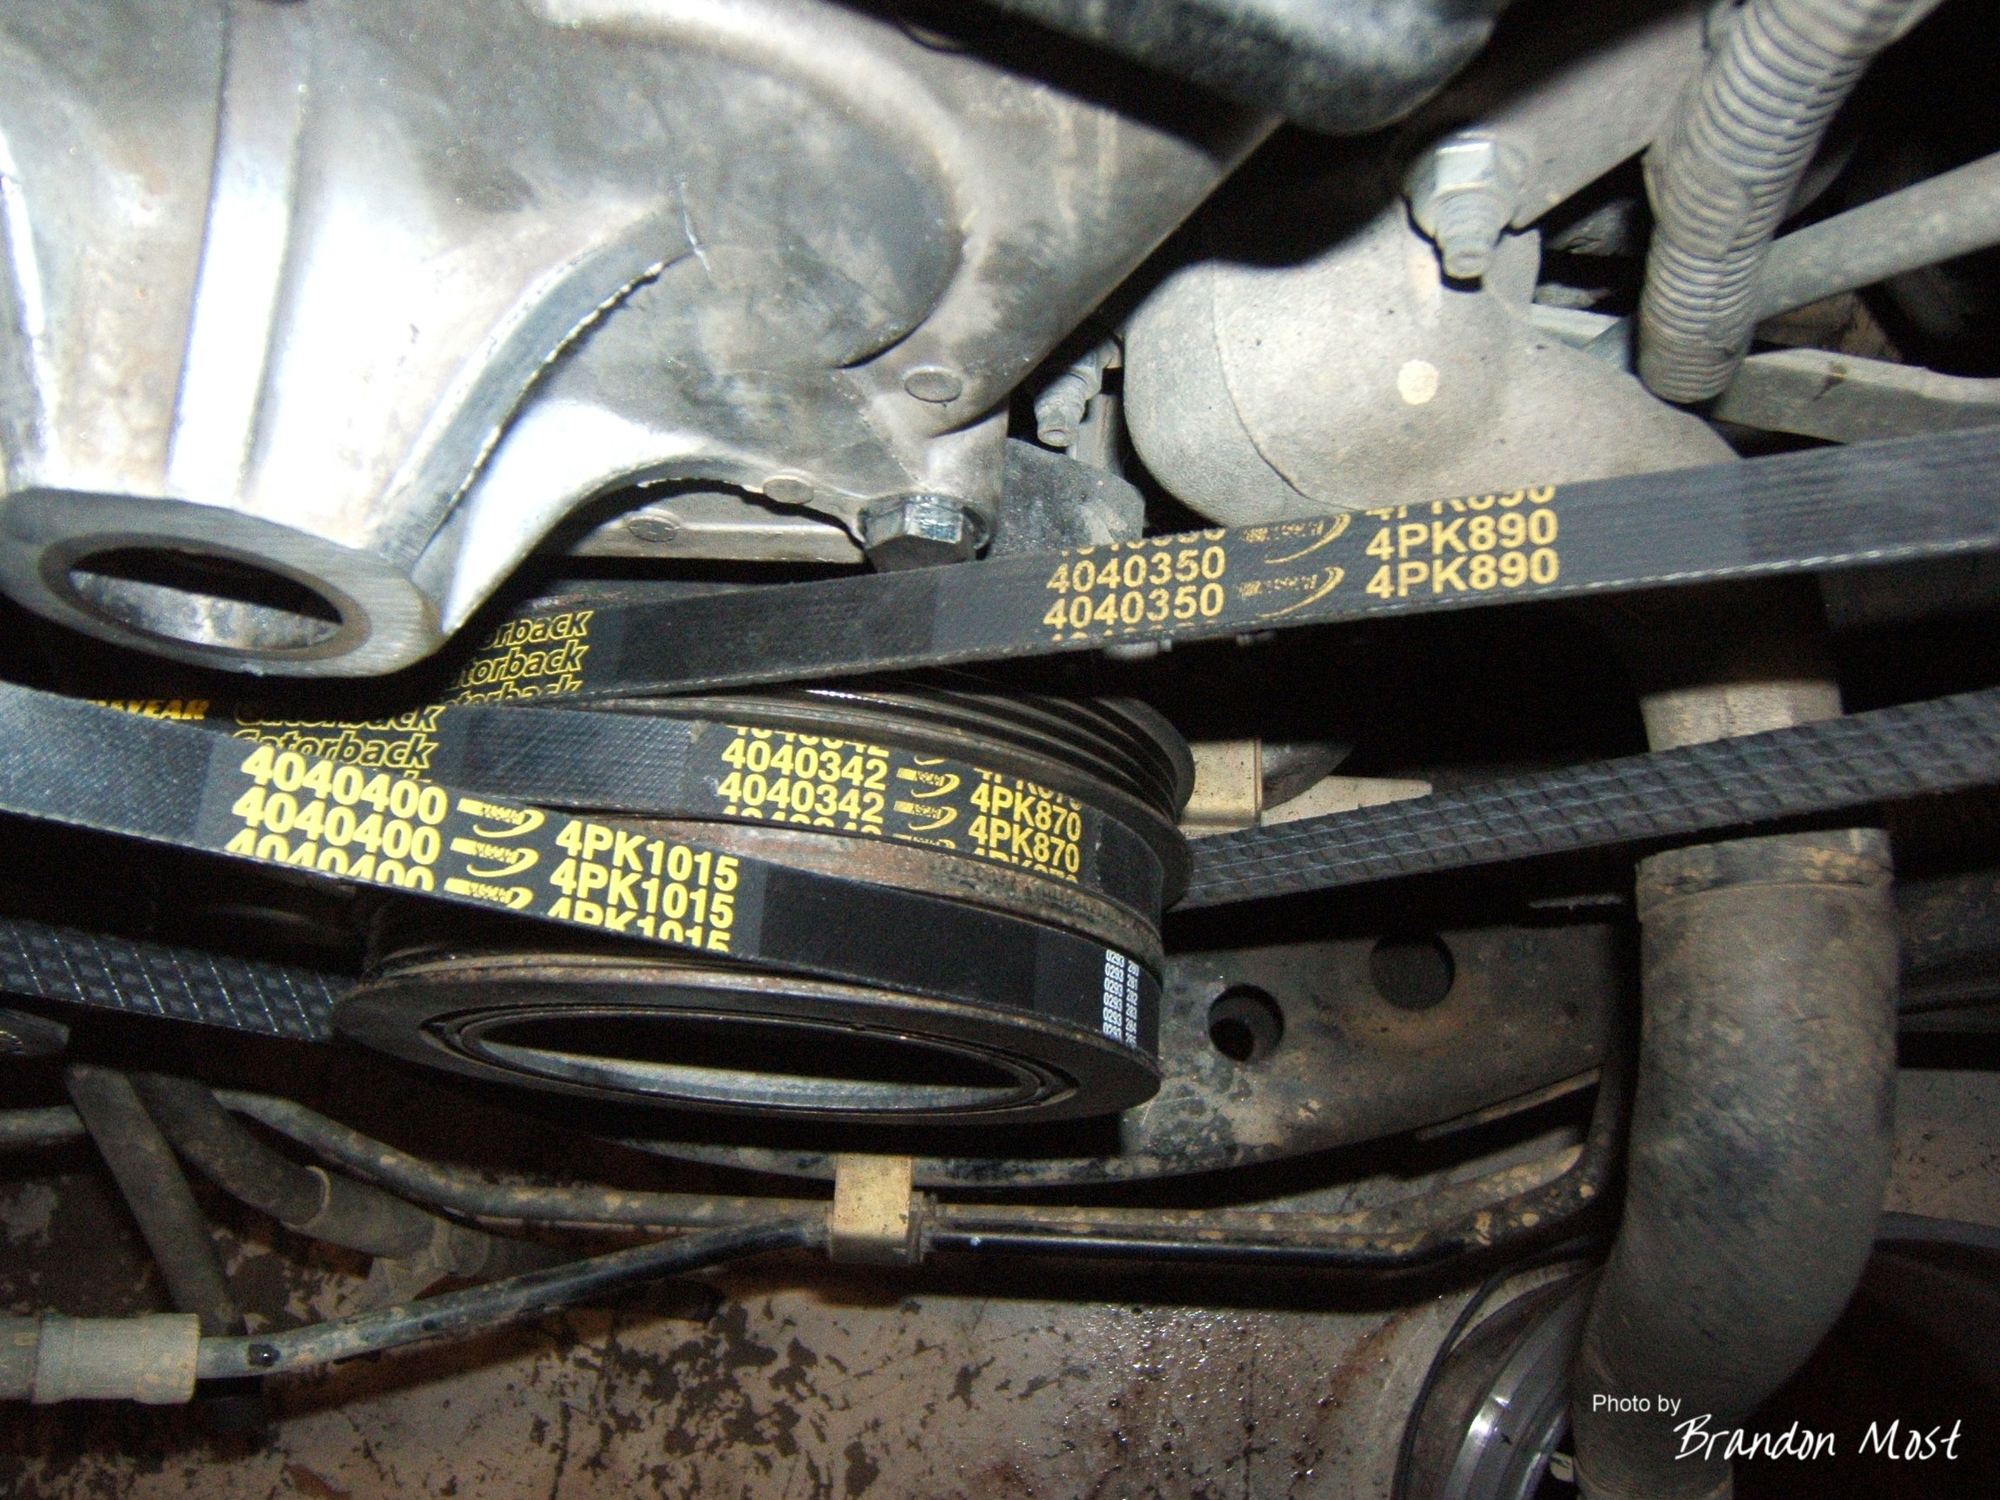
The reason for the cut. When you stop using this idler/fan drive and re-route the belts the power steering belt passes directly in front of this bracket. By the way if you are trying to do this conversion yourself, there’s the belt part numbers you’ll need.
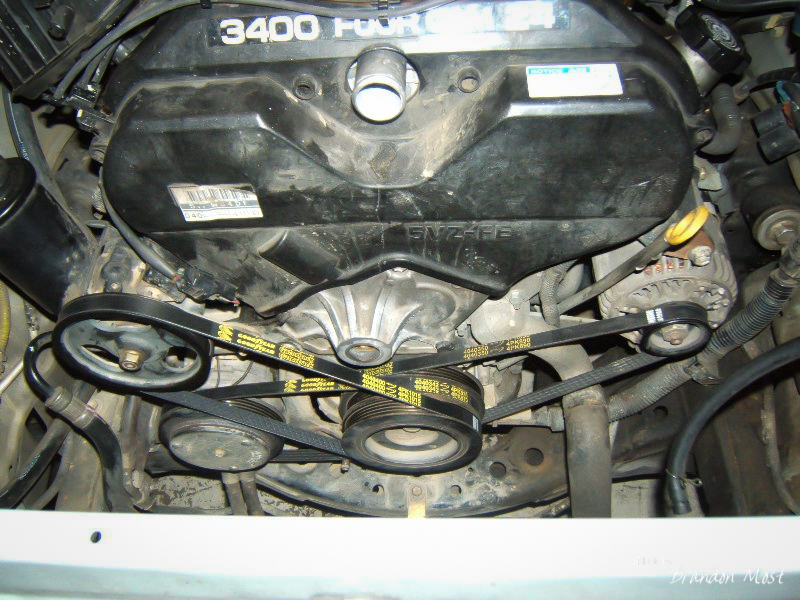
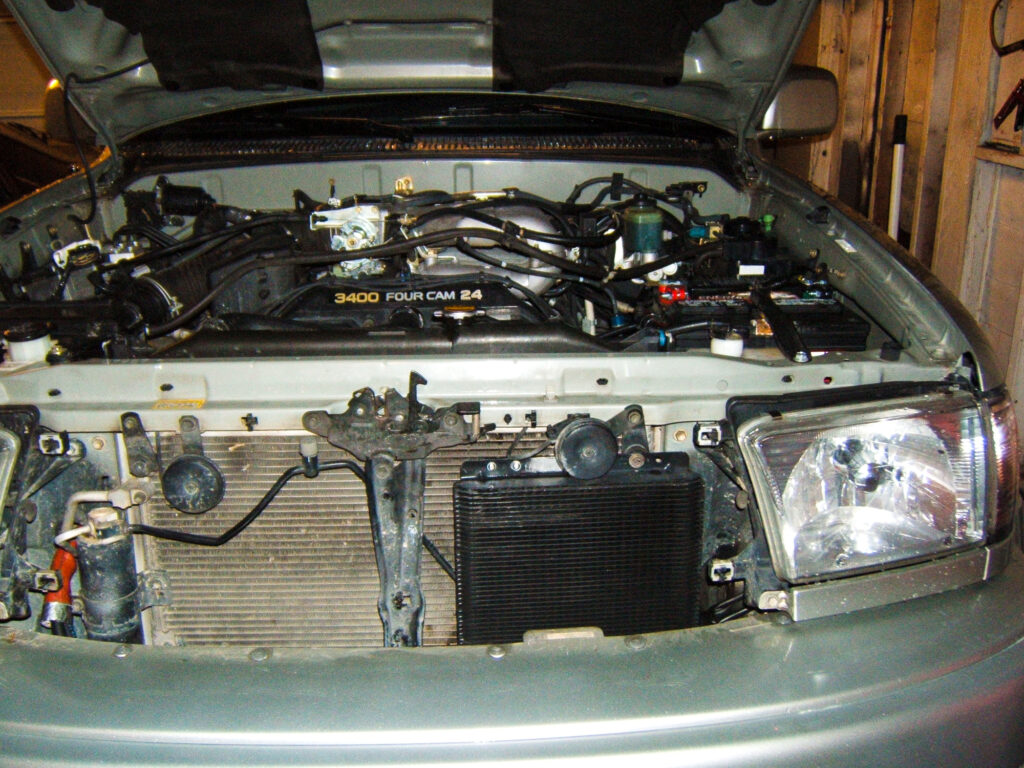
An overall view of the new set up.

Since the clutch style cooling fan no longer has a home, we have to find a new way to keep the engine cool. I had the sheet meal cut and two of the side folded over at a local shop that specializes in bowls. Because of this specialty they have a cool little tool that easily cuts perfect circles. Their sheet metal brake wasn’t able to bend the other sides however. To finish it off I riveted on some aluminum angle. I used the the same material to make the tabs that hold it to the radiator as well.
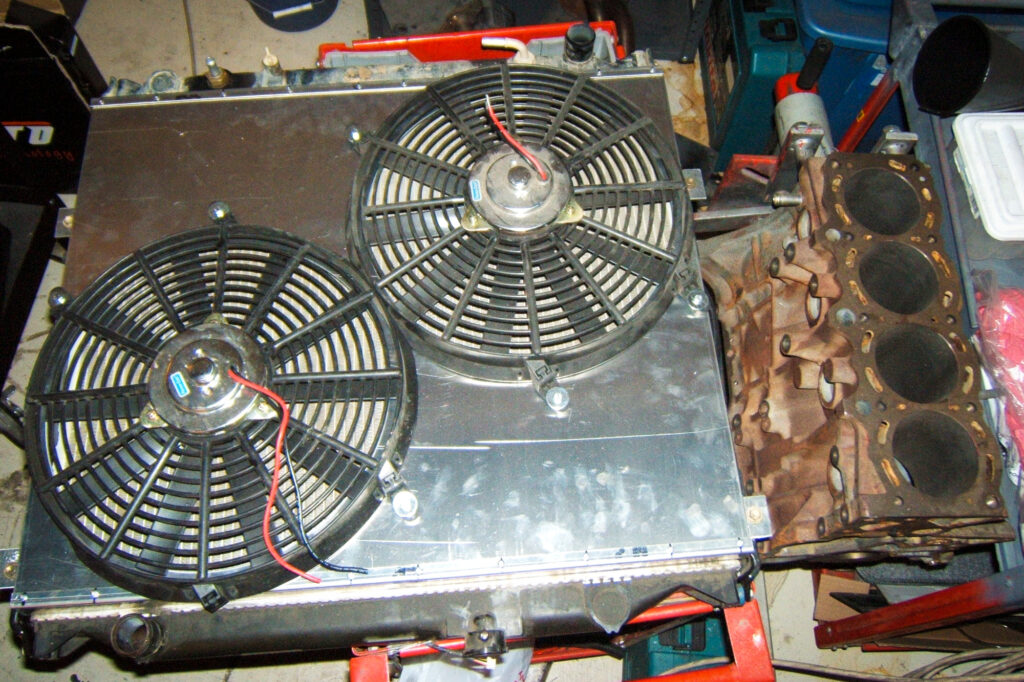
Normally my go to fan is the biggest SPAL that will fit. Money was a little tight and I had a pair of Perma-cool fans left over from an Infiniti G35, so I set the shroud up for those. It was a bit of a tight fit, but I got it to work.


The next step is to control the fans. I pulled the upper radiator hose adapter off.
I drilled and tapped a hole in it for the sensor that I thought would work. Unfortunately the combination of small pipe diameter, thin wall thickness, and large hole means the threads won’t actually seal.
Since I didn’t have a way to weld aluminum I ended up using a brazing rod and a oxygen/propane torch set up to build up the area until I had a large enough area for full thread engagement. Not a bad end result, but welding in a bung would have been so much quicker!
The switch pictured above would not work as I had hoped, and I ended up changing it out to a Honda style switch.
I used the signal from the Honda switch to trigger a pair of 30 amp relays, and a Bussman circuit breaker to send power to them. I learned years back that a circuit breaker like this is the only way to run a fan. I’ve had too many fuse holders go up in smoke trying to run that much current for as long as these fans can run.
A lot of work for a worn out bearing, but the cooling fan conversion was something I was planning on doing before this issue came up anyway.
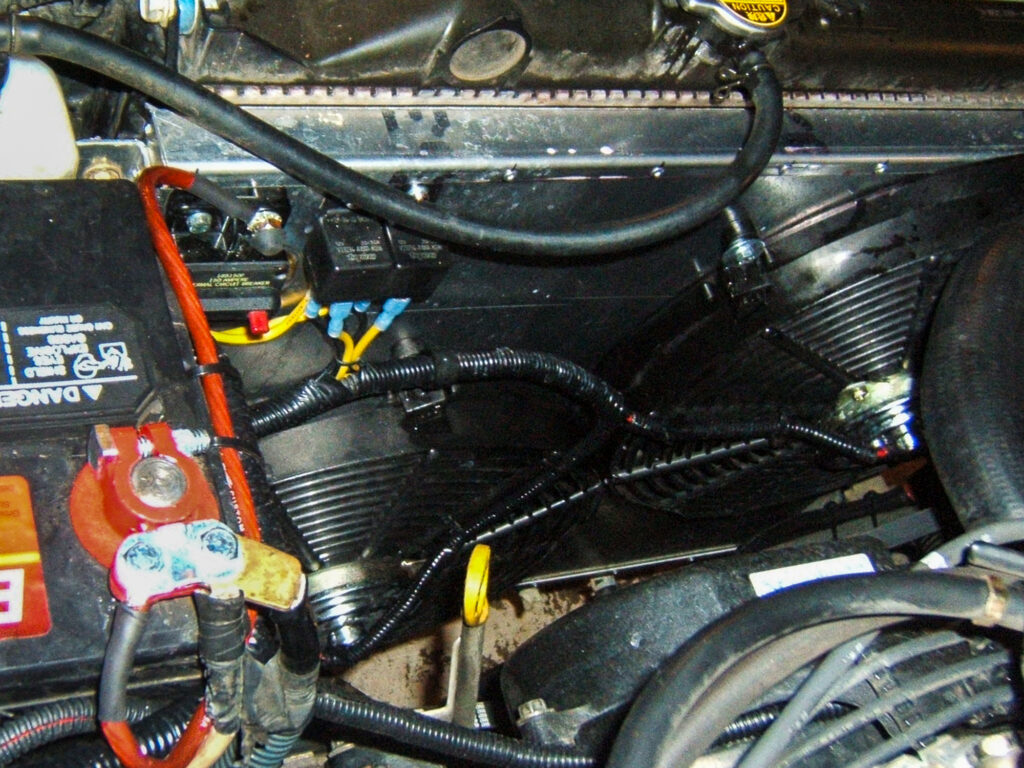
Speaking of cooling. While I was working on the truck I knew I wanted a transmission cooler. Not only to help cool the transmission, but because one of the few flaws with the 4Runner is that they are known to have an internal radiator failure mixing coolant and trans fluid when a proper coolant mix hasn’t been kept.
I kept it simple with a Hayden Cooler.

A simple bracket, and a quick install.
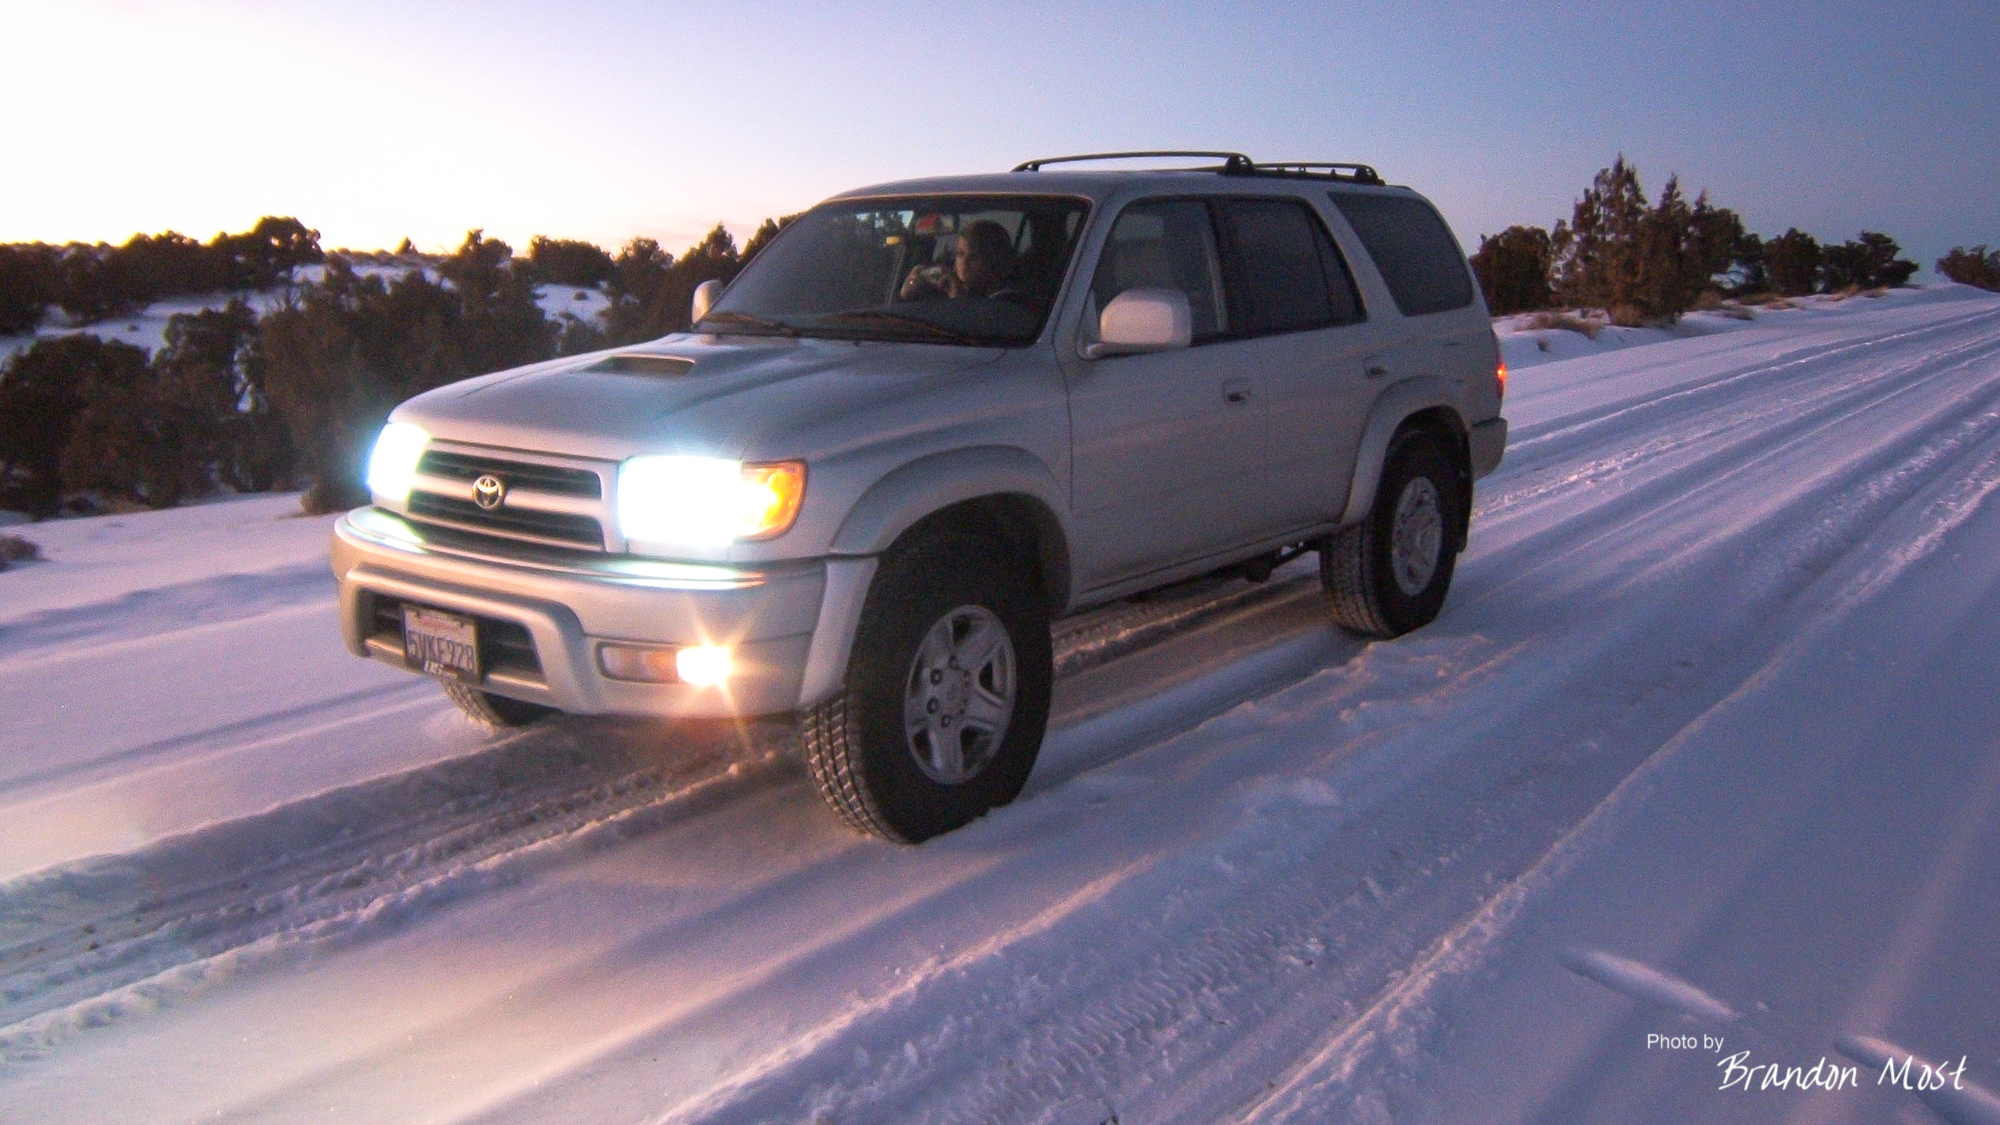
Hopefully with all of this done, the cooling system will be good for quite a while. So far its survived the trip to and from Nebraska with out issue including some mild off roading as seen at the top of the page.