Saturday July 9th 2005:
Whitey has been running great lately. That is until I did something dumb and broke a shift fork inside the transmission. We don’t need to talk about how or why but it was a rather awkward drive home only having second gear!
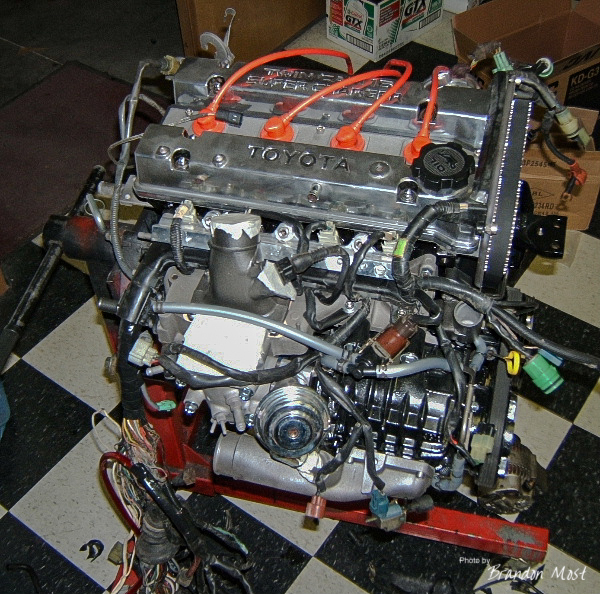
I didn’t have a spare C series transmission laying around, but I did have a spare E153 out of the Supercharged car. That would probably be a lot of transmission for a 17 year old engine that only put out 112 hp to start with. So it just made sense to gut the drive train out of Whitey.

My original plan was of course to build the Supercharged engine to eventually take its place in the back of Whitey. That hasn’t exactly happened. In fact the engine has just been sitting in the engine pile at the back of the shop since it came out of the original car. Guess I should have gotten to this project sooner!
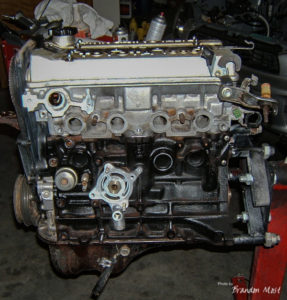
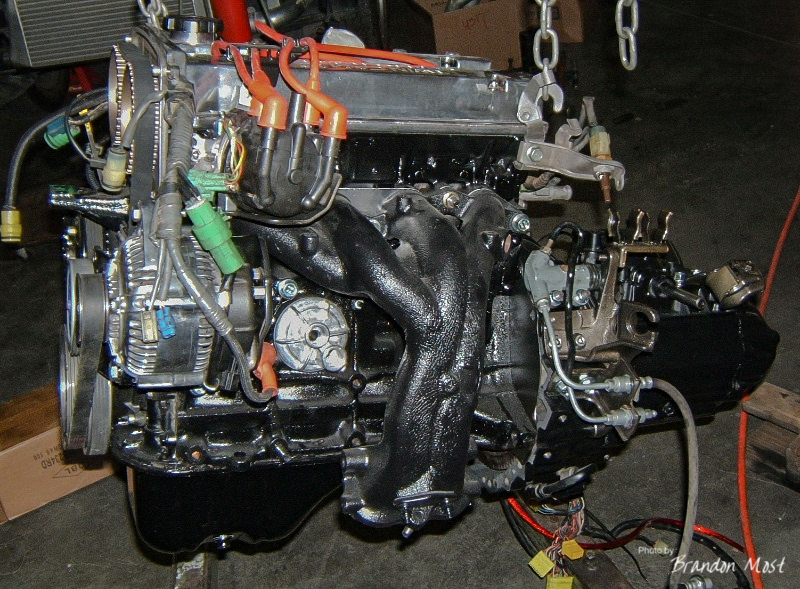
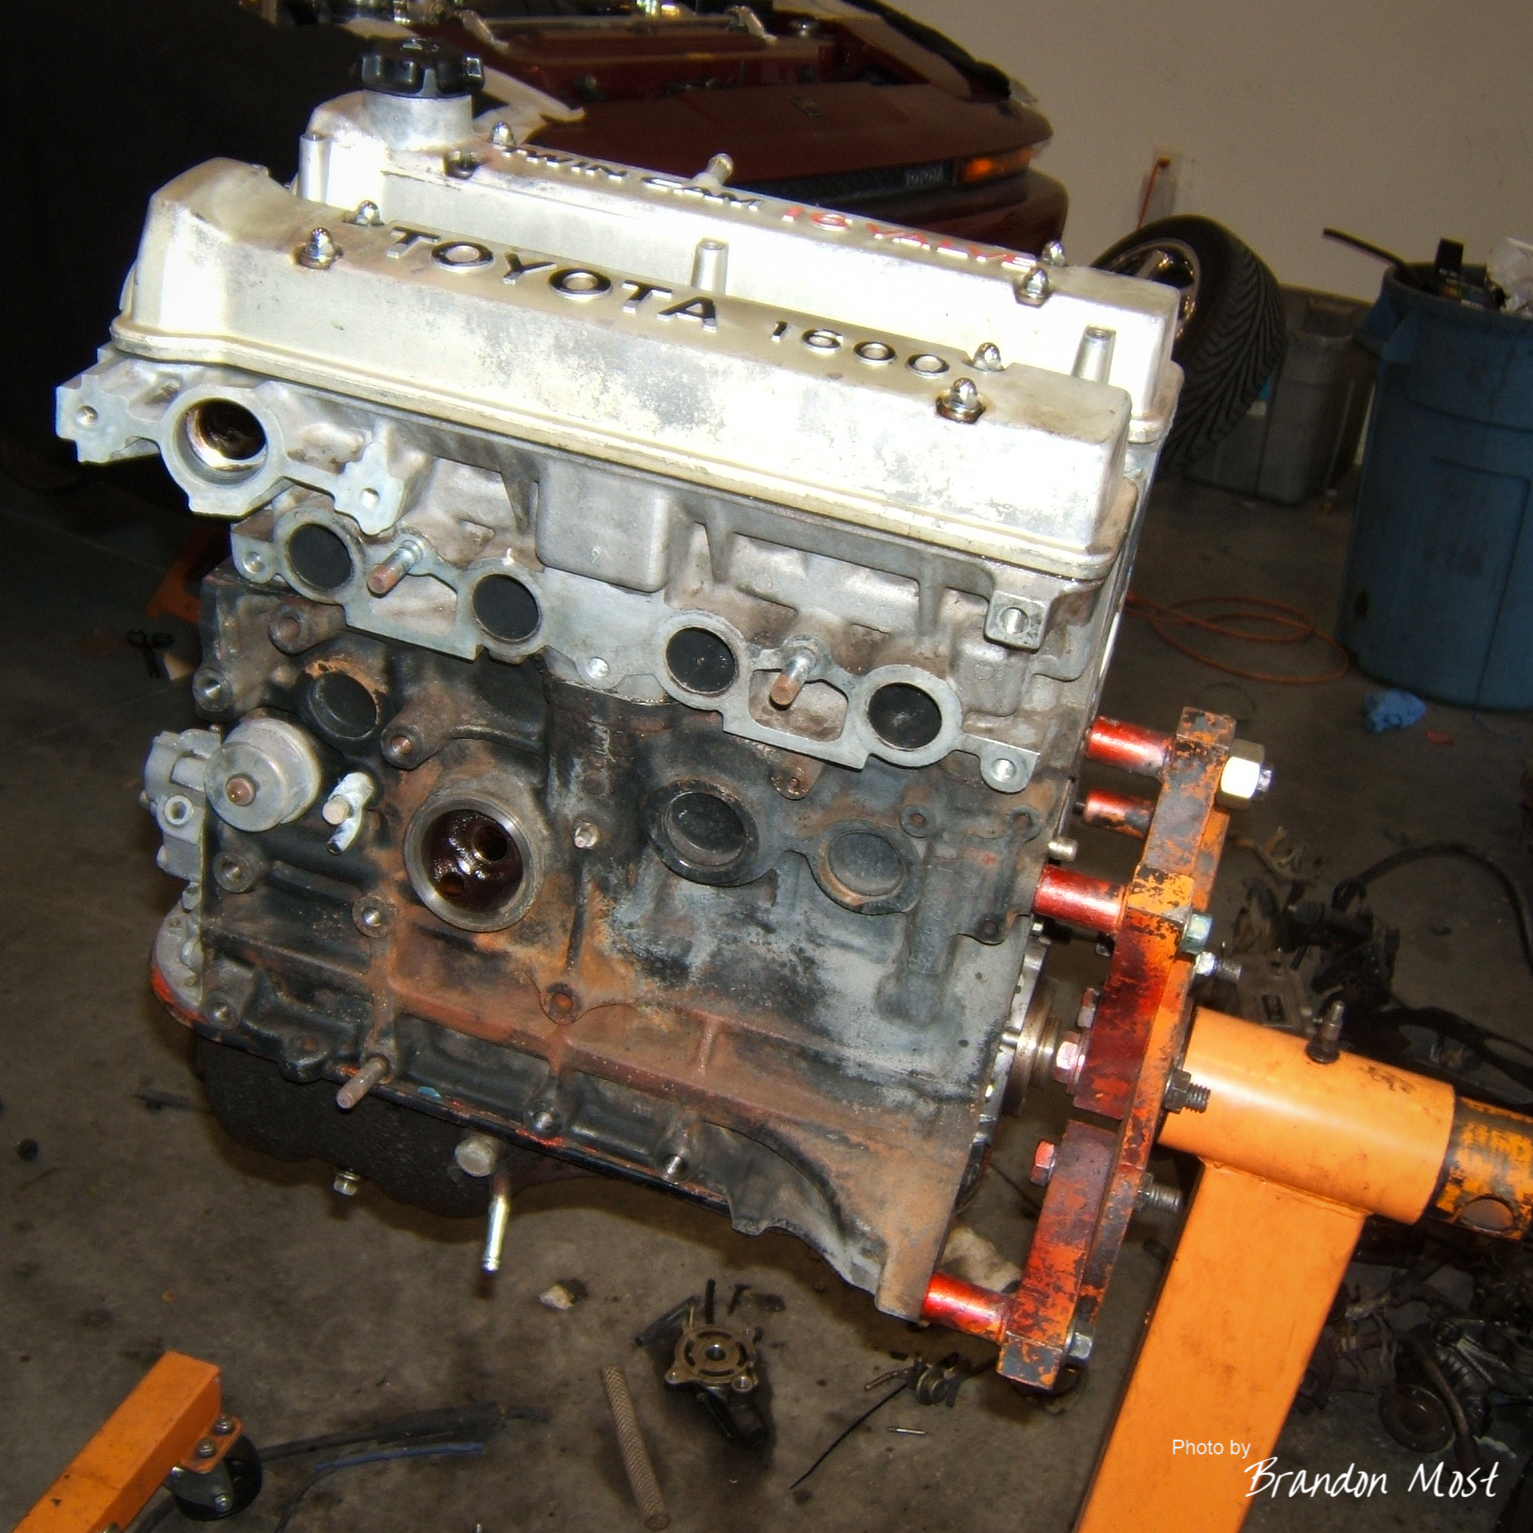
So there is a new plan. It starts by cleaning up the existing 4AGE engine as best as possible with out breaking the bank or tearing it down for a rebuild.
Tuesday July 12th-Tuesday July 19th 2005:
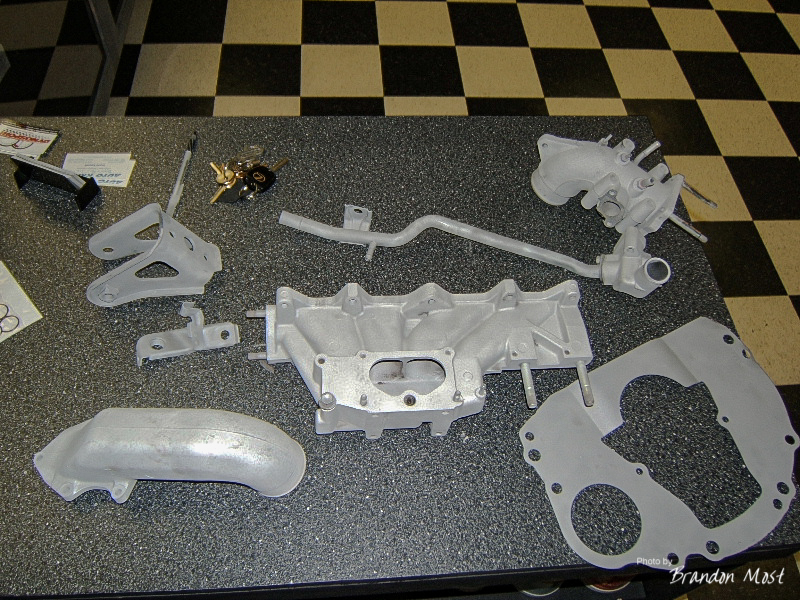


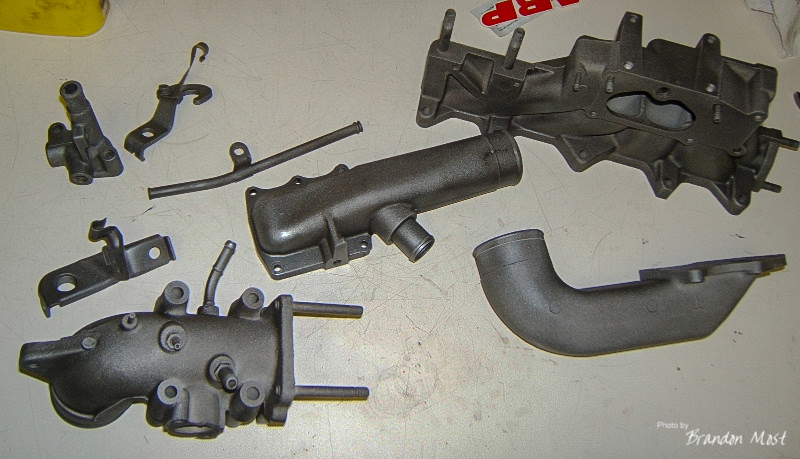

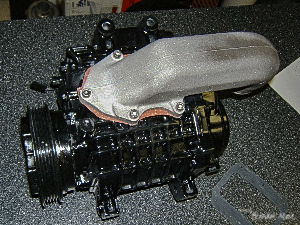
So far I’ve just been doing some parts clean up and some sourcing of others. I dug out a set of the original 85 cams that were hidden away. These are a slightly more aggressive grind than the late model versions. Not hot enough to search them out, but if you happen to have some, then why not? Other bits and pieces are getting powder coated while were doing those same colors on other projects. The exhaust manifold is a new high temp coating that I want to try out. It looks great, I want to see it after a few heat cycles.
Saturday August 13th 2005:


The Toyota order came in! New gaskets and timing belt means I can start assembly.
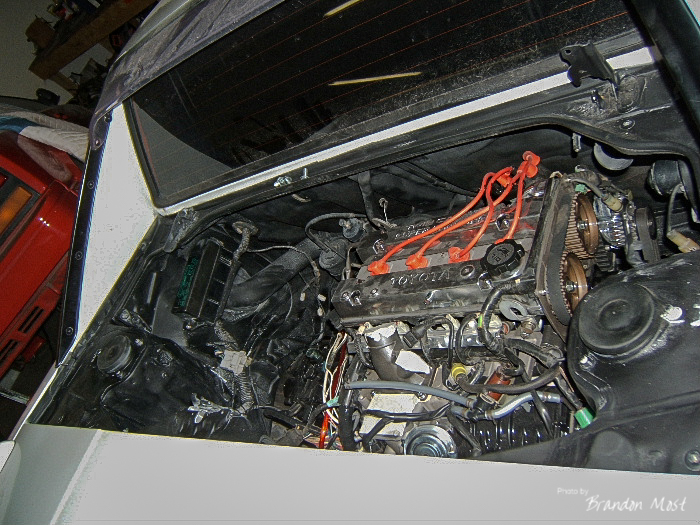
Sunday September 18th 2005:

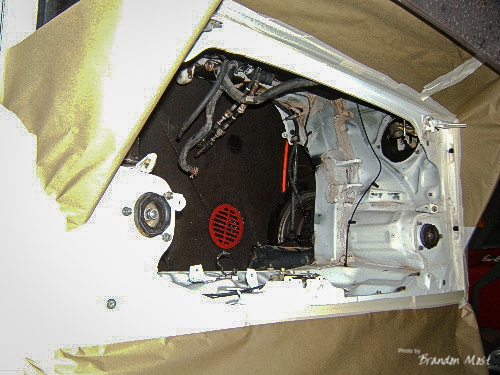

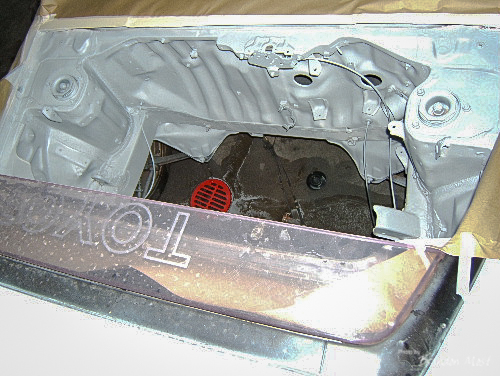
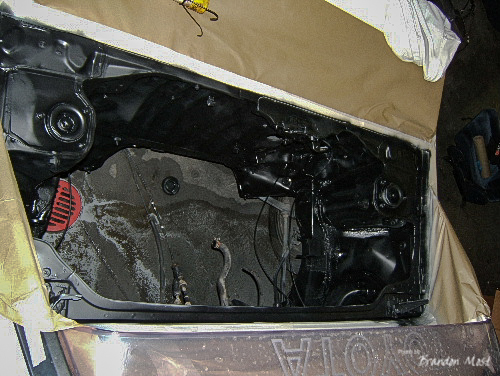

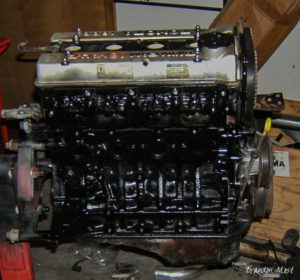
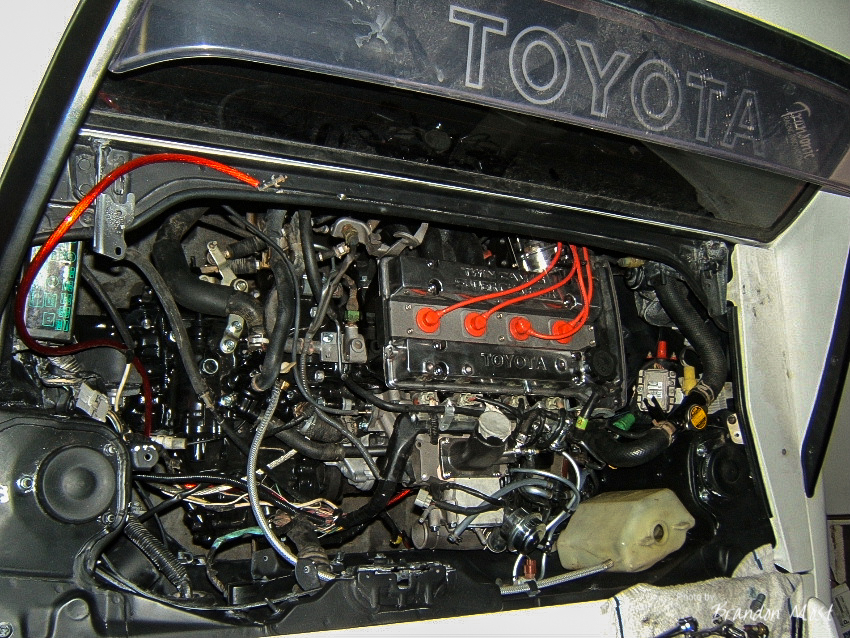
The engine is looking better, but that bay wasn’t. Time to fix that. After some degreasing and scuffing it was time to mask, prime and paint. Nothing too fancy here I just used some Duplicolor engine black paint. It seems to lay down the smoothest from a rattle can, and the added benefit of being able t withstand higher temps may come in handy if the exhaust manifold coating fails!
Saturday September 24th 2005:

 A few more pieces have found their way onto the engine. Freshly cleaned injectors, and oil filter adapter to name a couple.
Saturday October 22nd 2005:
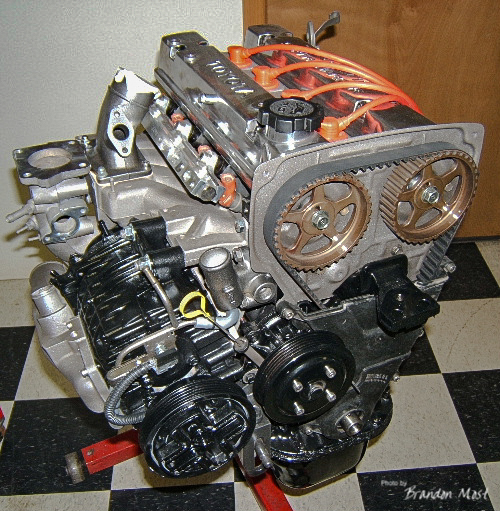

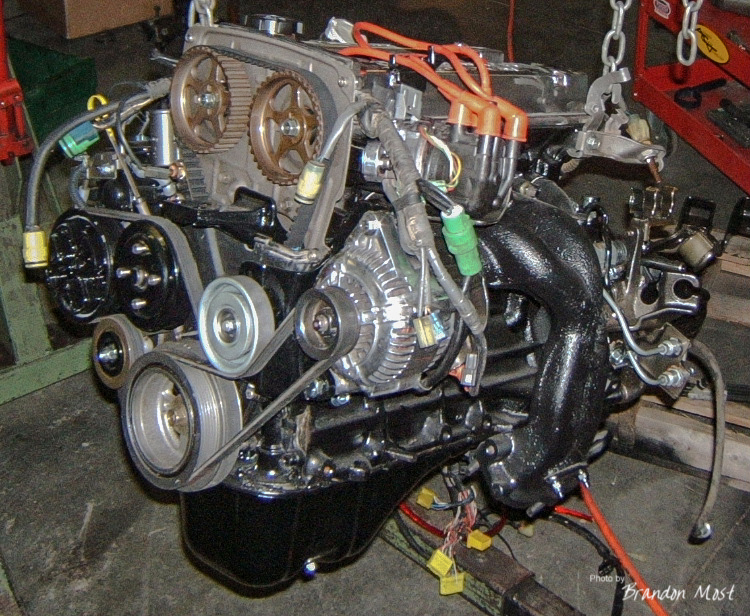
Supercharger is on!
Thursday November 3rd 2005:

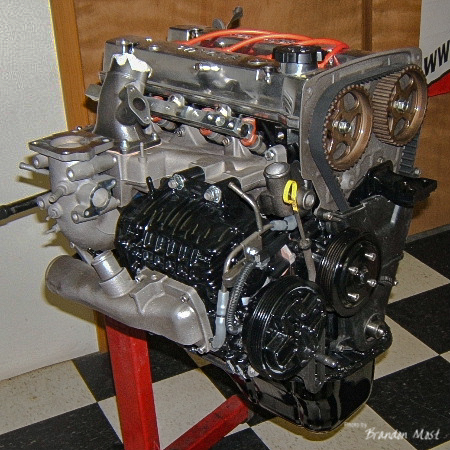
More pieces added. Distributor and bypass valve have been polished and installed, as well as a few other items.
Friday November 25th 2005:
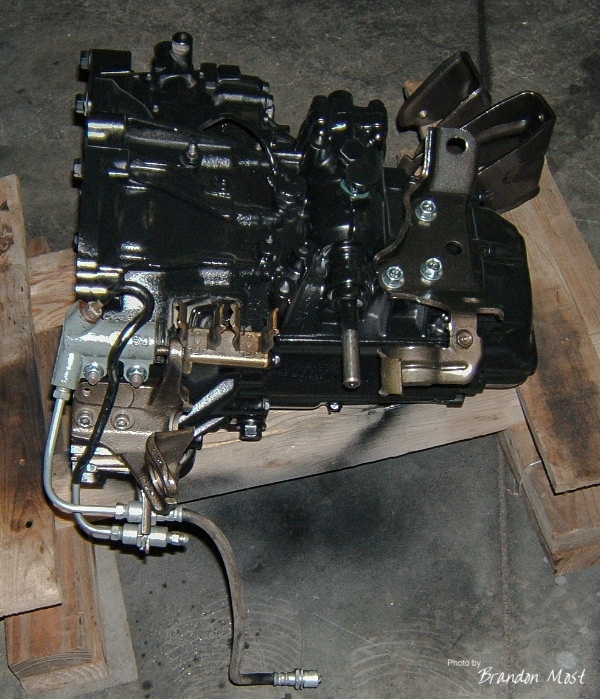
 Transmission time. This whole thing started because of a transmission issue so we better make sure its right. The E153 trans from the supercharged car had a nasty second gear grind a while back. Since the supercharged trans is fairly rare to find I picked up a replacement from a 91 turbo on a hunch that I could make it work. Well it did mostly. The bell housings are obviously different for the different engine mounting pattern. and the oiling system is slightly different. The turbo trans carries the oiling tube into the 3rd section of the case to lubricate 5th gear, the early 4AGZE version does not. As long as you match the case to the tube you are fine. Where I made my mistake the first time was grabbing the wrong idler gear for reverse.

The transmissions have different reverse gear ratios, and coincidentally, so do the idler gears. I lived with out reverse for a time in the supercharged car. (And I only screwed up and parked down hill into a curb twice!) Anyway time to fix that. I’ve used Redline Lightweight Shockproof gear oil in a few transmissions now with great results. This trans however has been drained and sitting on a shelf for over a year now. Look at the way this stuff is still coating almost every piece of every gear!
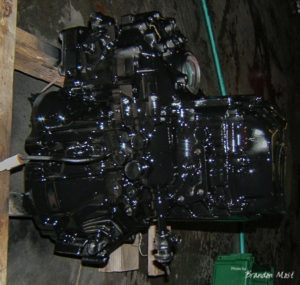
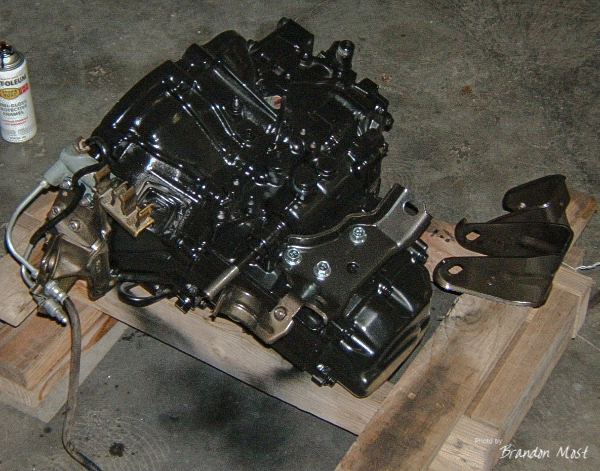
As well as it worked, it looked pretty ugly. The turbo case parts cleaned up well, but the supercharged bell housing was badly stained from before I bought the car. Just like the engine, it was treated to a bit of Duplicolor paint to make it a little better looking.
Saturday November 26th 2005:
Harness and vacuum switching valves going on.
Sunday November 27th 2005:
Started off the day by getting the accessories bolted on the transmission. Next it was time to to marry the two together. I reused my Exedy Cerametallic clutch from the supercharged car. It was still in good shape and I love this clutch so it was a given that it was going back in.
Wednesday December 21st 2005:
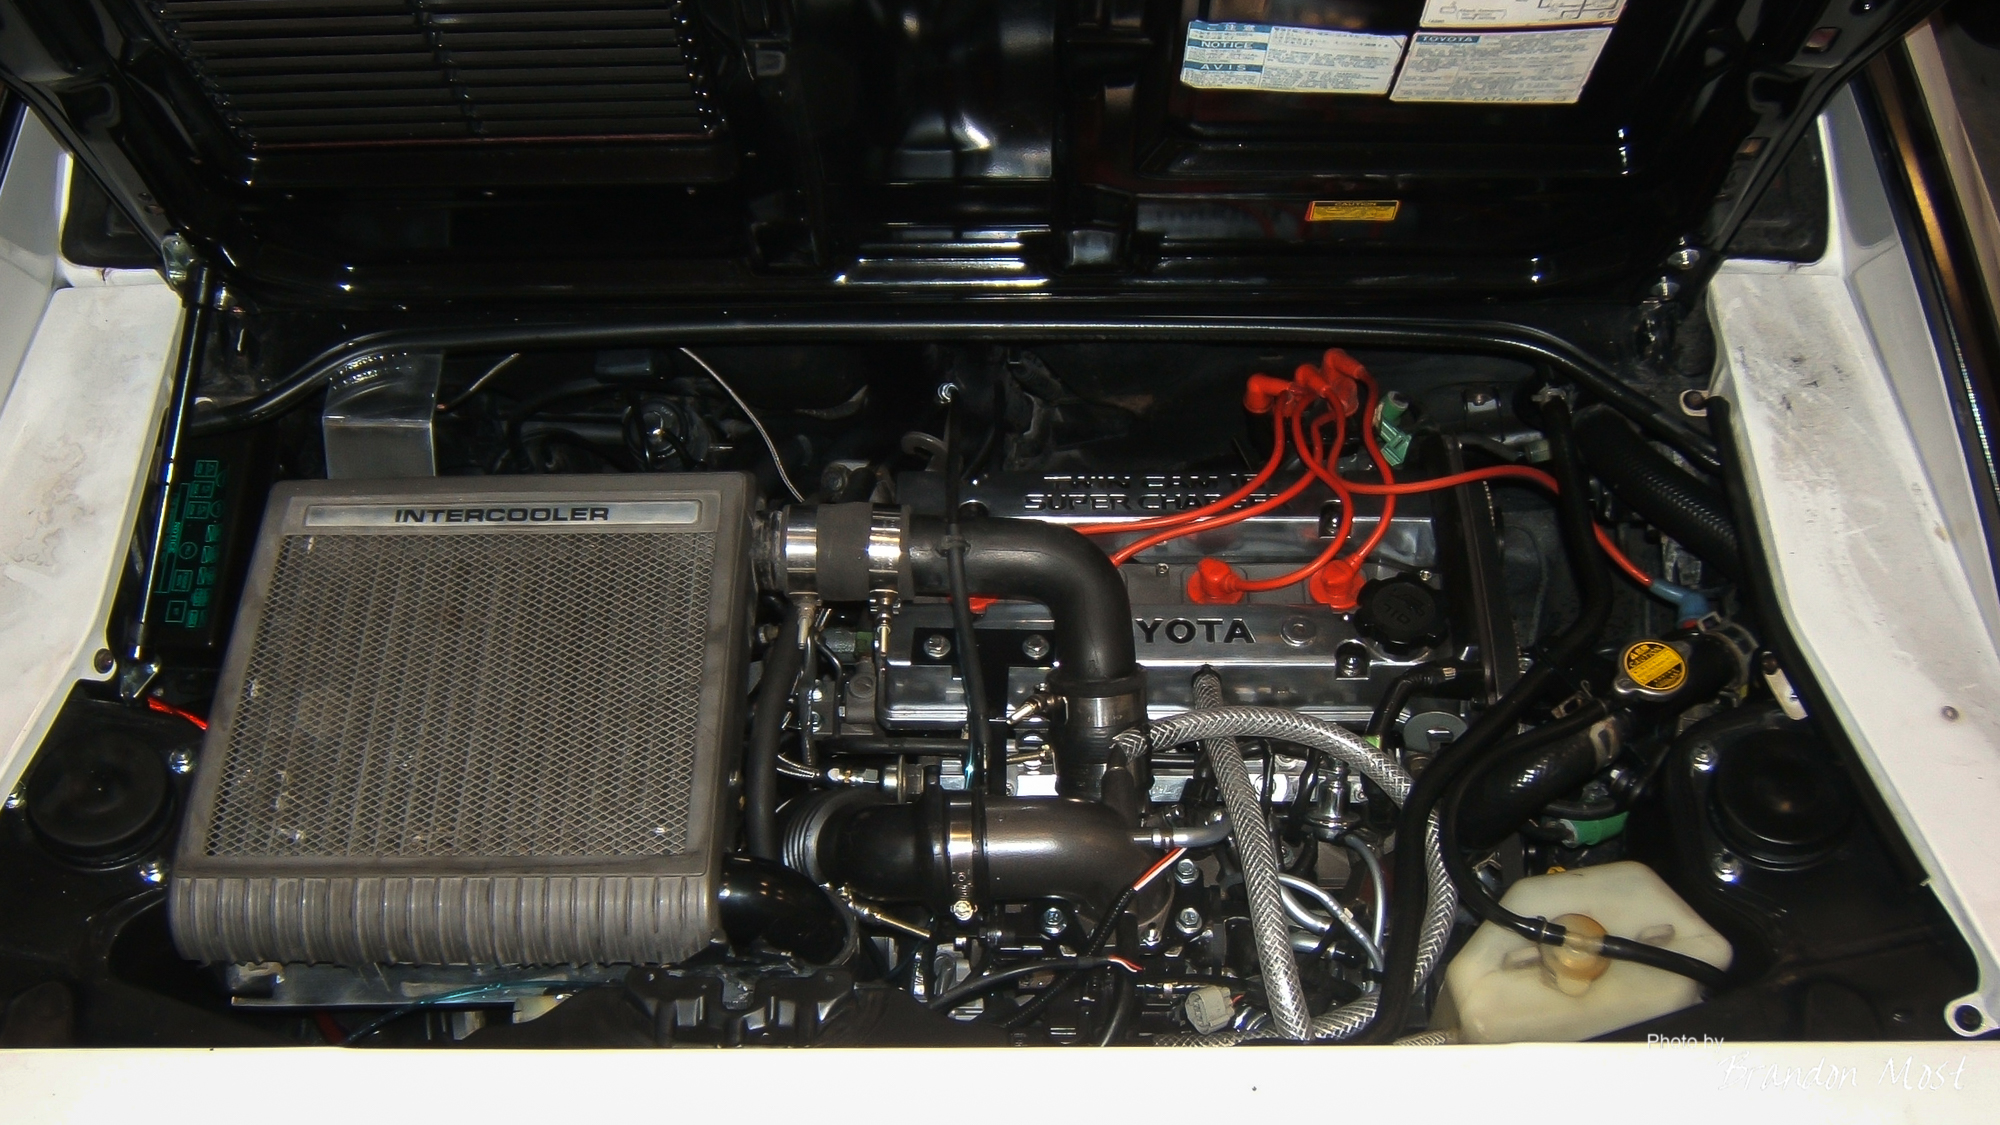
Engine is mostly in and starting to look at home. A couple of NA to SC issues to work out.
Friday December 23rd 2005:
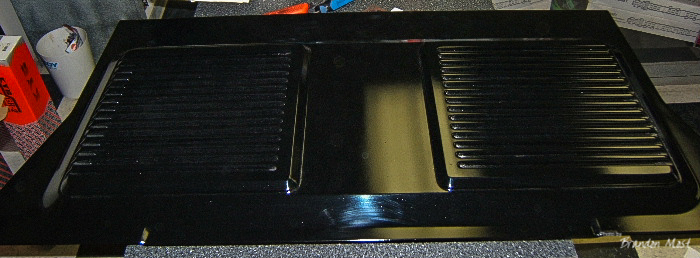
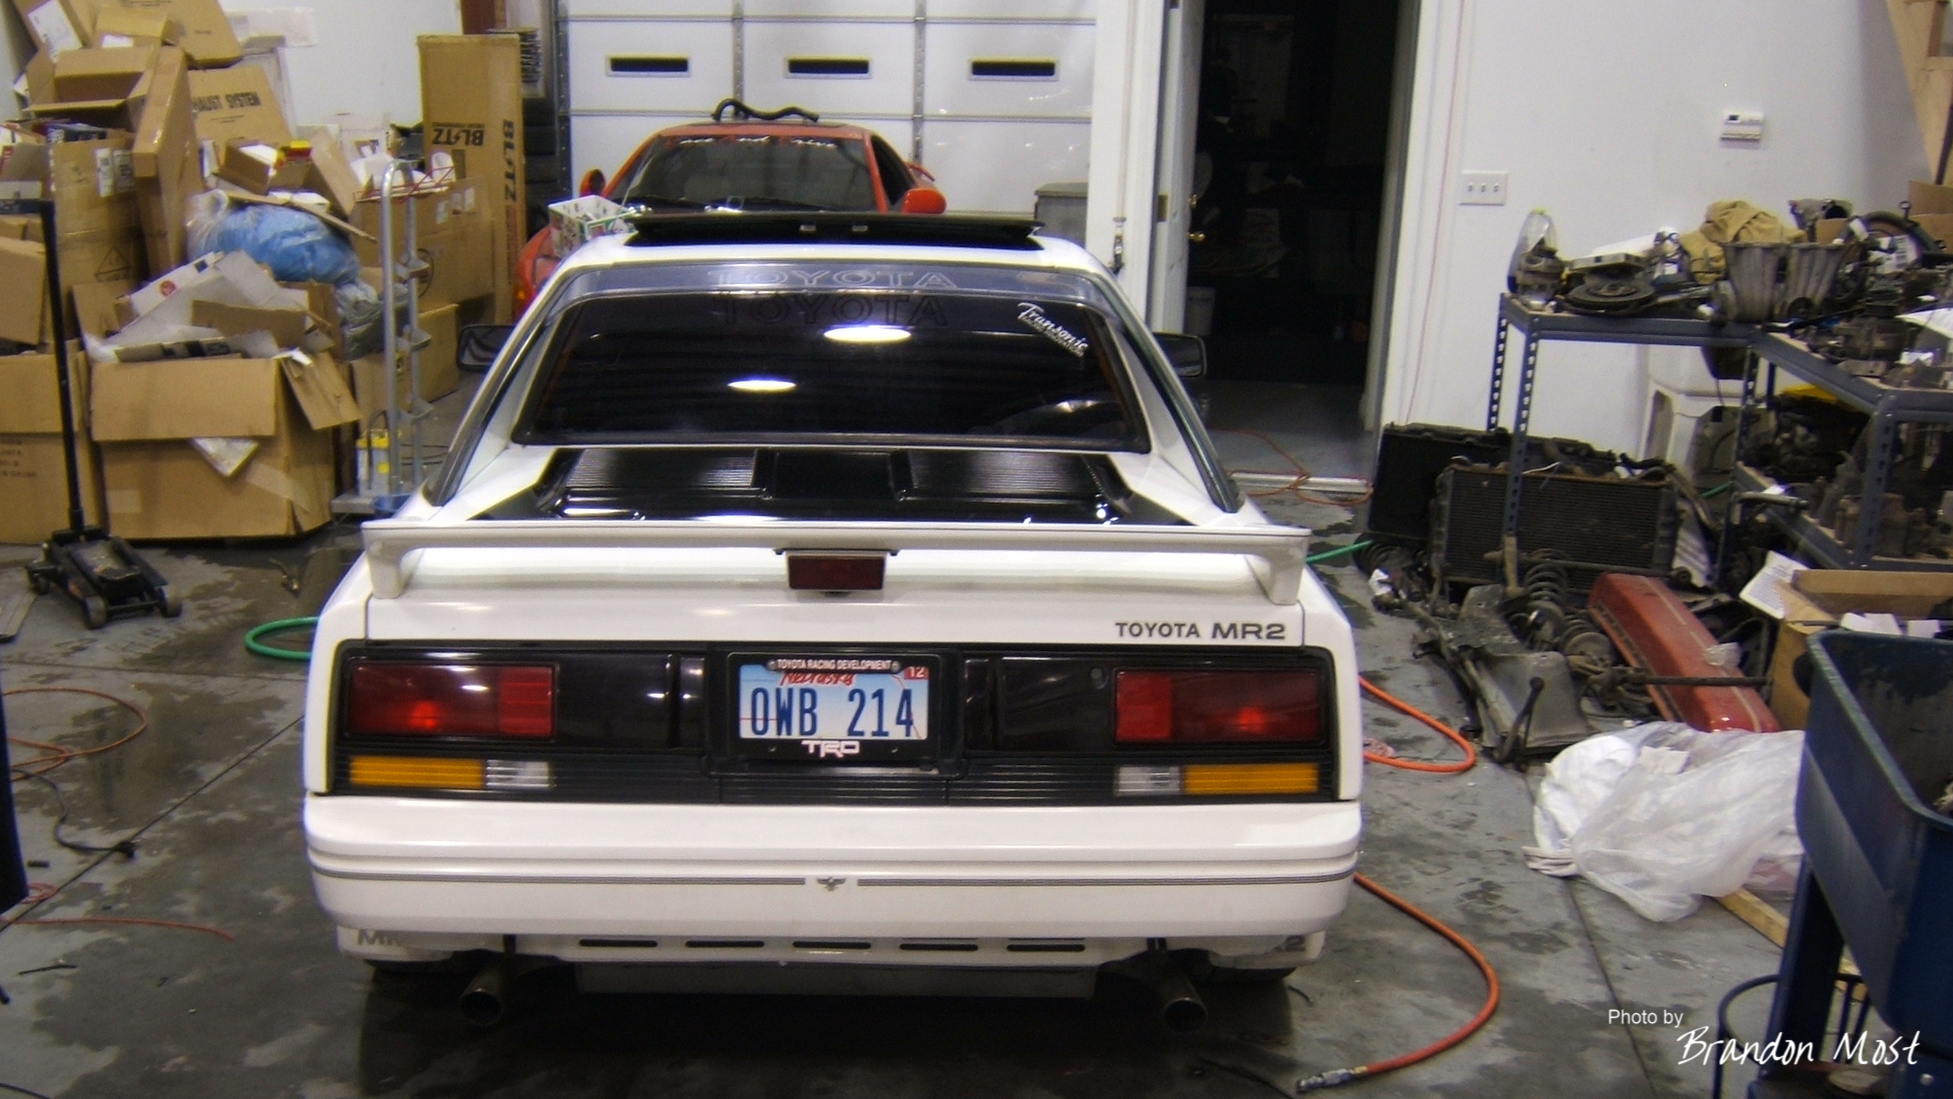
I had the original red supercharged engine lid shot to a flat black rather than try to match the aged white paint. Eventually I would like to repaint the whole car and go back to white, but for now I think the flat black matches the trim pretty well.
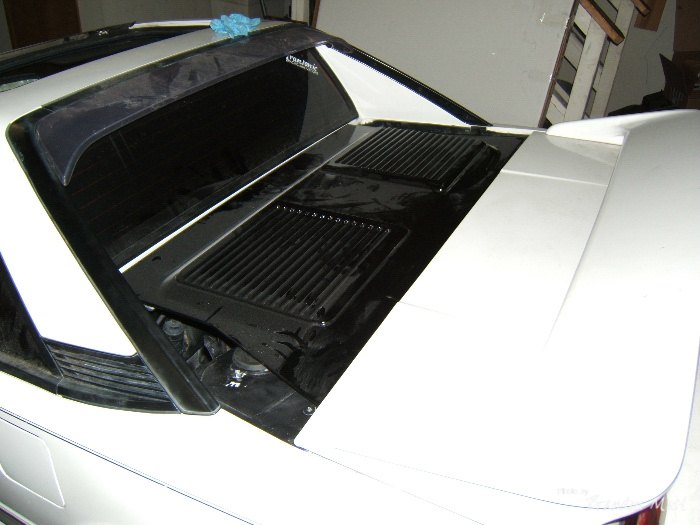
Now I just need to make it latch.
Sunday December 25th 2005:


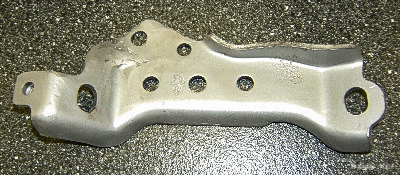
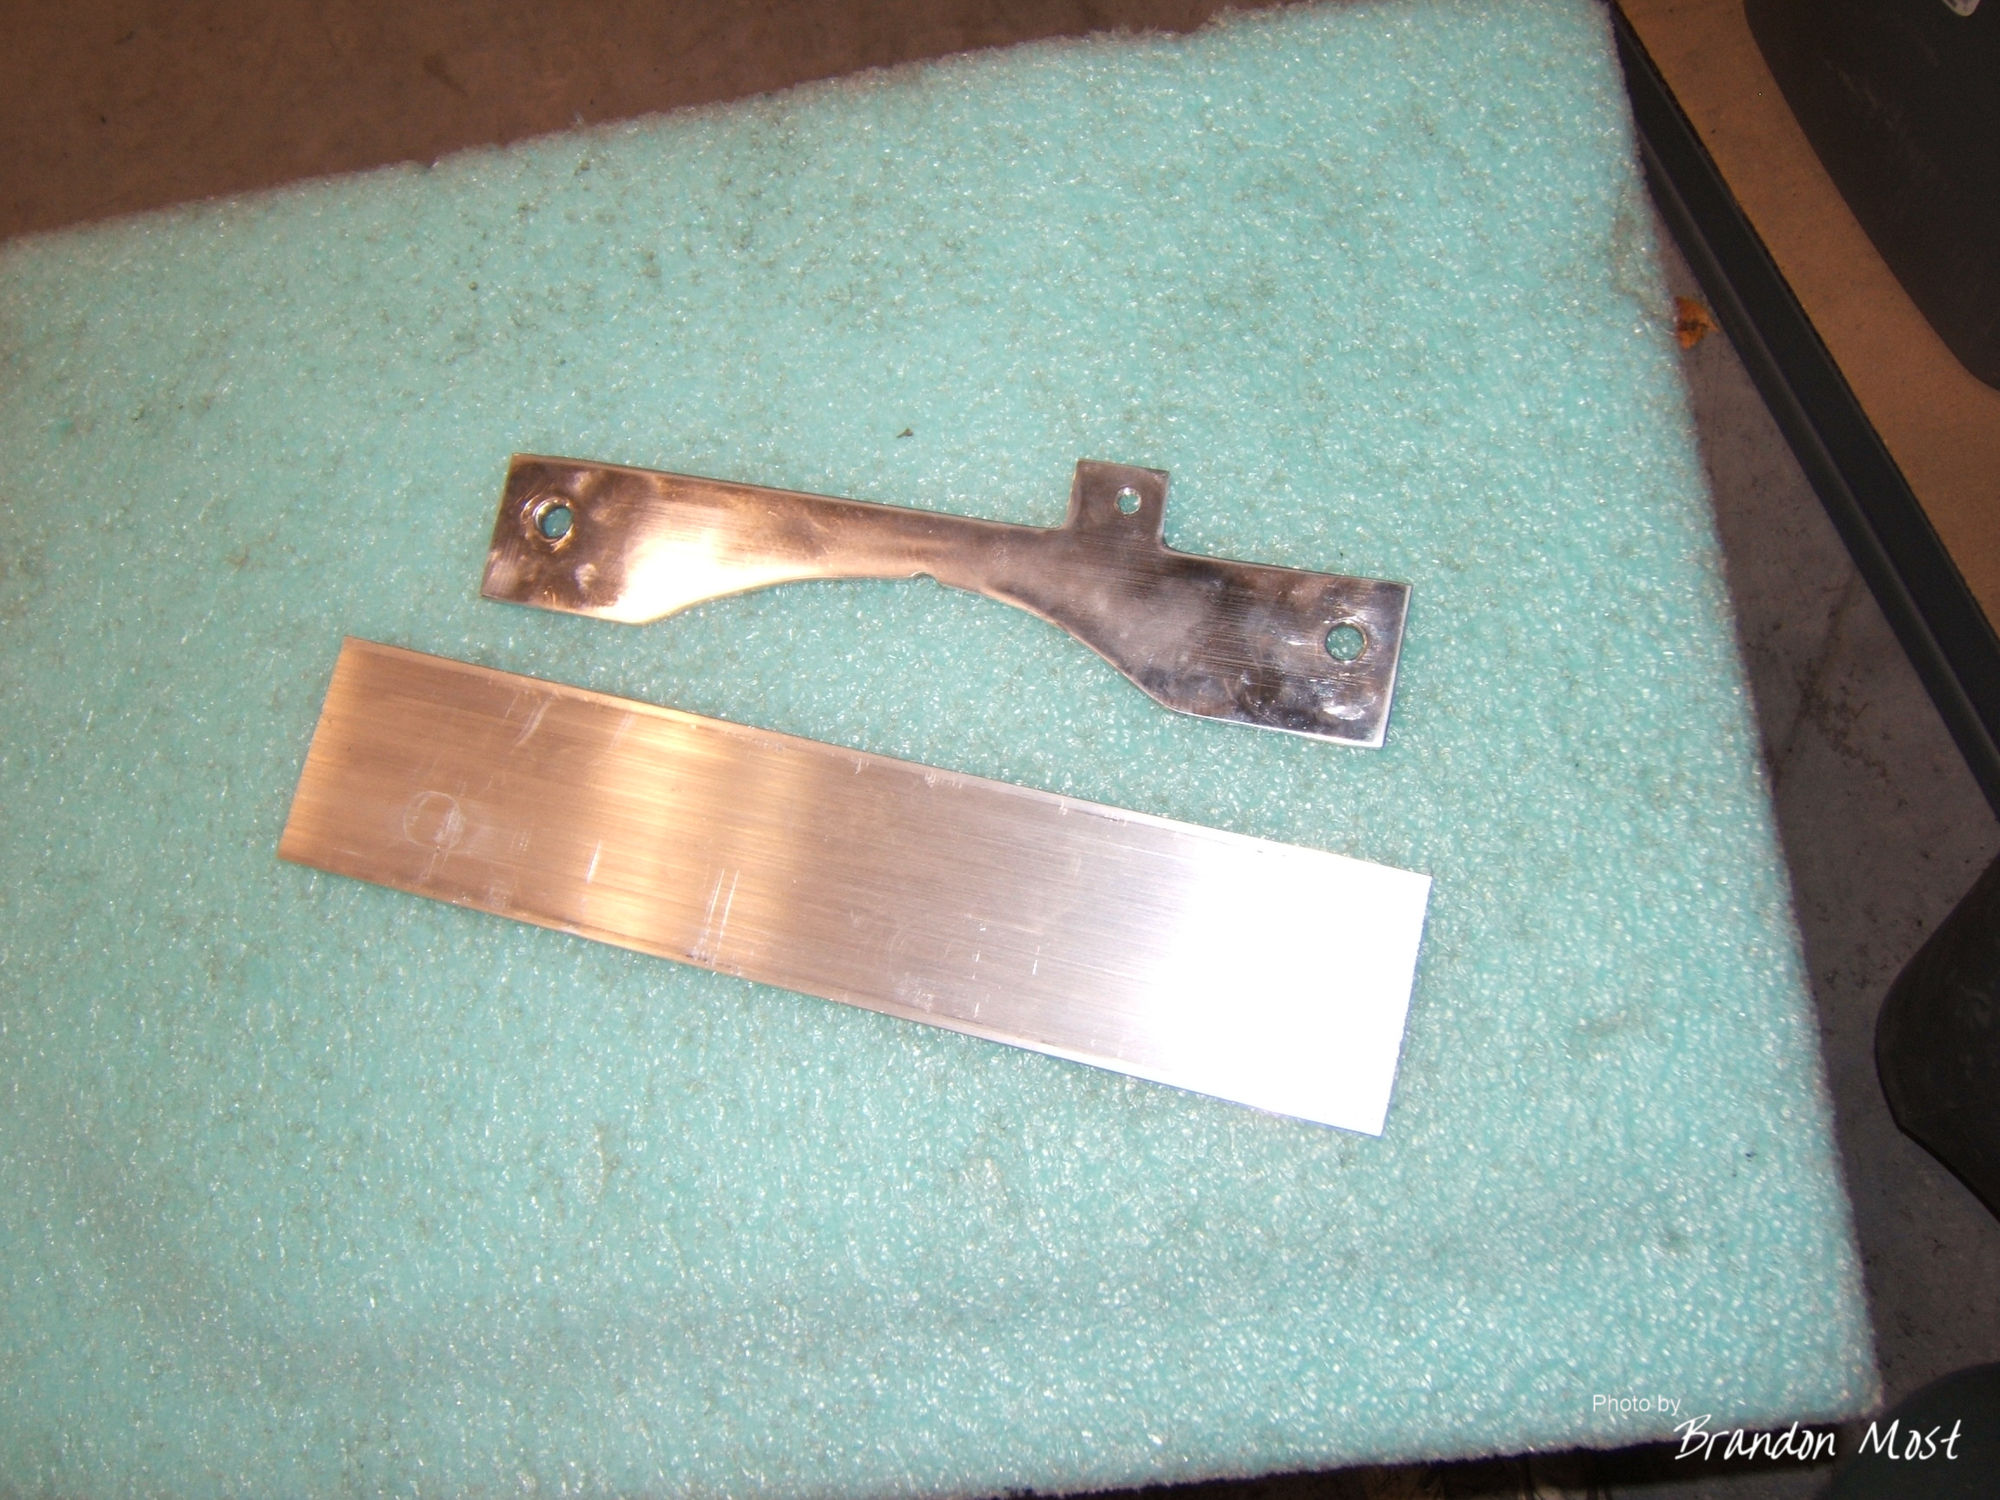
So apparently the transmission bracket is one of the changes between the GE and GZE cars. The GE bracket does mostly line up with the E153 trans, but obviously does need a bit of modification. I used a spare bracket to source my spare material from to maintain the right thickness.
Tuesday December 27th 2005:

A few more pieces of the puzzle cleaned up and painted. Now they just need installed.
Thursday December 29th 2005:
Working on the battery relocation. 4 Gauge wire run with the ends crimped and soldered.
Friday December 30th 2005:
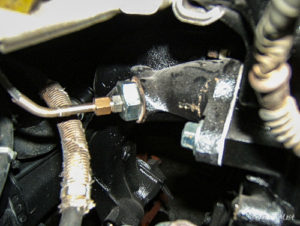
GReddy EGT probe added in place. I used the existing port for the EGR and made an adapter bushing from a bolt to make it work.
Sunday January 1st 2006:

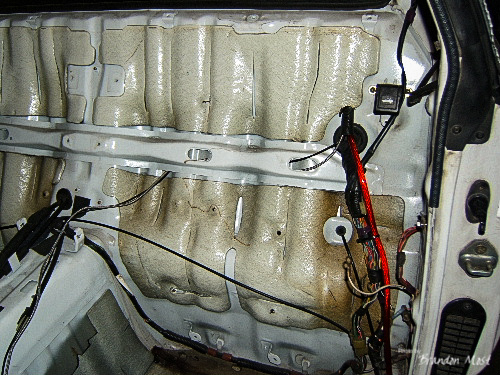
Battery relocation done. I used a spare battery tray that was welded to the floor. then made a bracket that bolts between the existing spare tire bolt and the tray.
Now I just need to finish up the relocation in the engine bay.
Sunday October 8th 2006:

Time to get back on this project. Currently removing the rest of the OEM intake ducting. While I’ve got this stuff apart, I’m running the USB extension for the next piece of the puzzle.
Monday October 9th 2006:

Turning my attention back to the interior to finish up the GReddy gauge install. Almost done in here. I just need to get the shift cables to work.
Friday October 13th 2006:
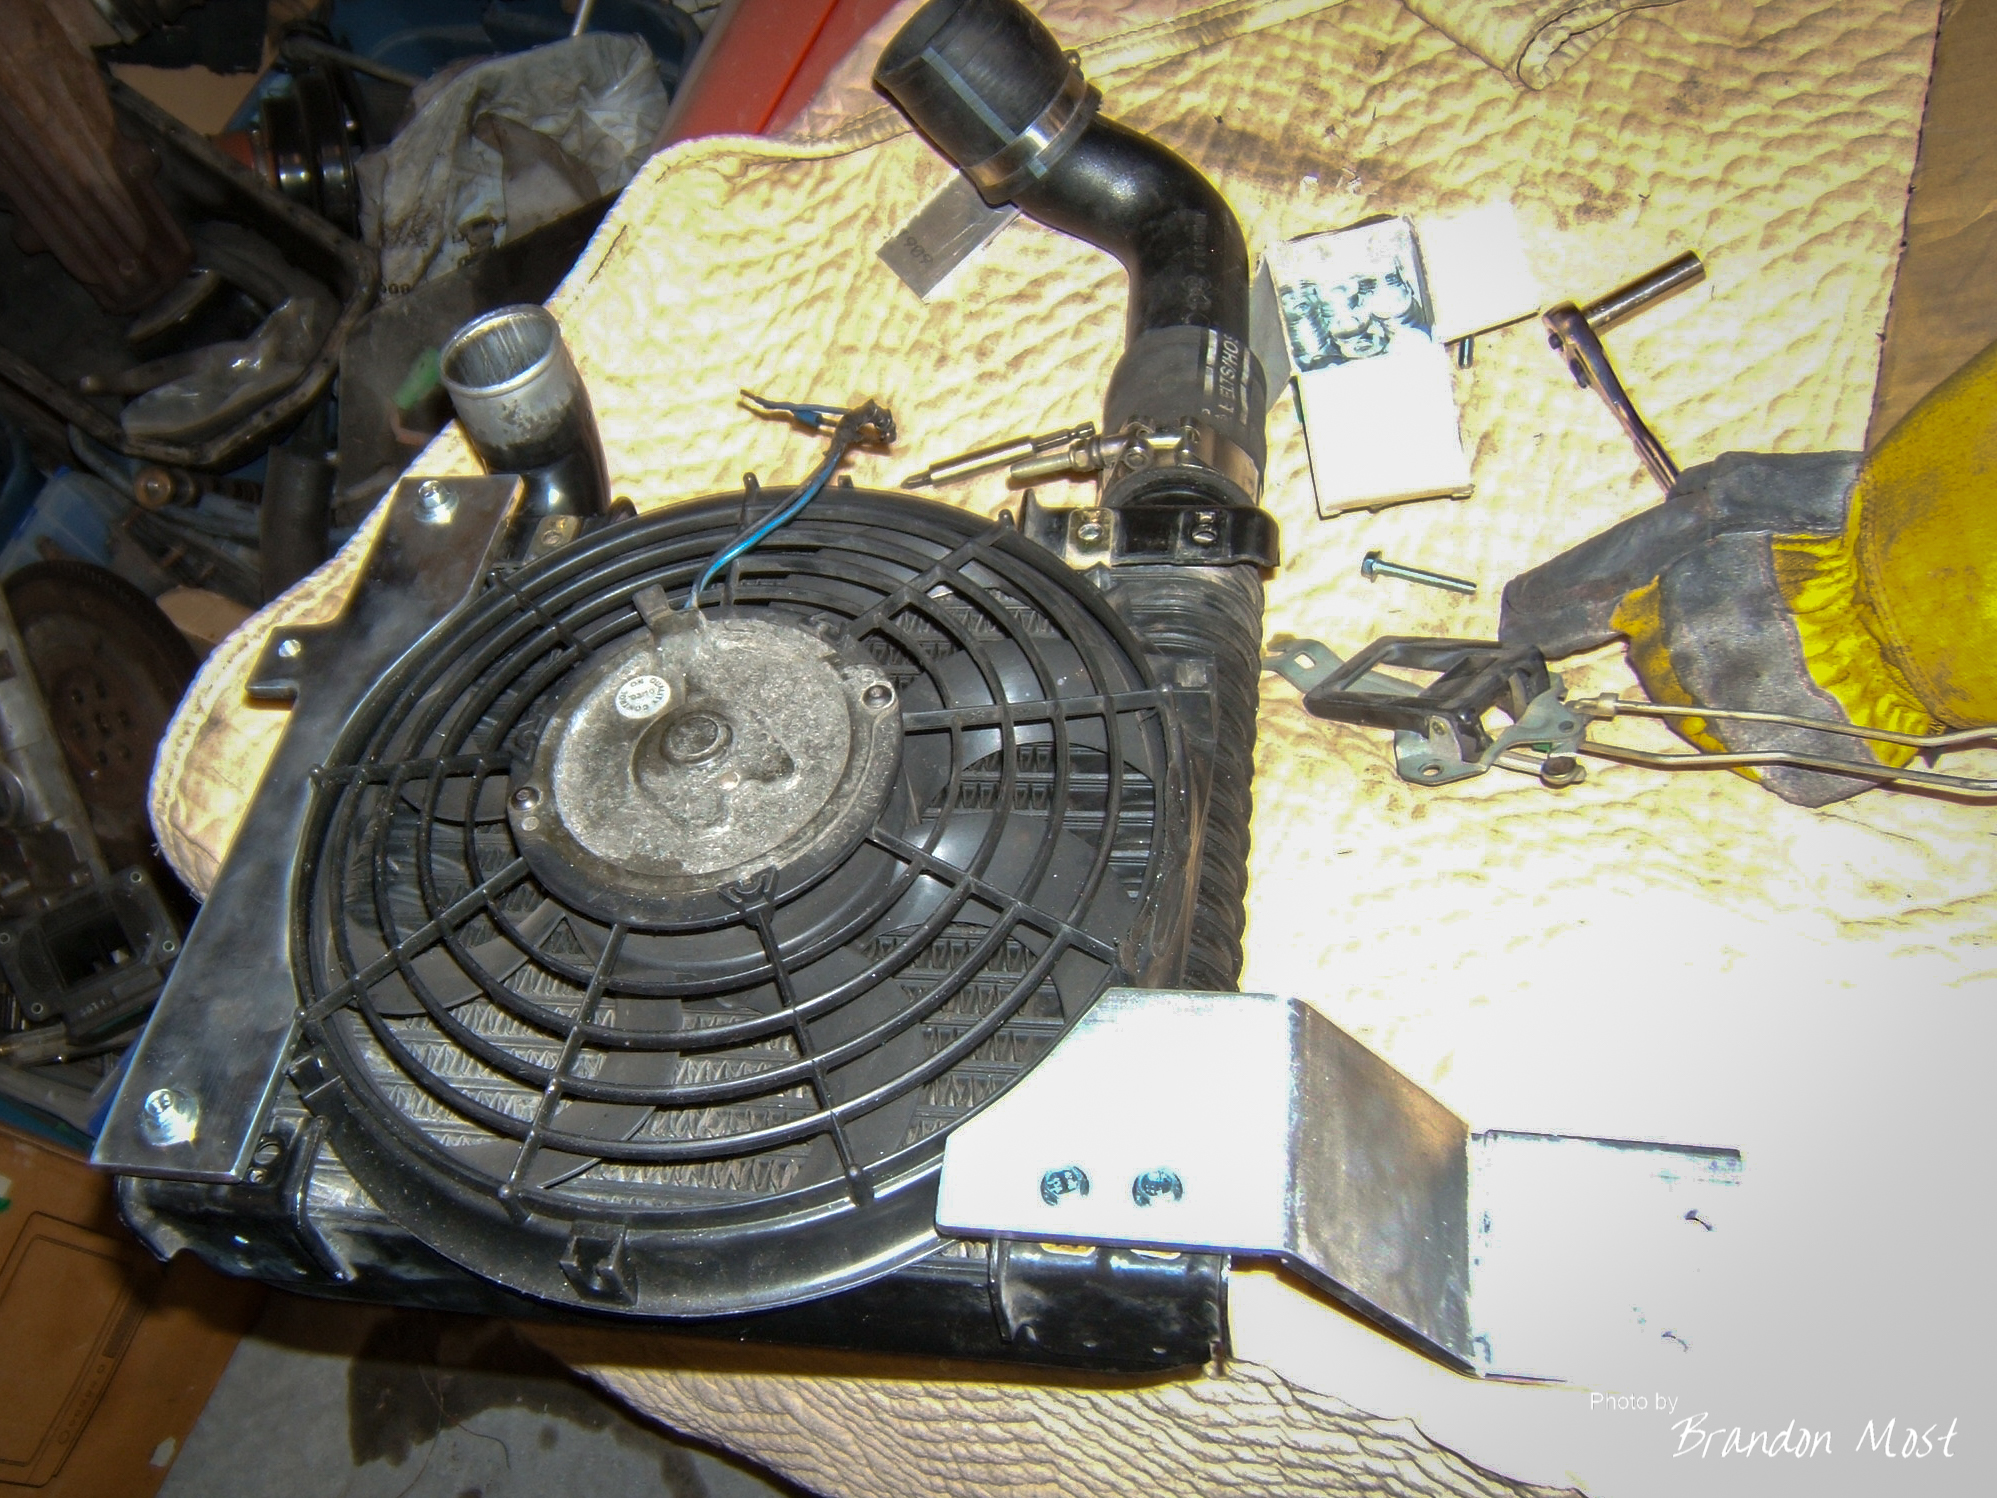
Intercooler mounts in the works. Another different in the NA vs SC body is the missing provisions to mount the IC. I actually used the router for these. These were a bit sketchy to do, and I really don’t recommend using this method, even if they did work out pretty good. While I was mounting things I added a spare fan that I had laying around. We’ll see if this keeps the temps more consistent.
Saturday October 14th 2006:

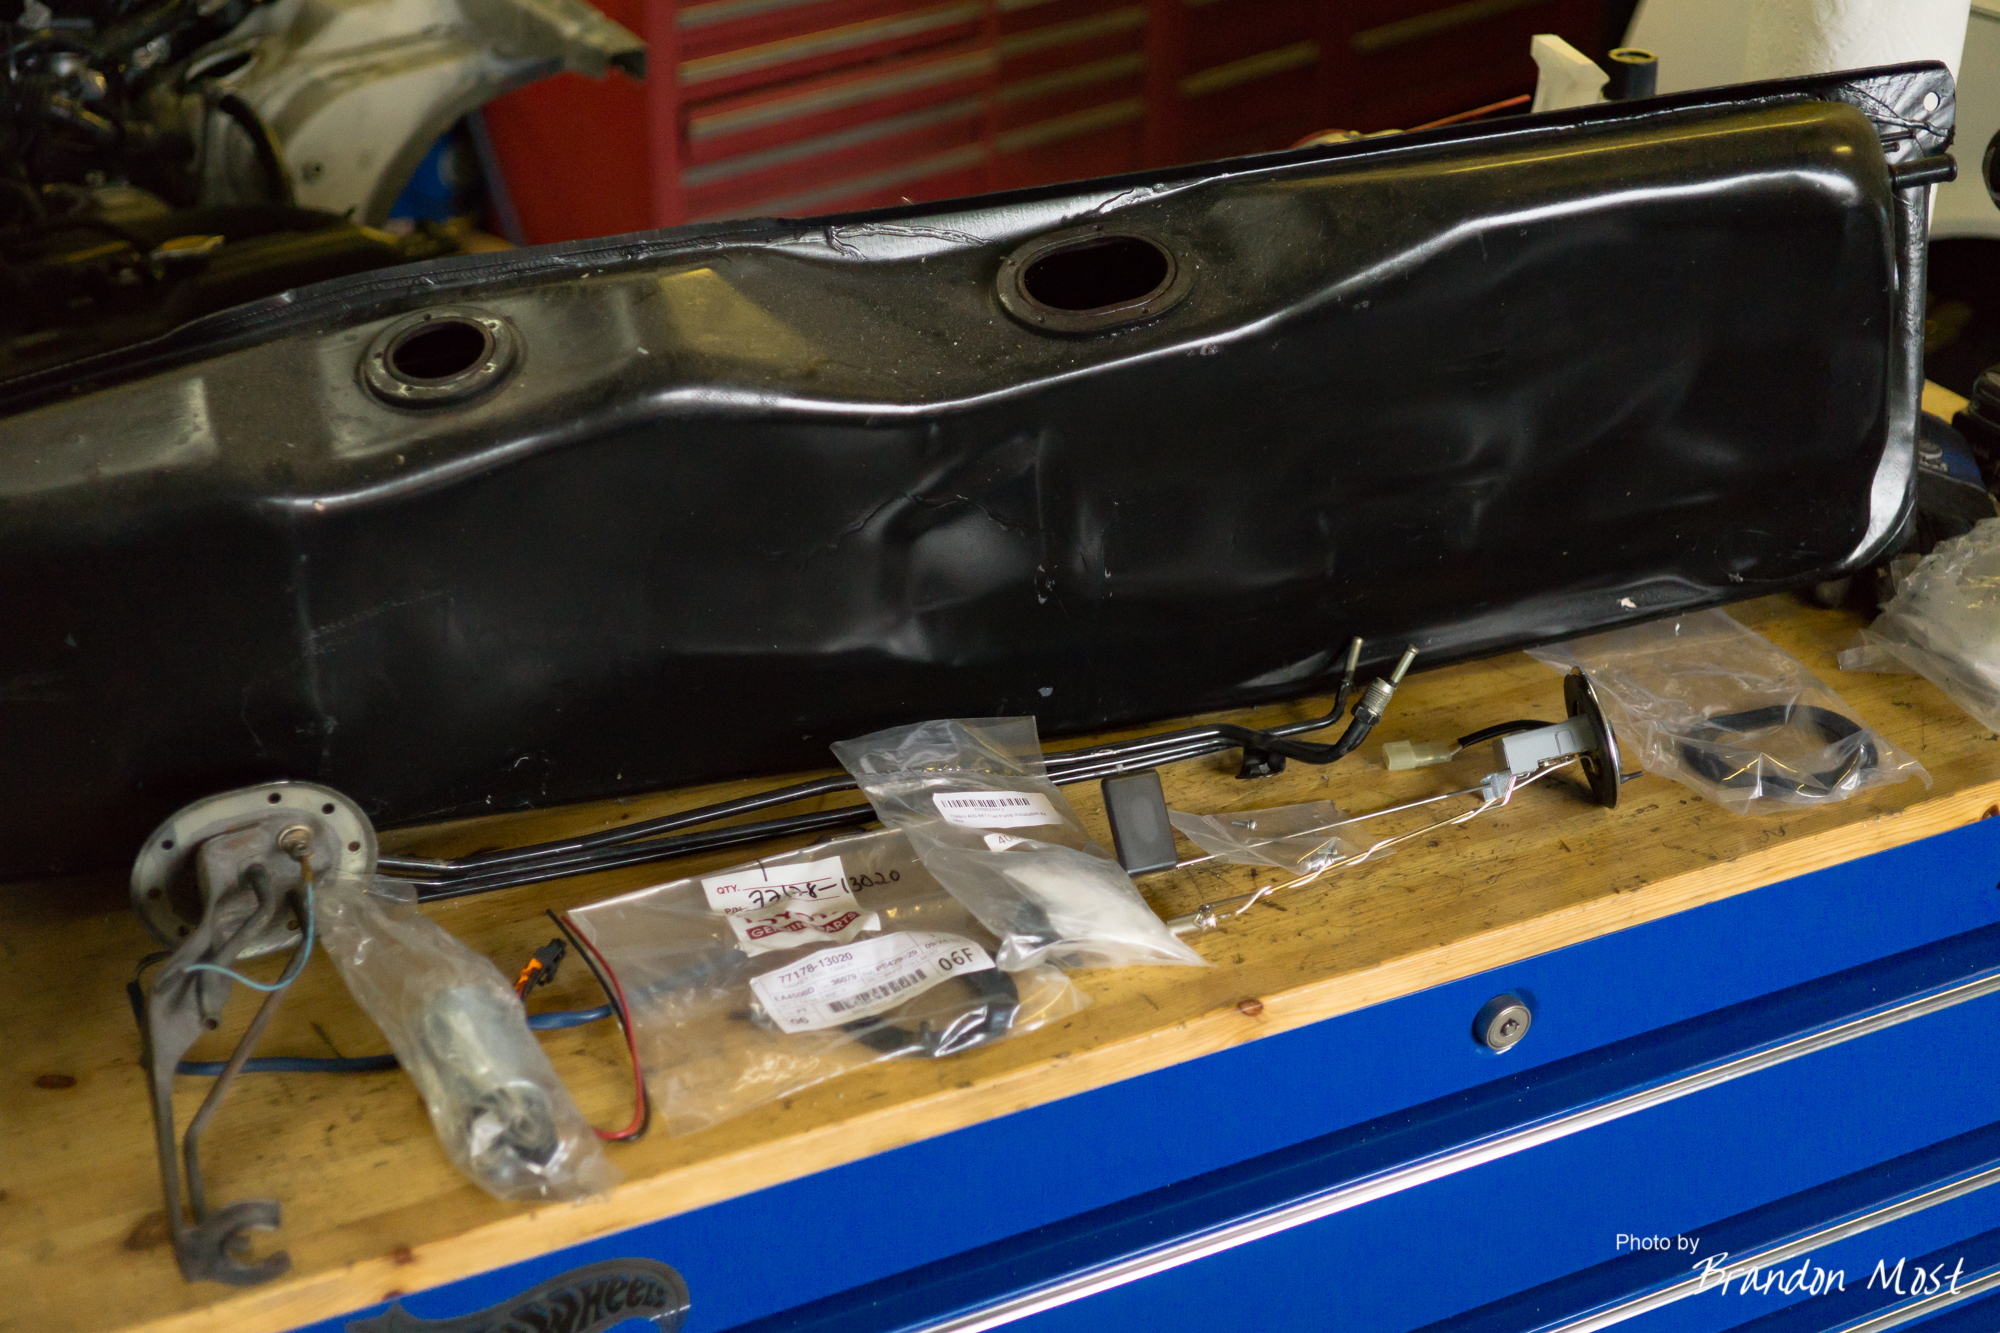
Fuel tank coming out and a Walbro 190 Fuel Pump going in.
Sunday October 15th 2006:


4AGZE throttle body is out, 3SGTE throttle body going on. To make it work I got out the teflon and made my own gaskets and then made the adapter. The adapter is threaded for the studs and then the studs were welded in and ground smooth to keep it thin enough that the pipes still lined up.
Monday October 16th 2006:

I’ve decided to hold off on mounting the cooler right away, so for now we just have a relocated oil filter. I wish I had more before data on oil temps. We lost the coolant collar set up that was originally here, but we did move the oil filter away from the exhaust manifold by about twelve inches.
Tuesday October 17th 2006:

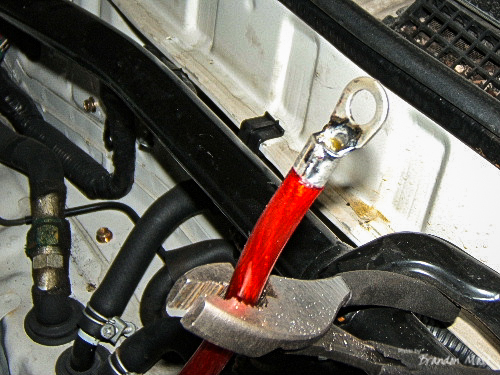
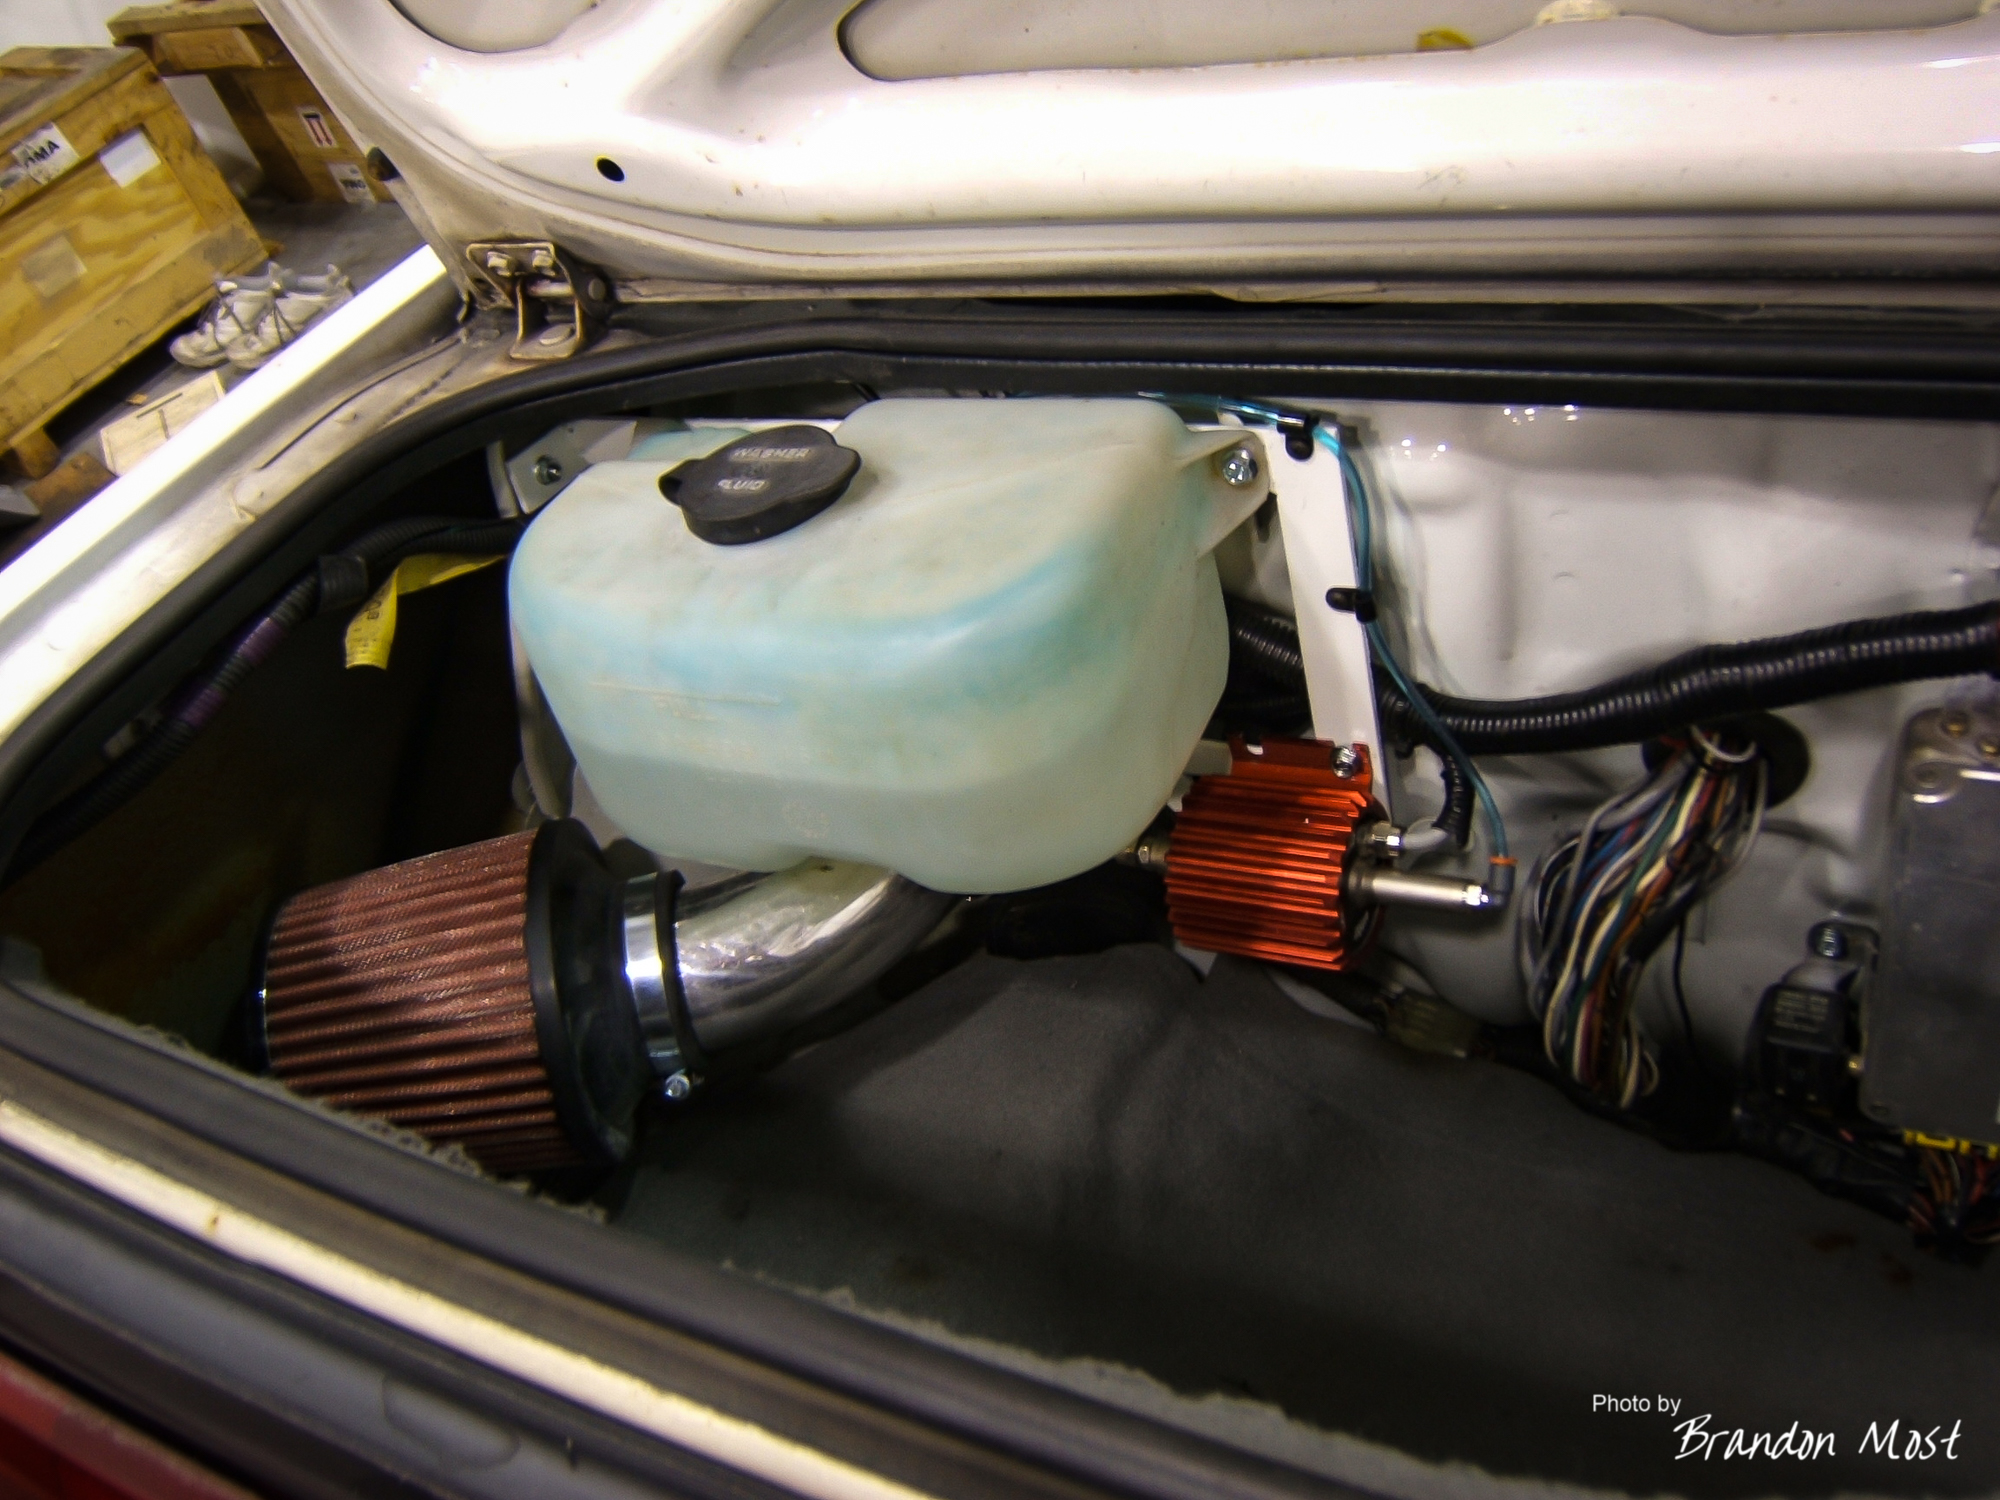
Finished up the battery relocation. I used a piece of acrylic with one bolt to mount it to the car, and one countersunk to act as a junction point as well as give a power lug for things like a timing light or jump starting.

I also started assembling the pieced needed to custom make a fuel line. The factory 4AGZE one will work for the conversion, but mine has gone missing.
Wednesday October 18th 2006:
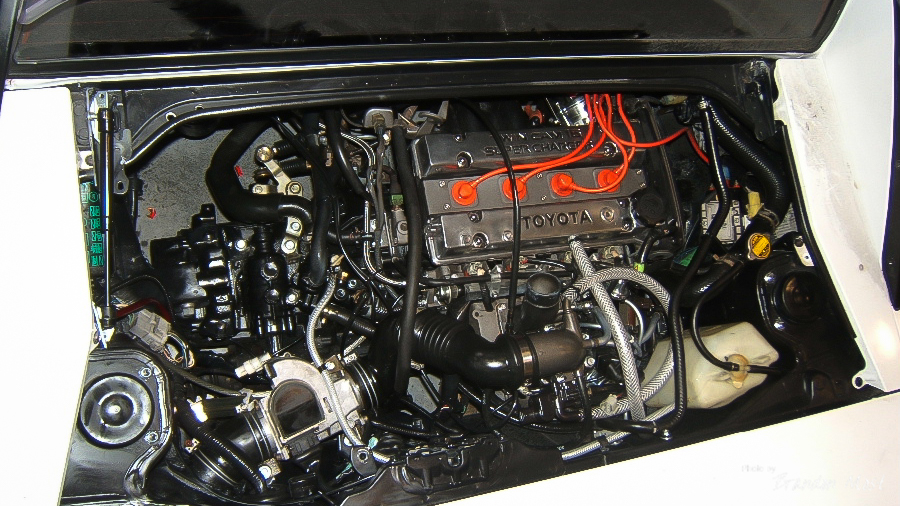
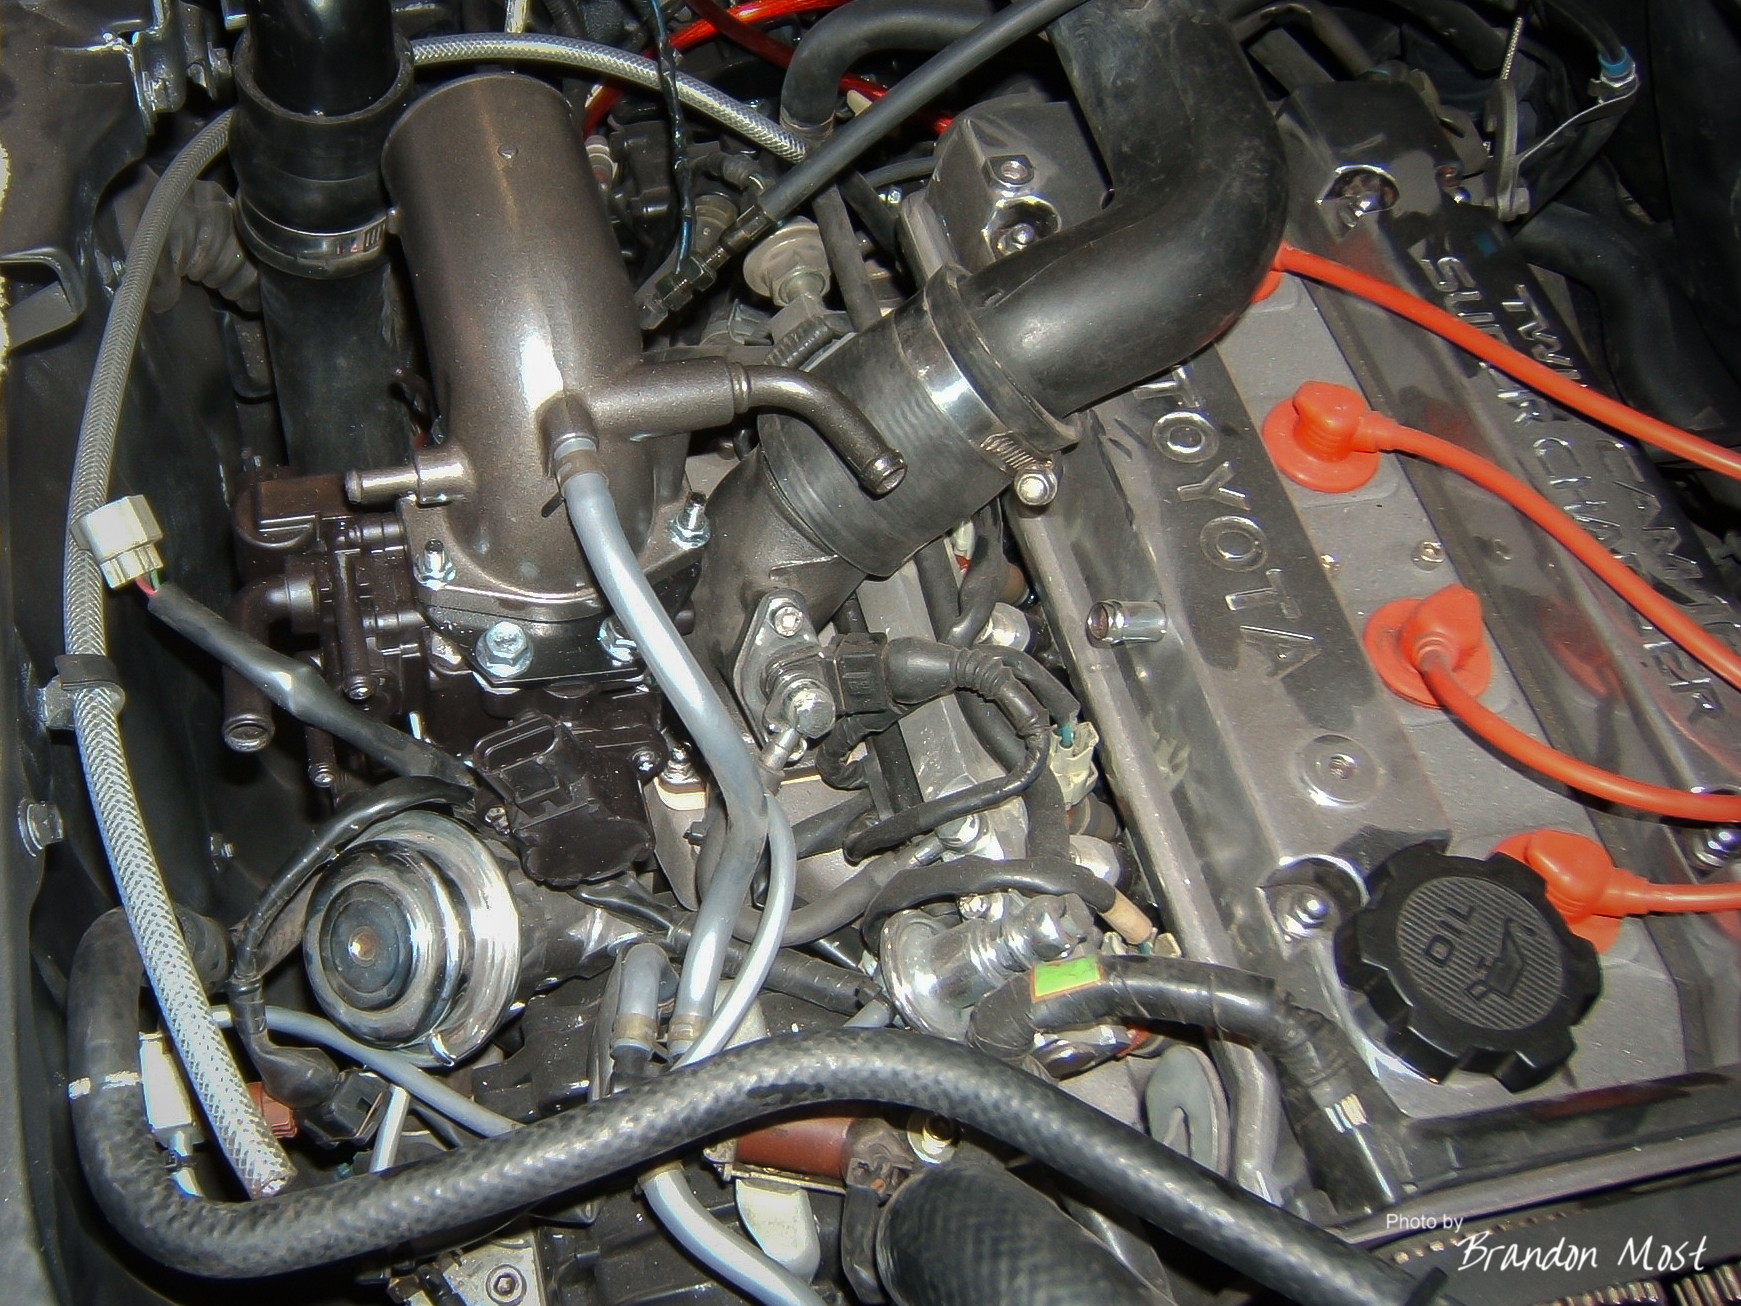
Final details going in today. Breather tube currently installed into the frame rail. Later this will be taken to a venturi added to the exhaust outlet. The giant looped tube pictured above is a result of the 3SGTE throttle body on the 4AGZE and where the ports for the idle control move in the process. Something more permanent will need to be made in the long run, but this does work for now.

New throttle cable and custom throttle cable bracket installed. Also visible is the blue tube for the water/meth injection that is mounted in the charge pipe.

I think that about does it for the engine bay.

Now on to the trunk!
Monday October 23rd 2006:


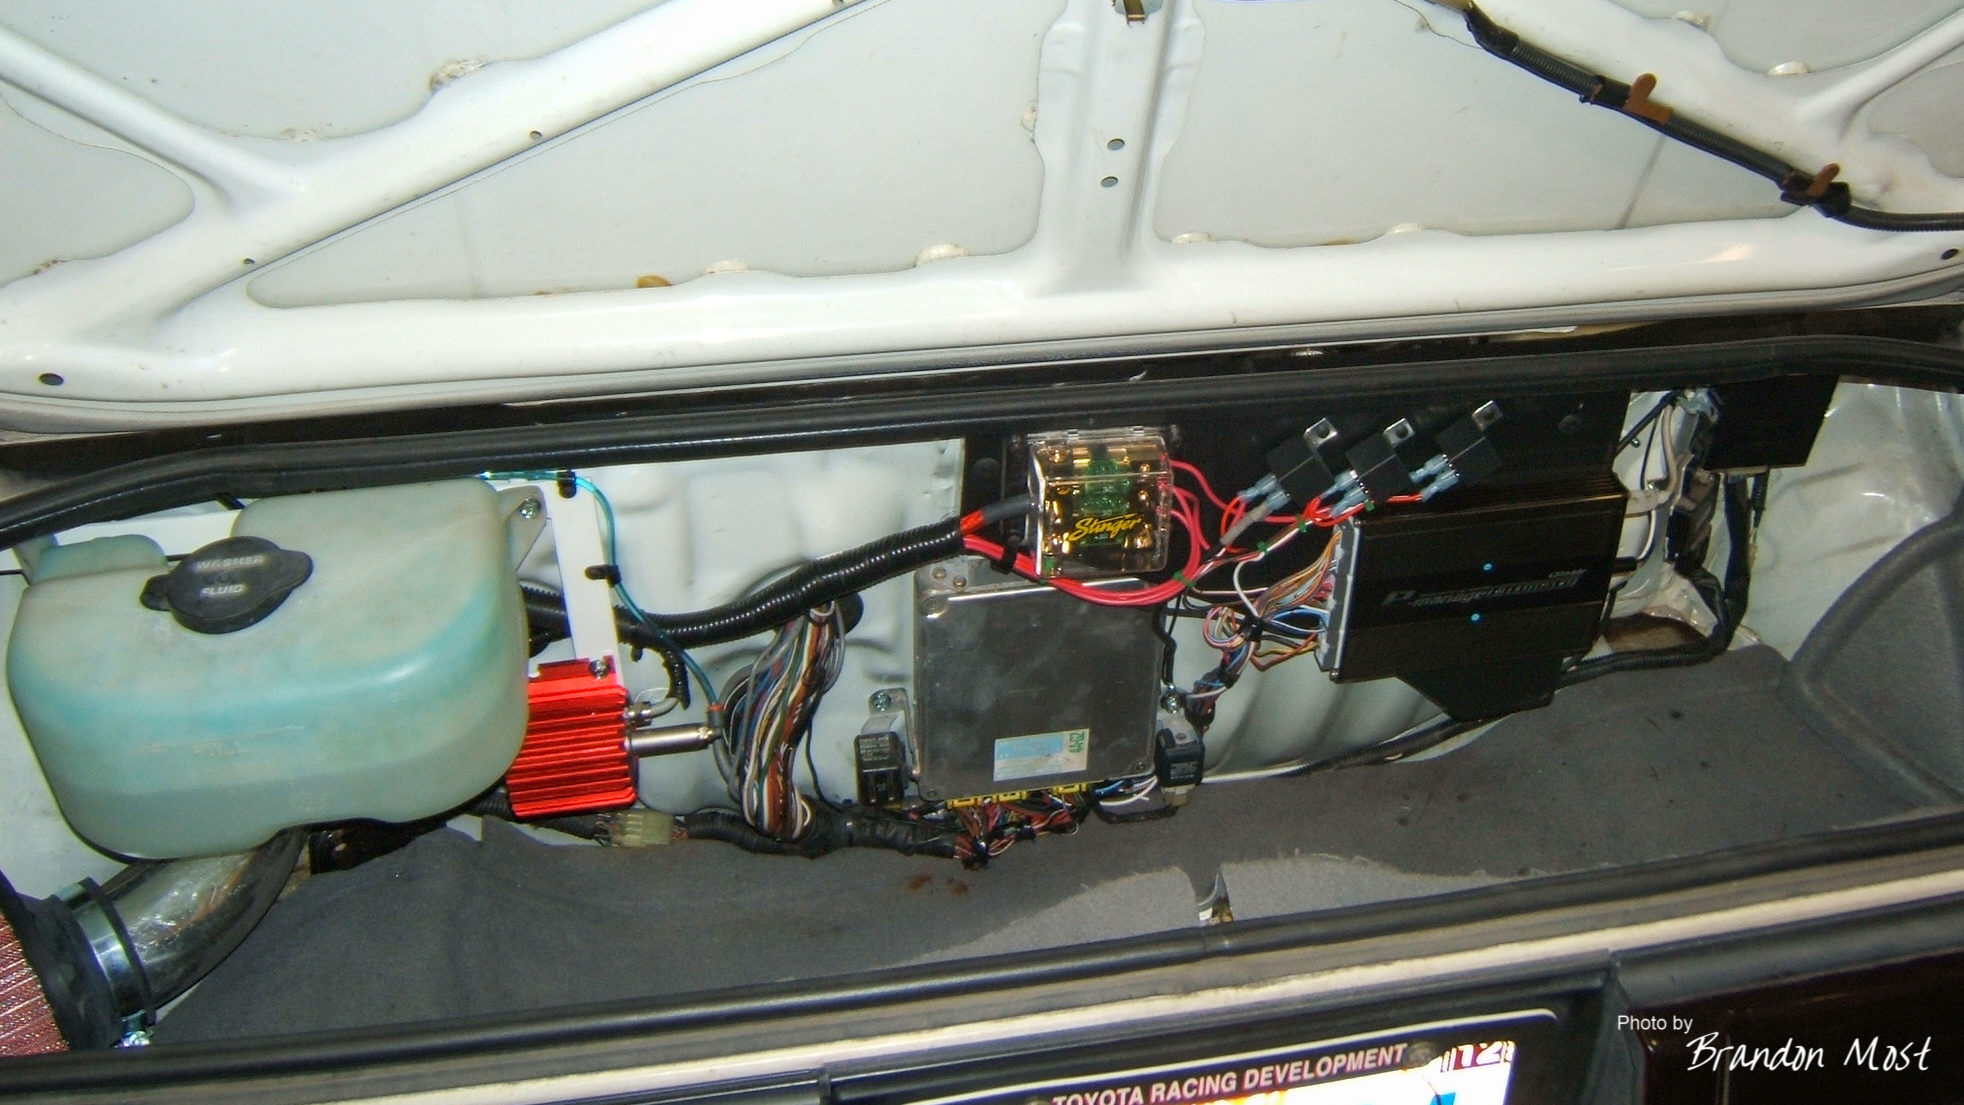
The finished trunk. GReddy Emanage Ultimate installed in place of the blue that was wired into the 4AGZE harness previously. The Stinger fuse block and relays are there to control the water injection and cooling fan when commanded by the emanage.
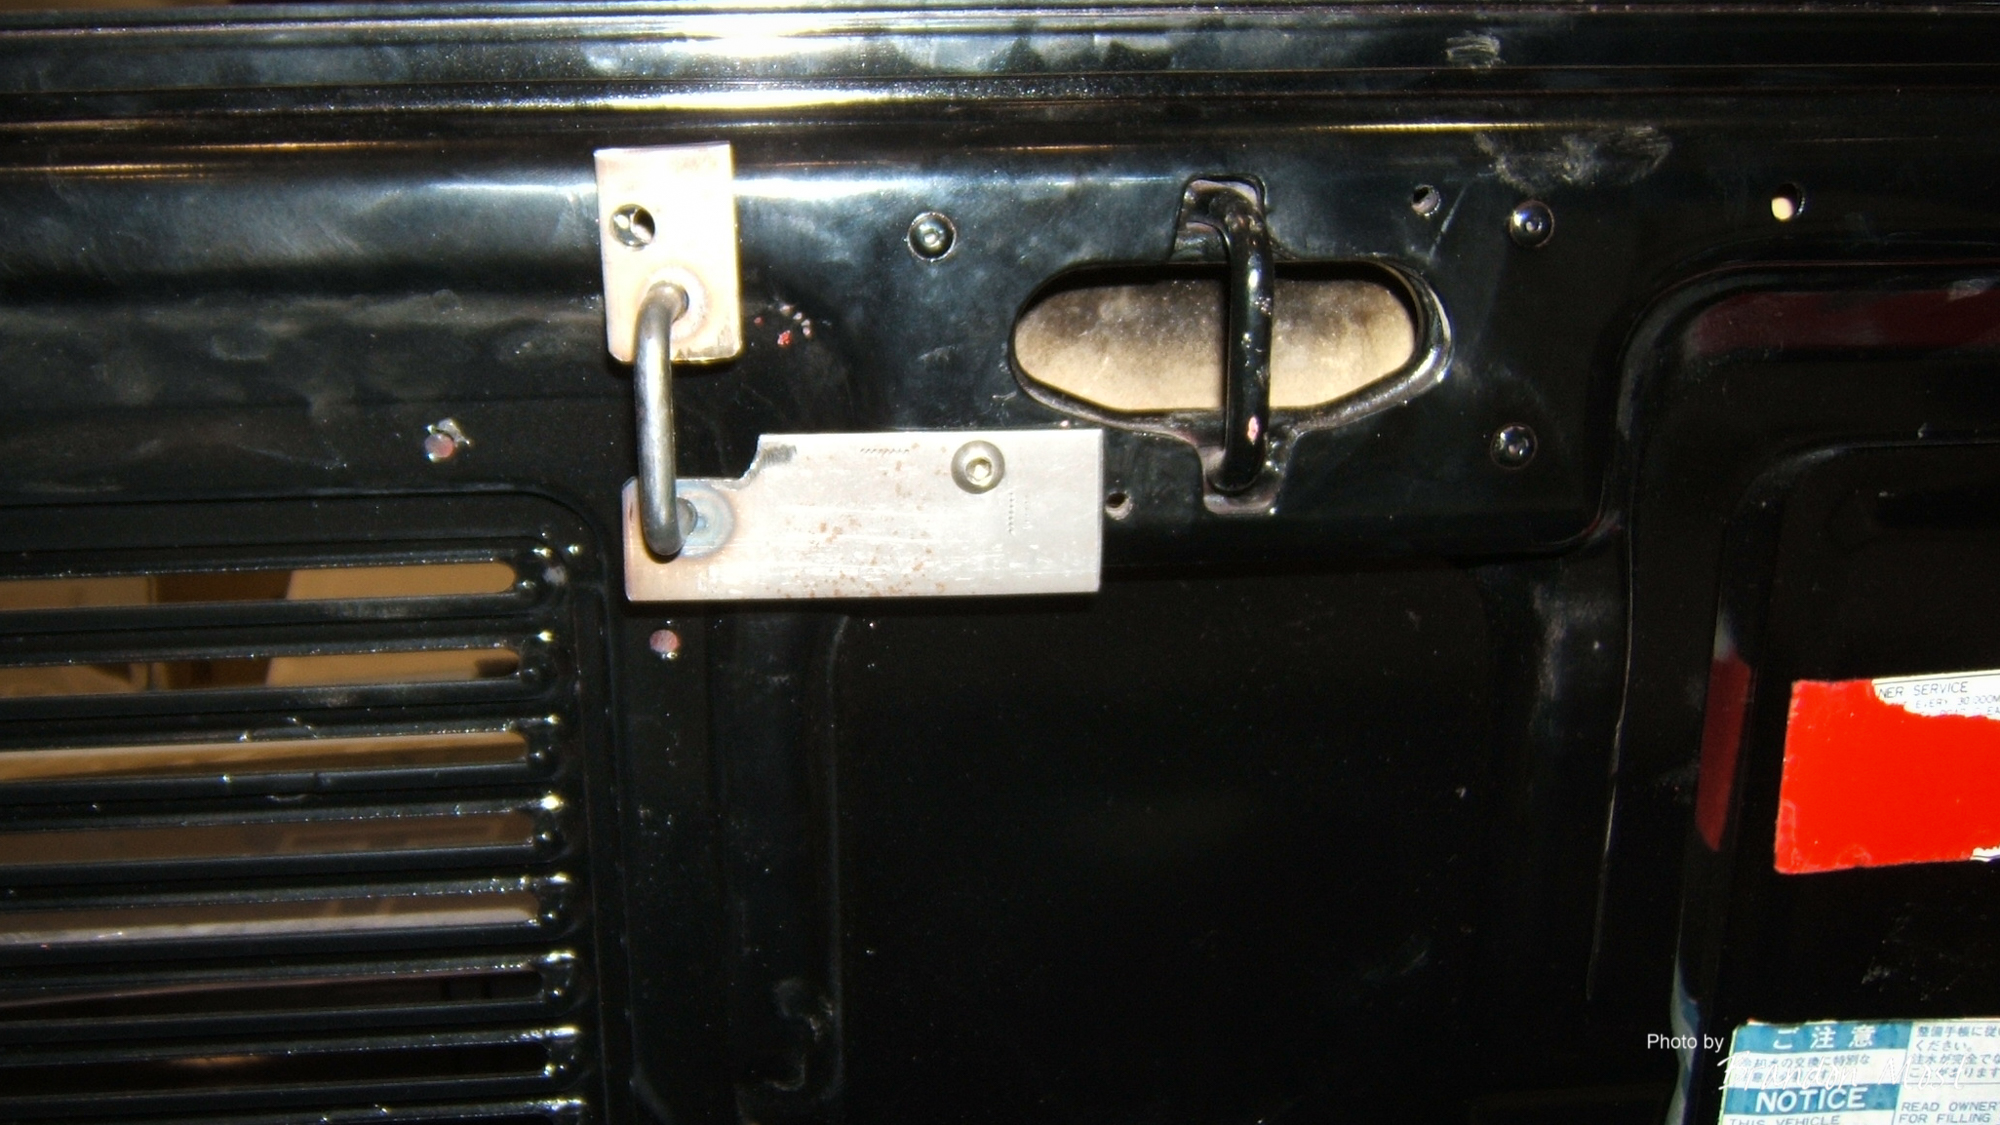

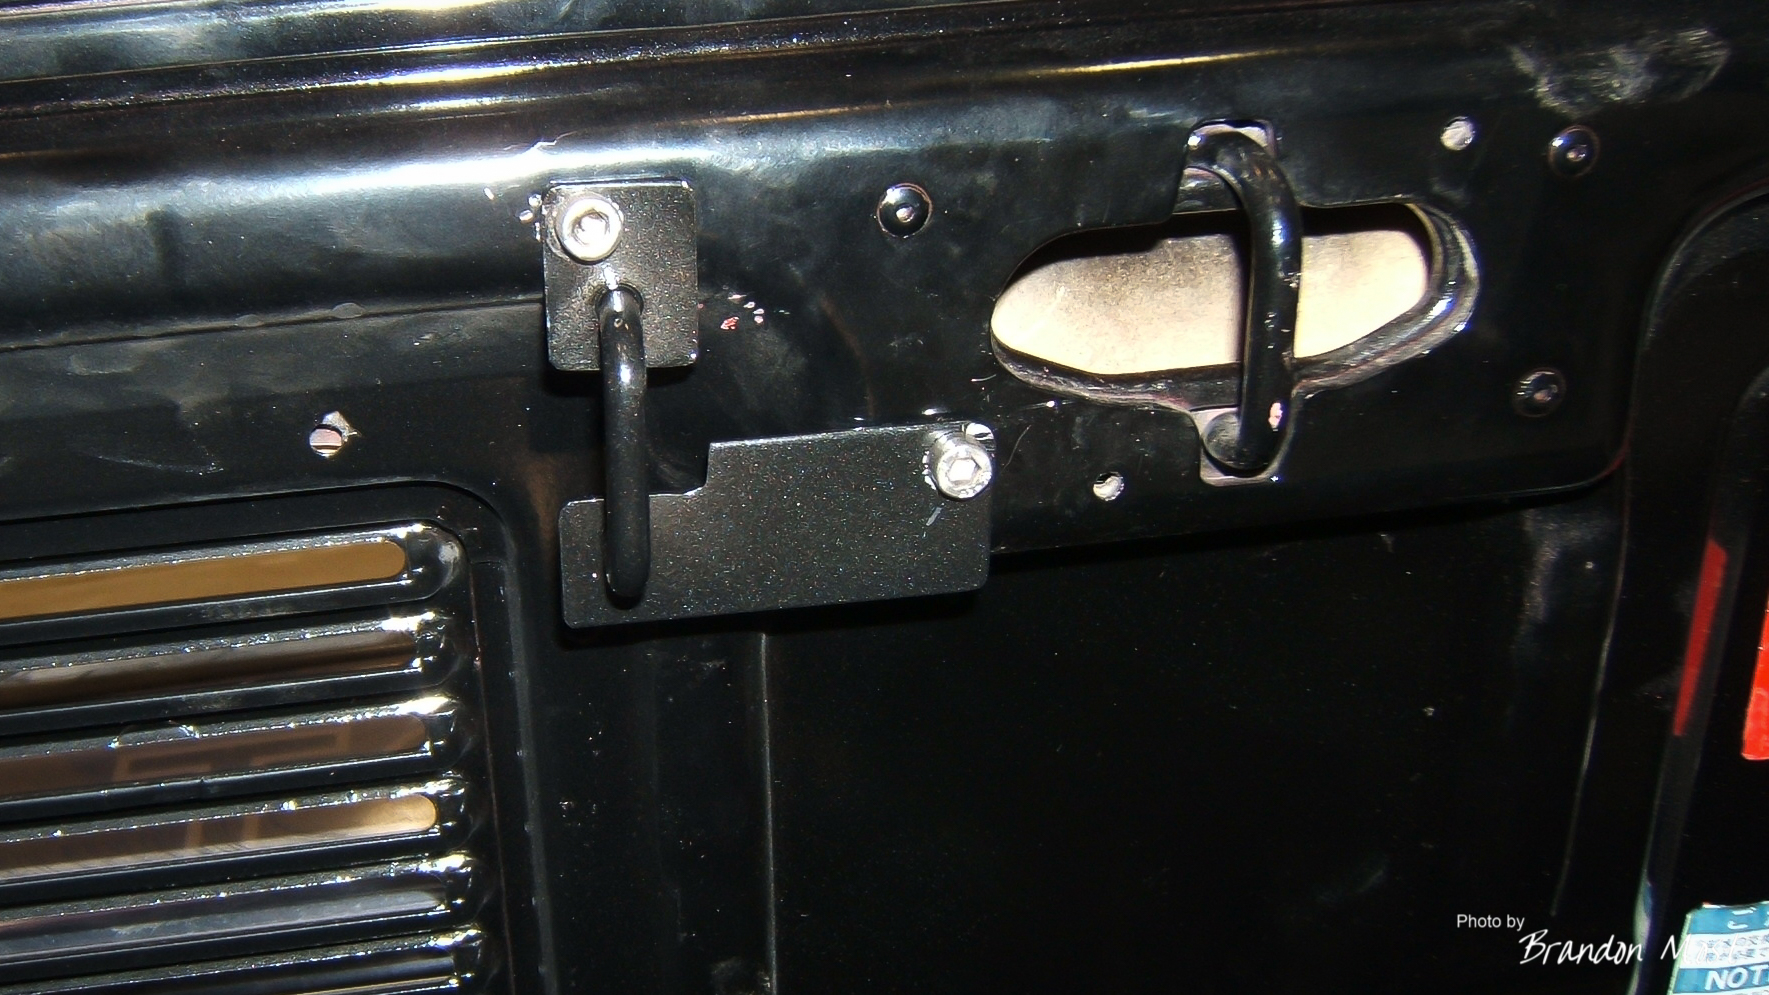
You me remember that I mentioned needing to make the engine lid latch down. The Supercharged engine lid latch was moved from the NA car to make room for the intercooler. I didn’t want to go through the effort of moving the latch assembly on the chassis side so I made a new catch for the lid. One bolt down point was easy enough to reach from the inside with a nut, but the other was far enough away that I welded a nut into a plate so the plate would hold the nut as well as act like a giant washer backing against the fiberglass lid.

Final task for today, a quick bath to get rid of some of that dust! Feels good to at least start looking complete again.
Wednesday October 25th 2006:

Whitey made it outside! It’s not quite done, but moving in and out on its own is a hell of a start.
Thursday October 26th 2006:

Here we go the reason this car isn’t out driving around yet. NA shift cables just don’t work right on the E153 trans. Original Supercharger cables would be the easy solution. I didn’t have cables in great shape, and I didn’t want to spend the money to order them, so lets see what we can do with the NA cables.

For the front to back cable, the first step was to adapt from the factory stud to a threaded one that could hold a heim joint. I used two M8 nuts one ground down to fit inside the notch on the shifter, and one regular on the stepped stud.

You can see how they stack up to hold the heim joint. I cut the existing end off of the cable and threaded it with a die in order to thread into the heim joint.

The other cable needs to also be shorter and for that I used a turnbuckle to shorten it. I went with this method to allow a bit of adjustment. If I had simply cut and welded it and gotten it wrong I would have been screwed. This way I can adjust them to fine tune them until I’m happy with the feel.
If you try this method, make sure you move the cables back into the sheath as far as necessary to engage all the gears. Then mark them to make sure you don’t stop your cable short. You can see my black sharpie mark on the side to side cable above.
Now I can actually put some miles on this thing and get it ready for its dyno date.
Saturday November 4th 2006:
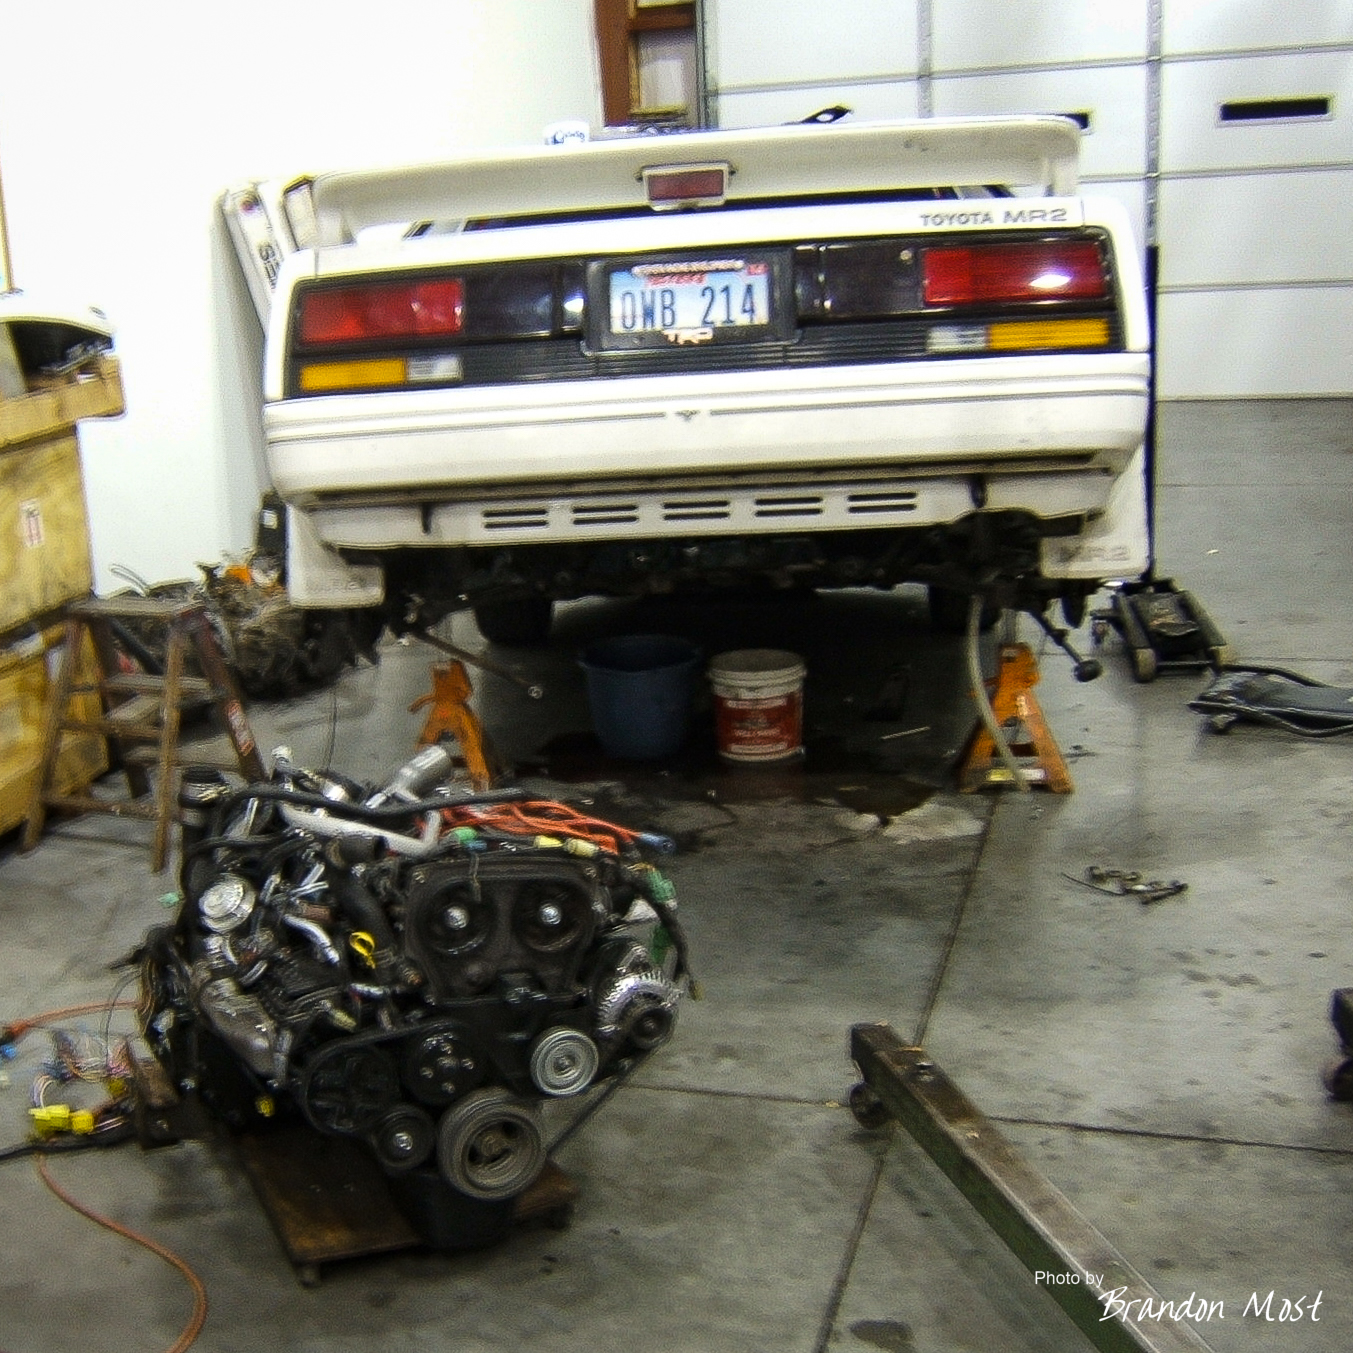

Nope these photos aren’t out of order, the engine just came back out, and another used motor was pulled out of the pile to get cleaned up and installed. I really wish I had finished that built motor for this already!
Sunday November 5th 2006:

That wet glittering gold would be a welcome sight if I were panning for gold. However in an oil pan that is all sorts of bad. Apparently the 200k mile used NA motor wasn’t ready for some boost.
Tuesday November 7th 2006:


The only change is a new throttle body adapter plate. The other one ended up just being too thin. I went with a thicker aluminum this time that would hold more threads and not need to be welded.
Thursday November 16th 2006:

Waiting on the dyno appointment, I had some free time and knocked out some new end links for the front end. I still need to re-do the custom ones used to make the 85 sway bar on the rear work.
Friday November 17th 2006:

Finally had our day on the dyno and everything worked out great! Judging from past experience on this dyno and comparing the stock IS300 numbers vs Toyota’s advertised ratings for the 2JZGE I should be around 20% over stock GZE numbers. This was tuned using a “below zero” washer solvent in the water injection which is supposed to have a percentage of methanol in the mix. I have no way to confirm or deny this so I guess I just have to keep using it. While the car isn’t the fastest thing I have ever driven, the unique feeling of the mid engine car with the instant supercharged torque is a blast to drive. To me that’s all that really matters.