
In the last post I ended it by mentioning that a lot of the puzzle pieces to start on the coilovers had arrived. Well those and plenty of more parts have shown up, and progress has obviously been made:
The Front:
The front was pretty straight forward and very similar to the way the Hachi coilovers were done. The biggest exception being that I didn’t shorten the tubes here.


First Step Is cutting off the factory spring perch. About as close as I could pull off on the band saw. 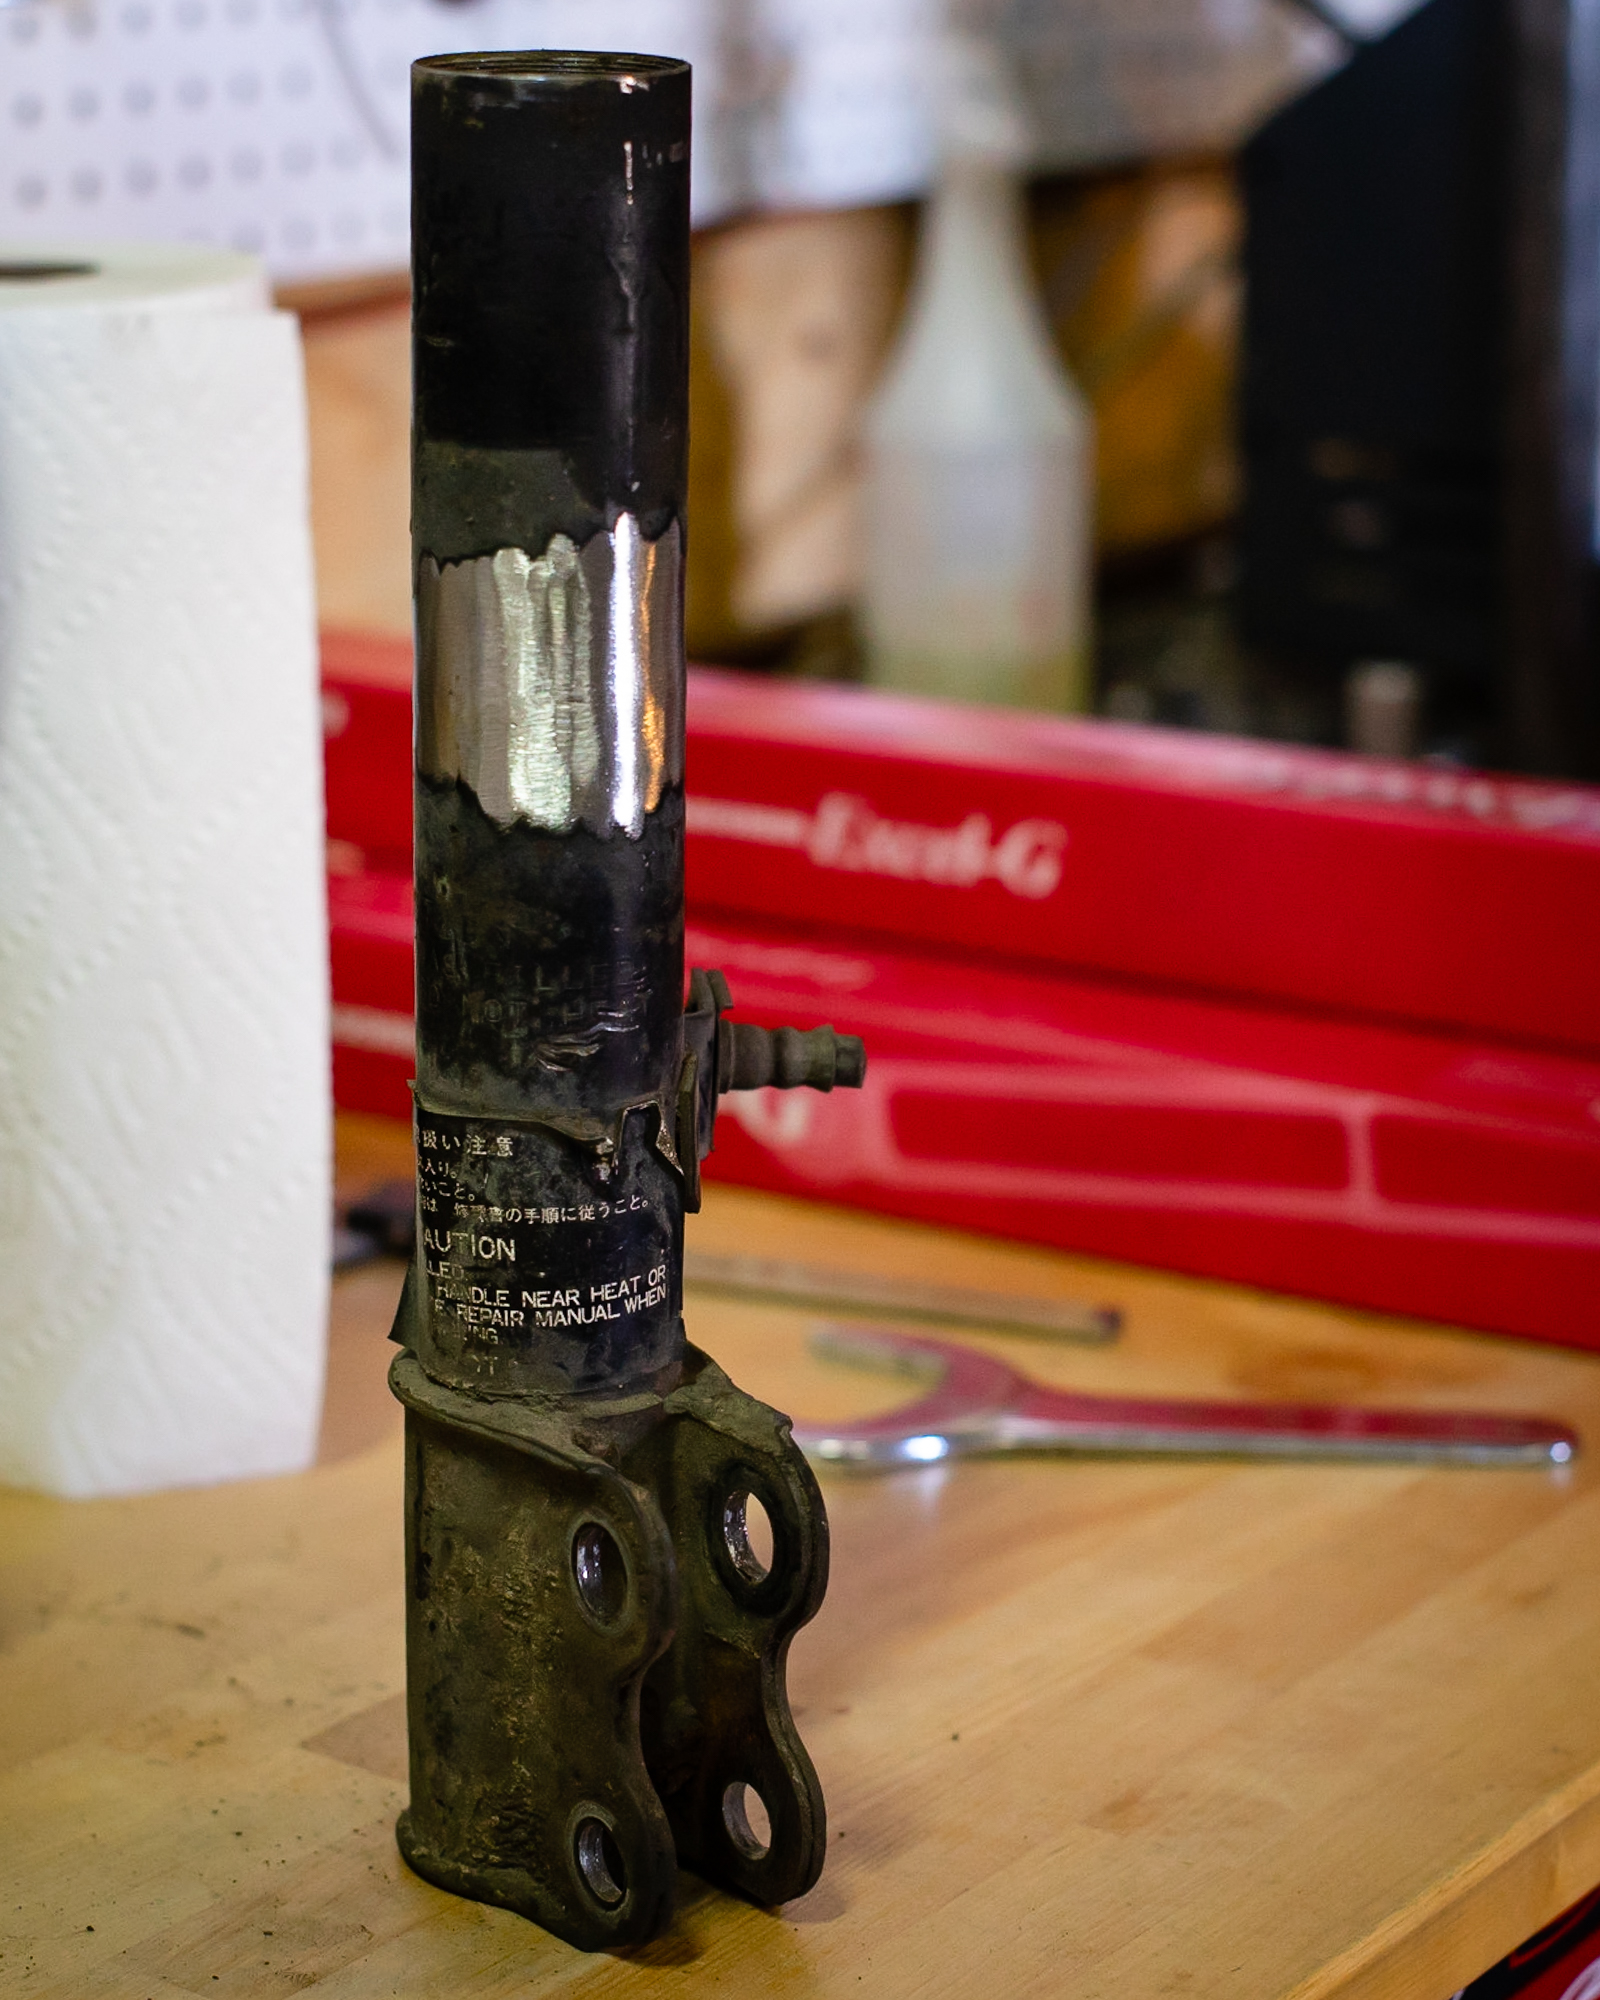
Next is a bit of smoothing. 
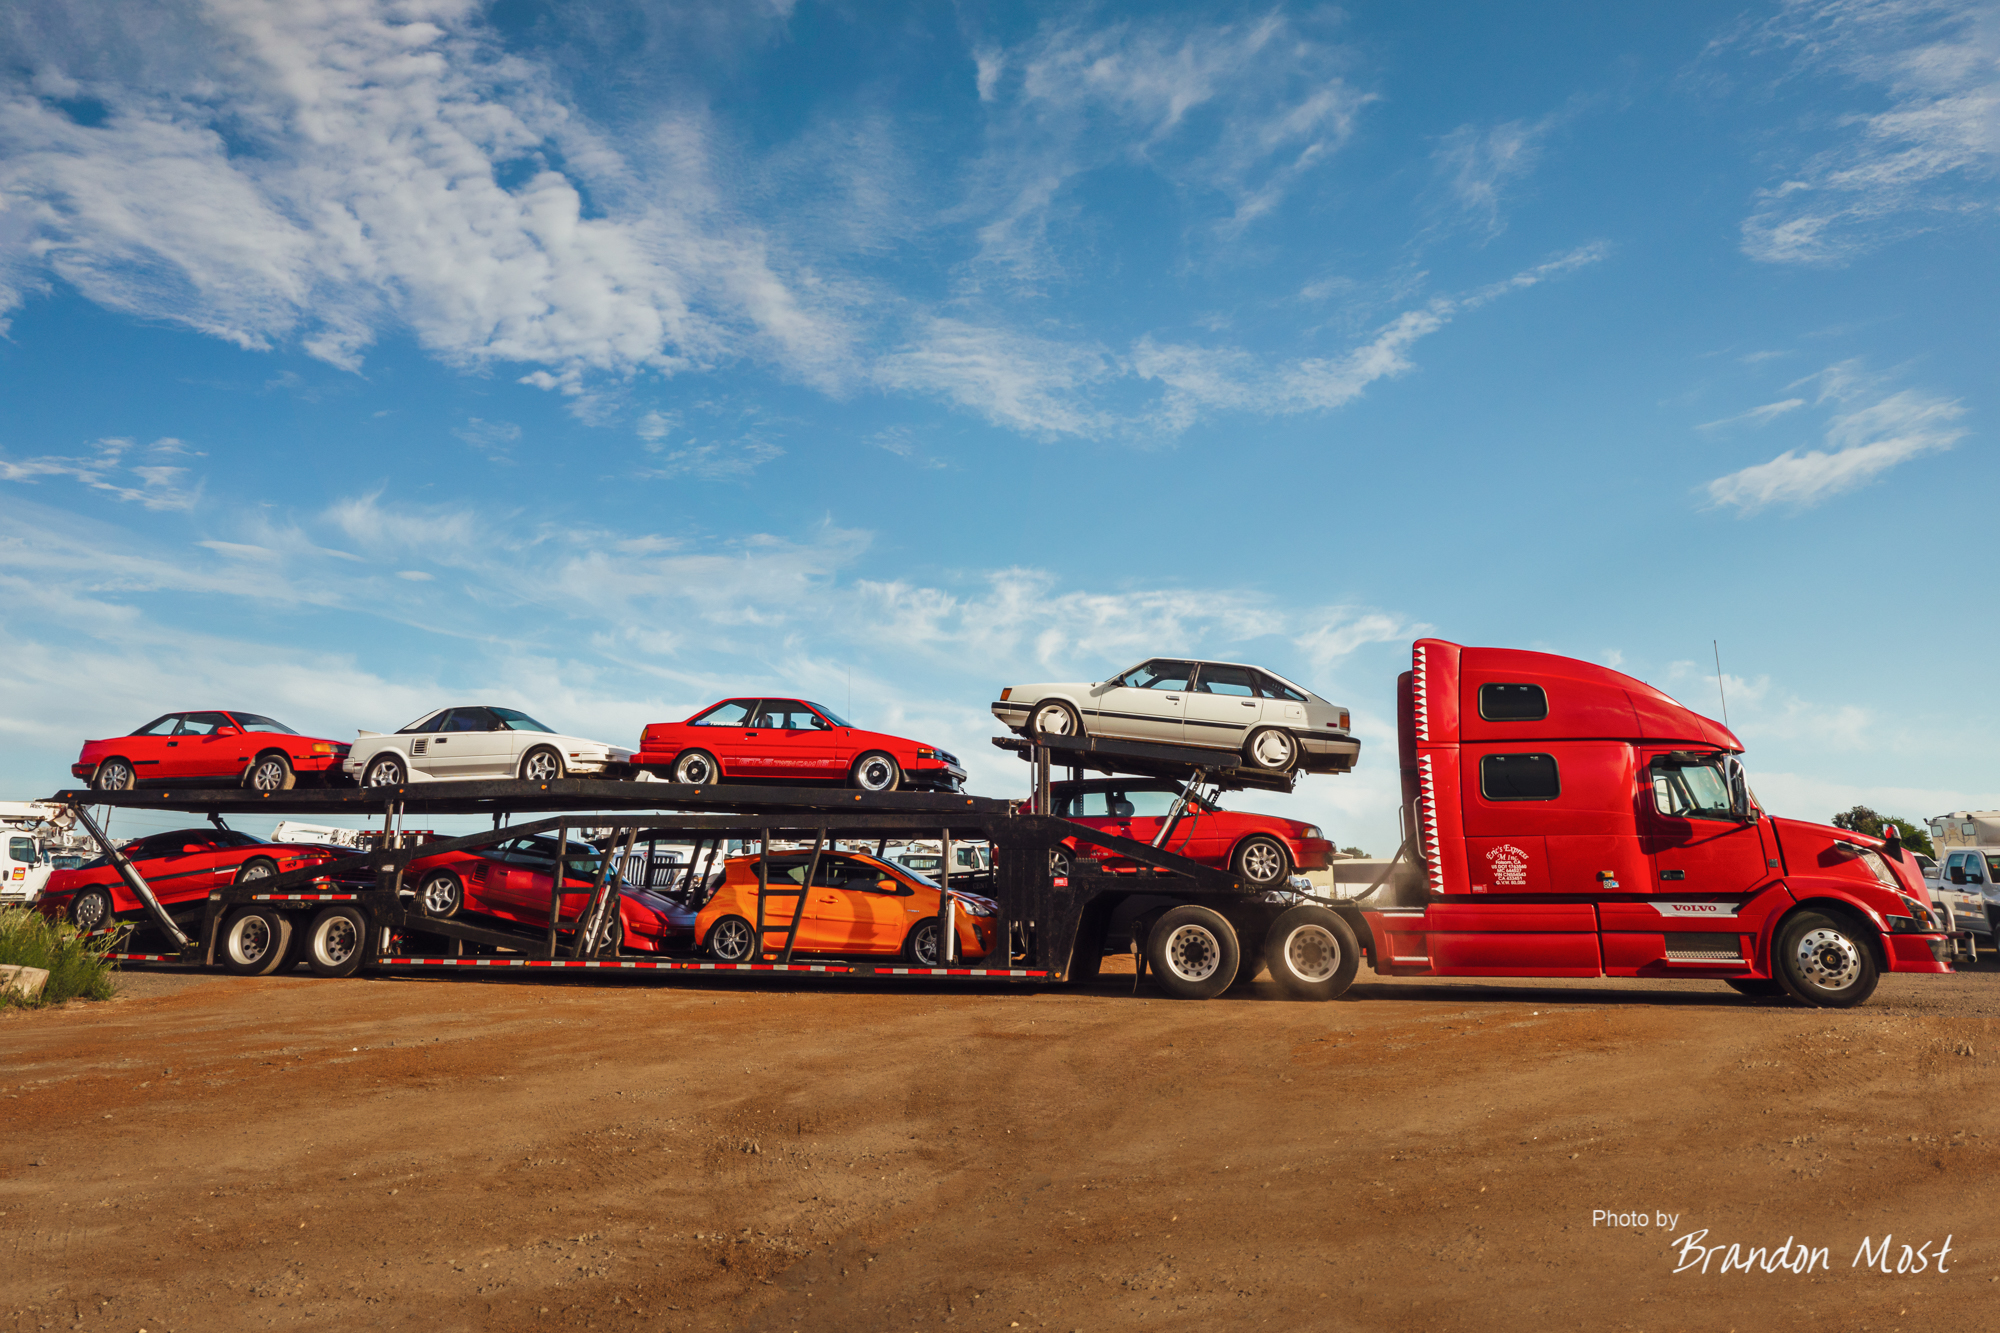
Obligatory OG “TEQ” snap to prove just how old school cool the V10 is. 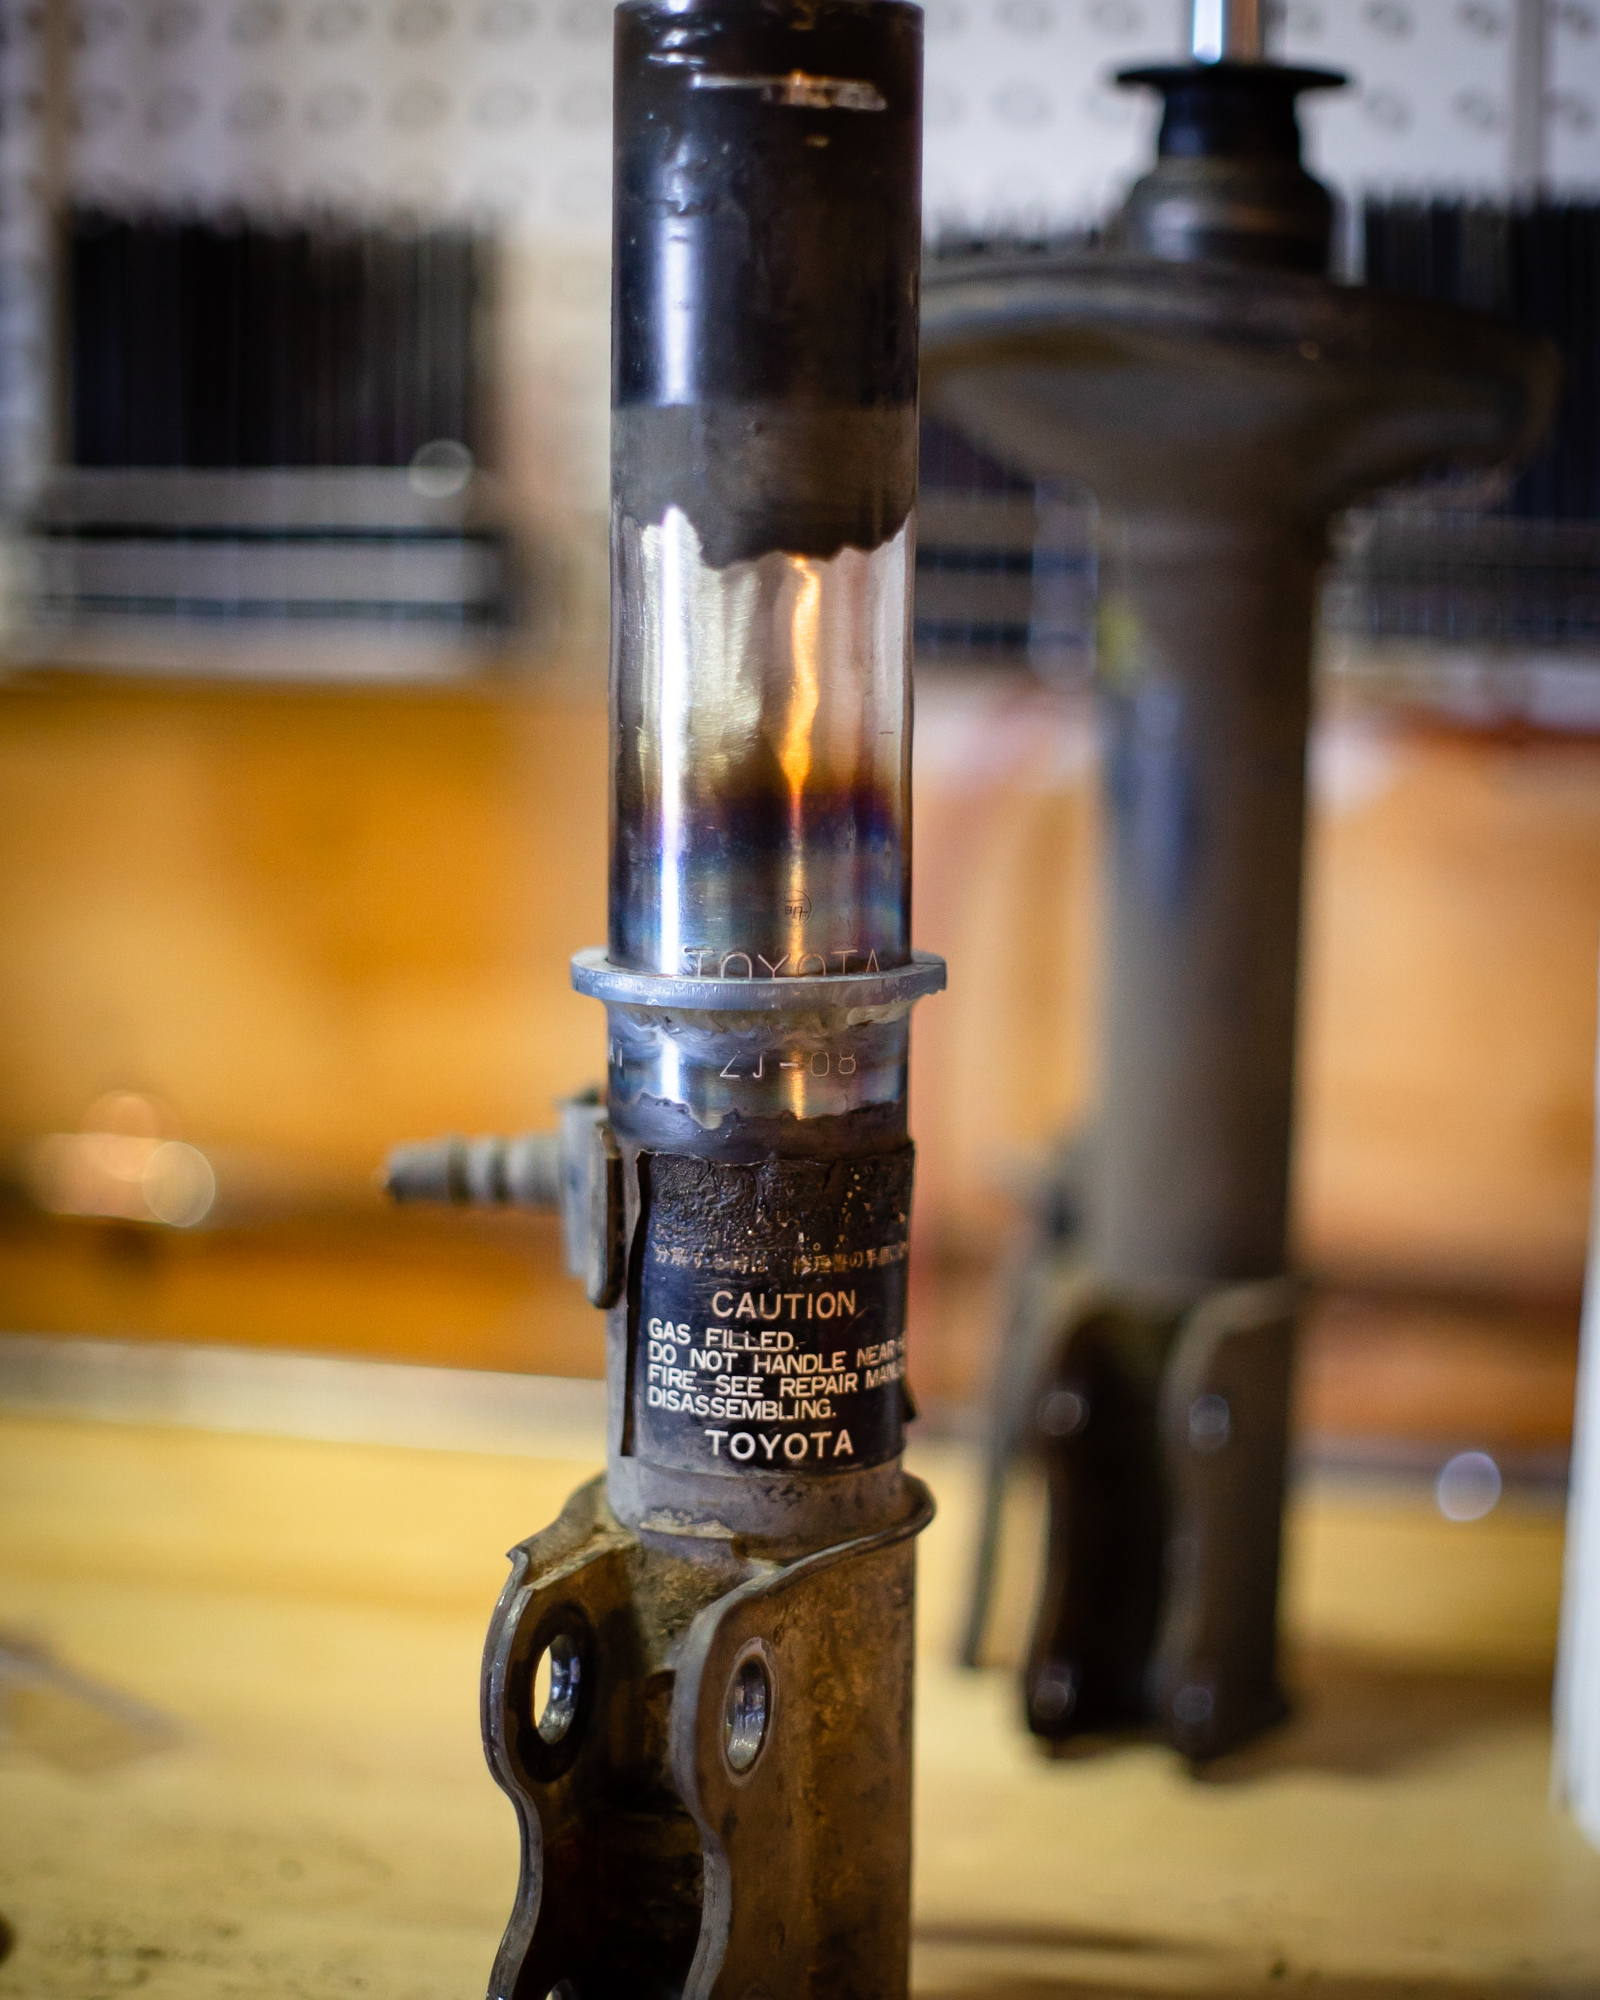
Weld the new perch on. 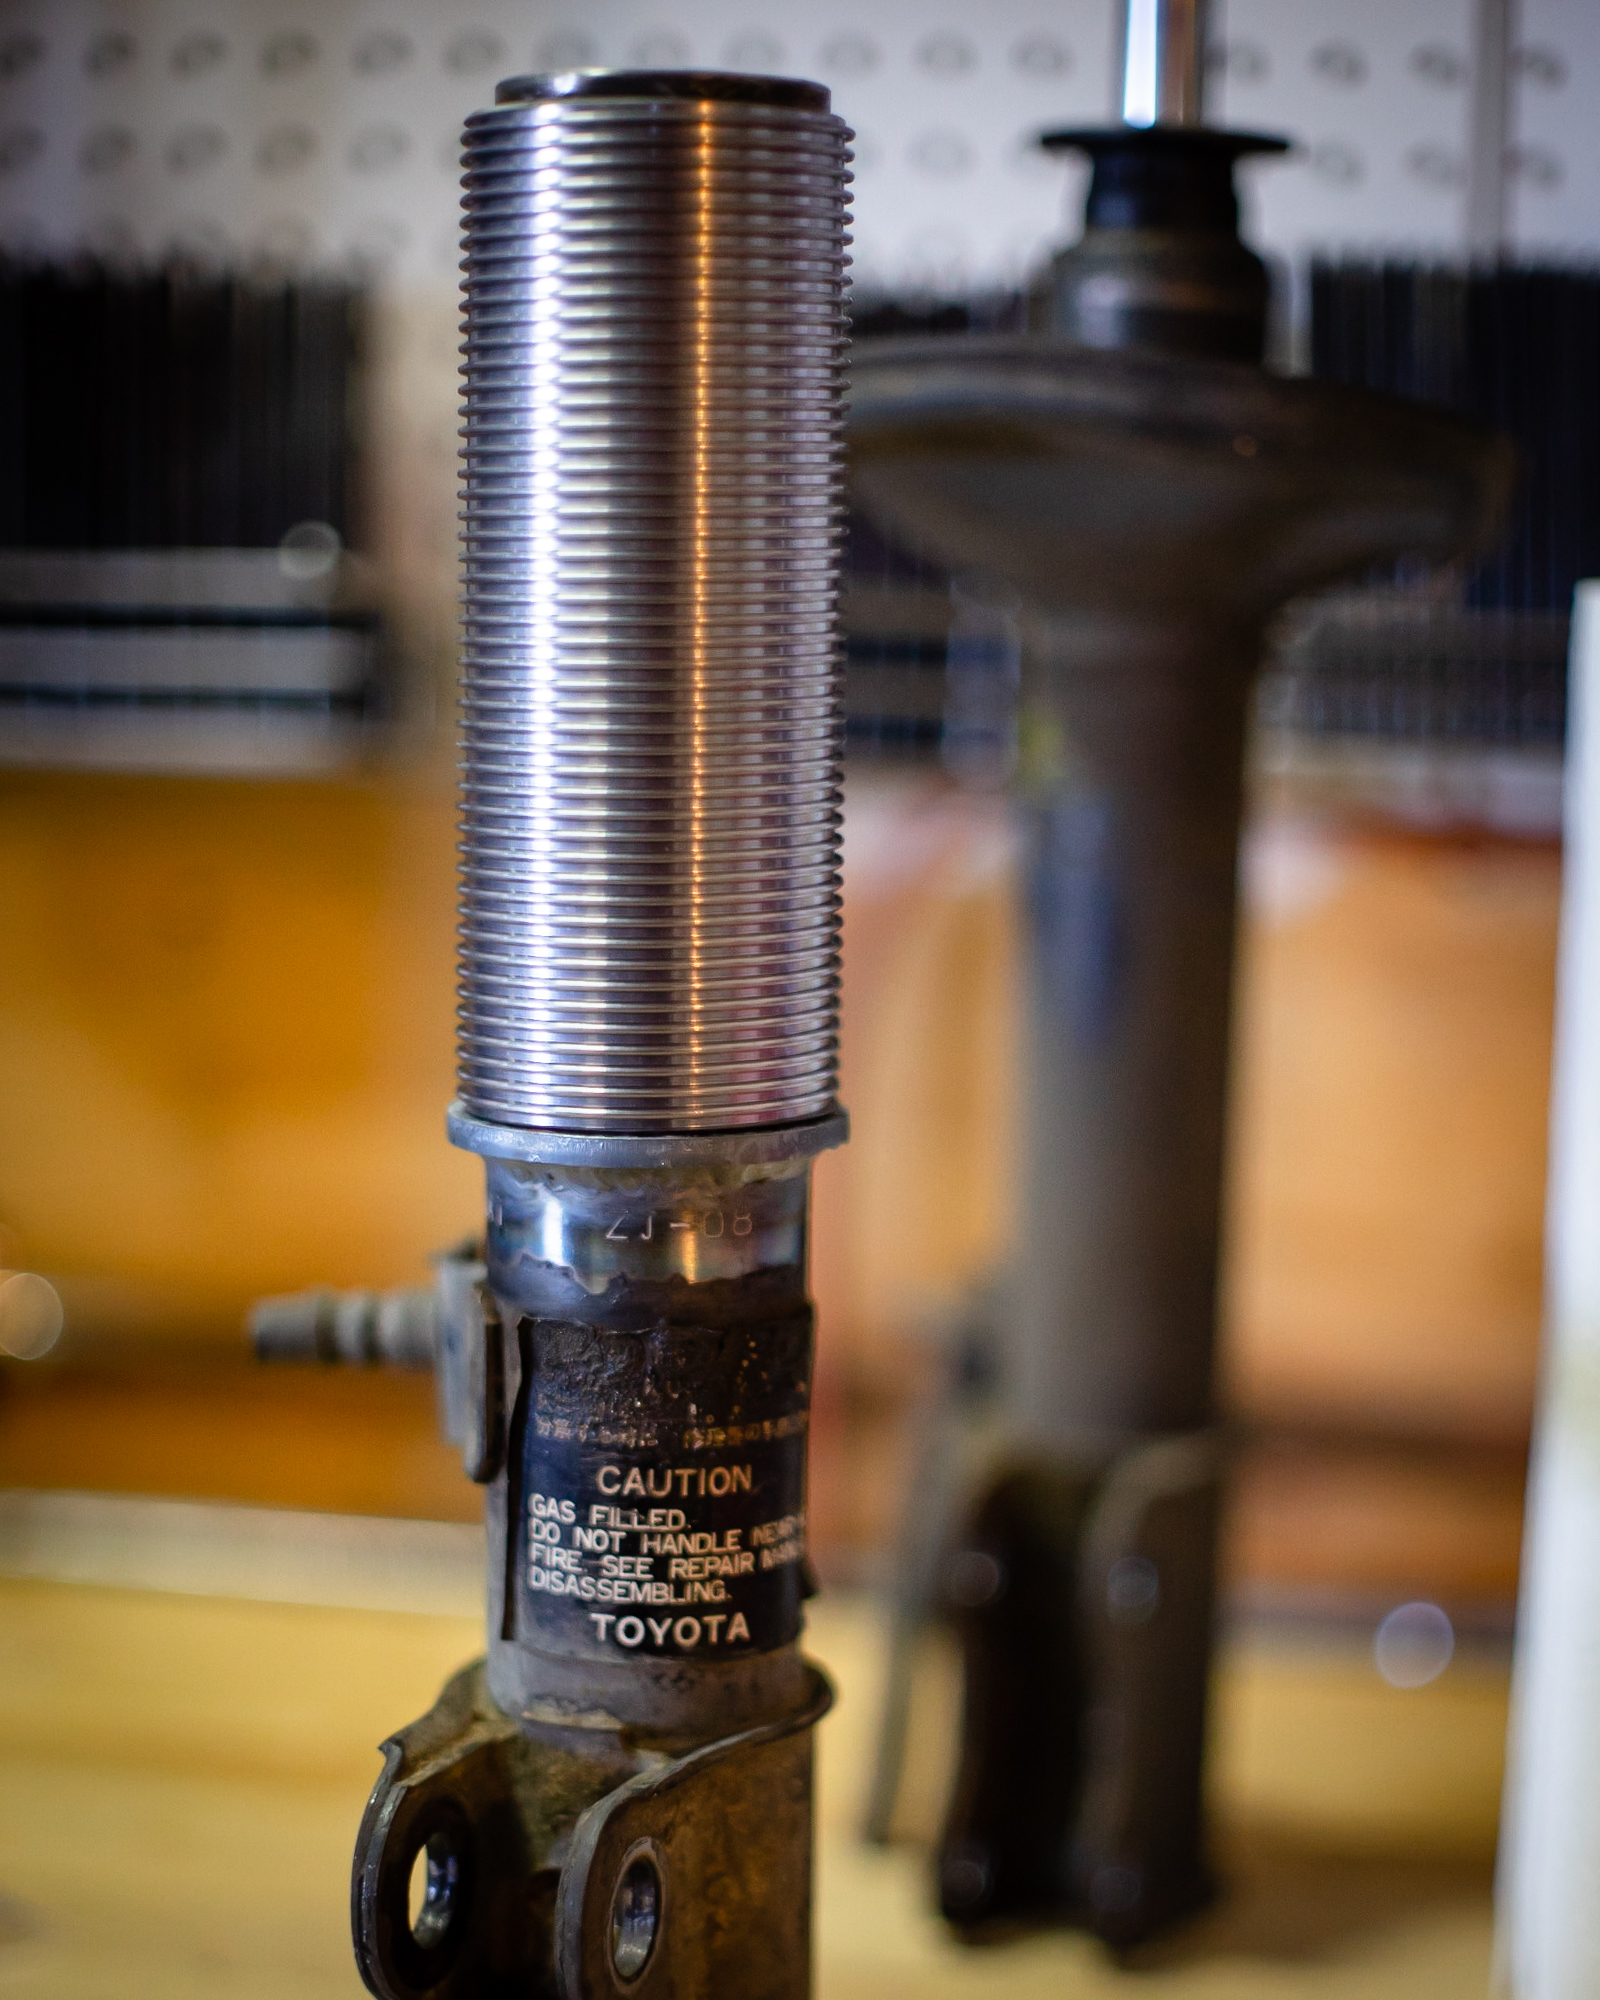
Test fitting the new sleeve. 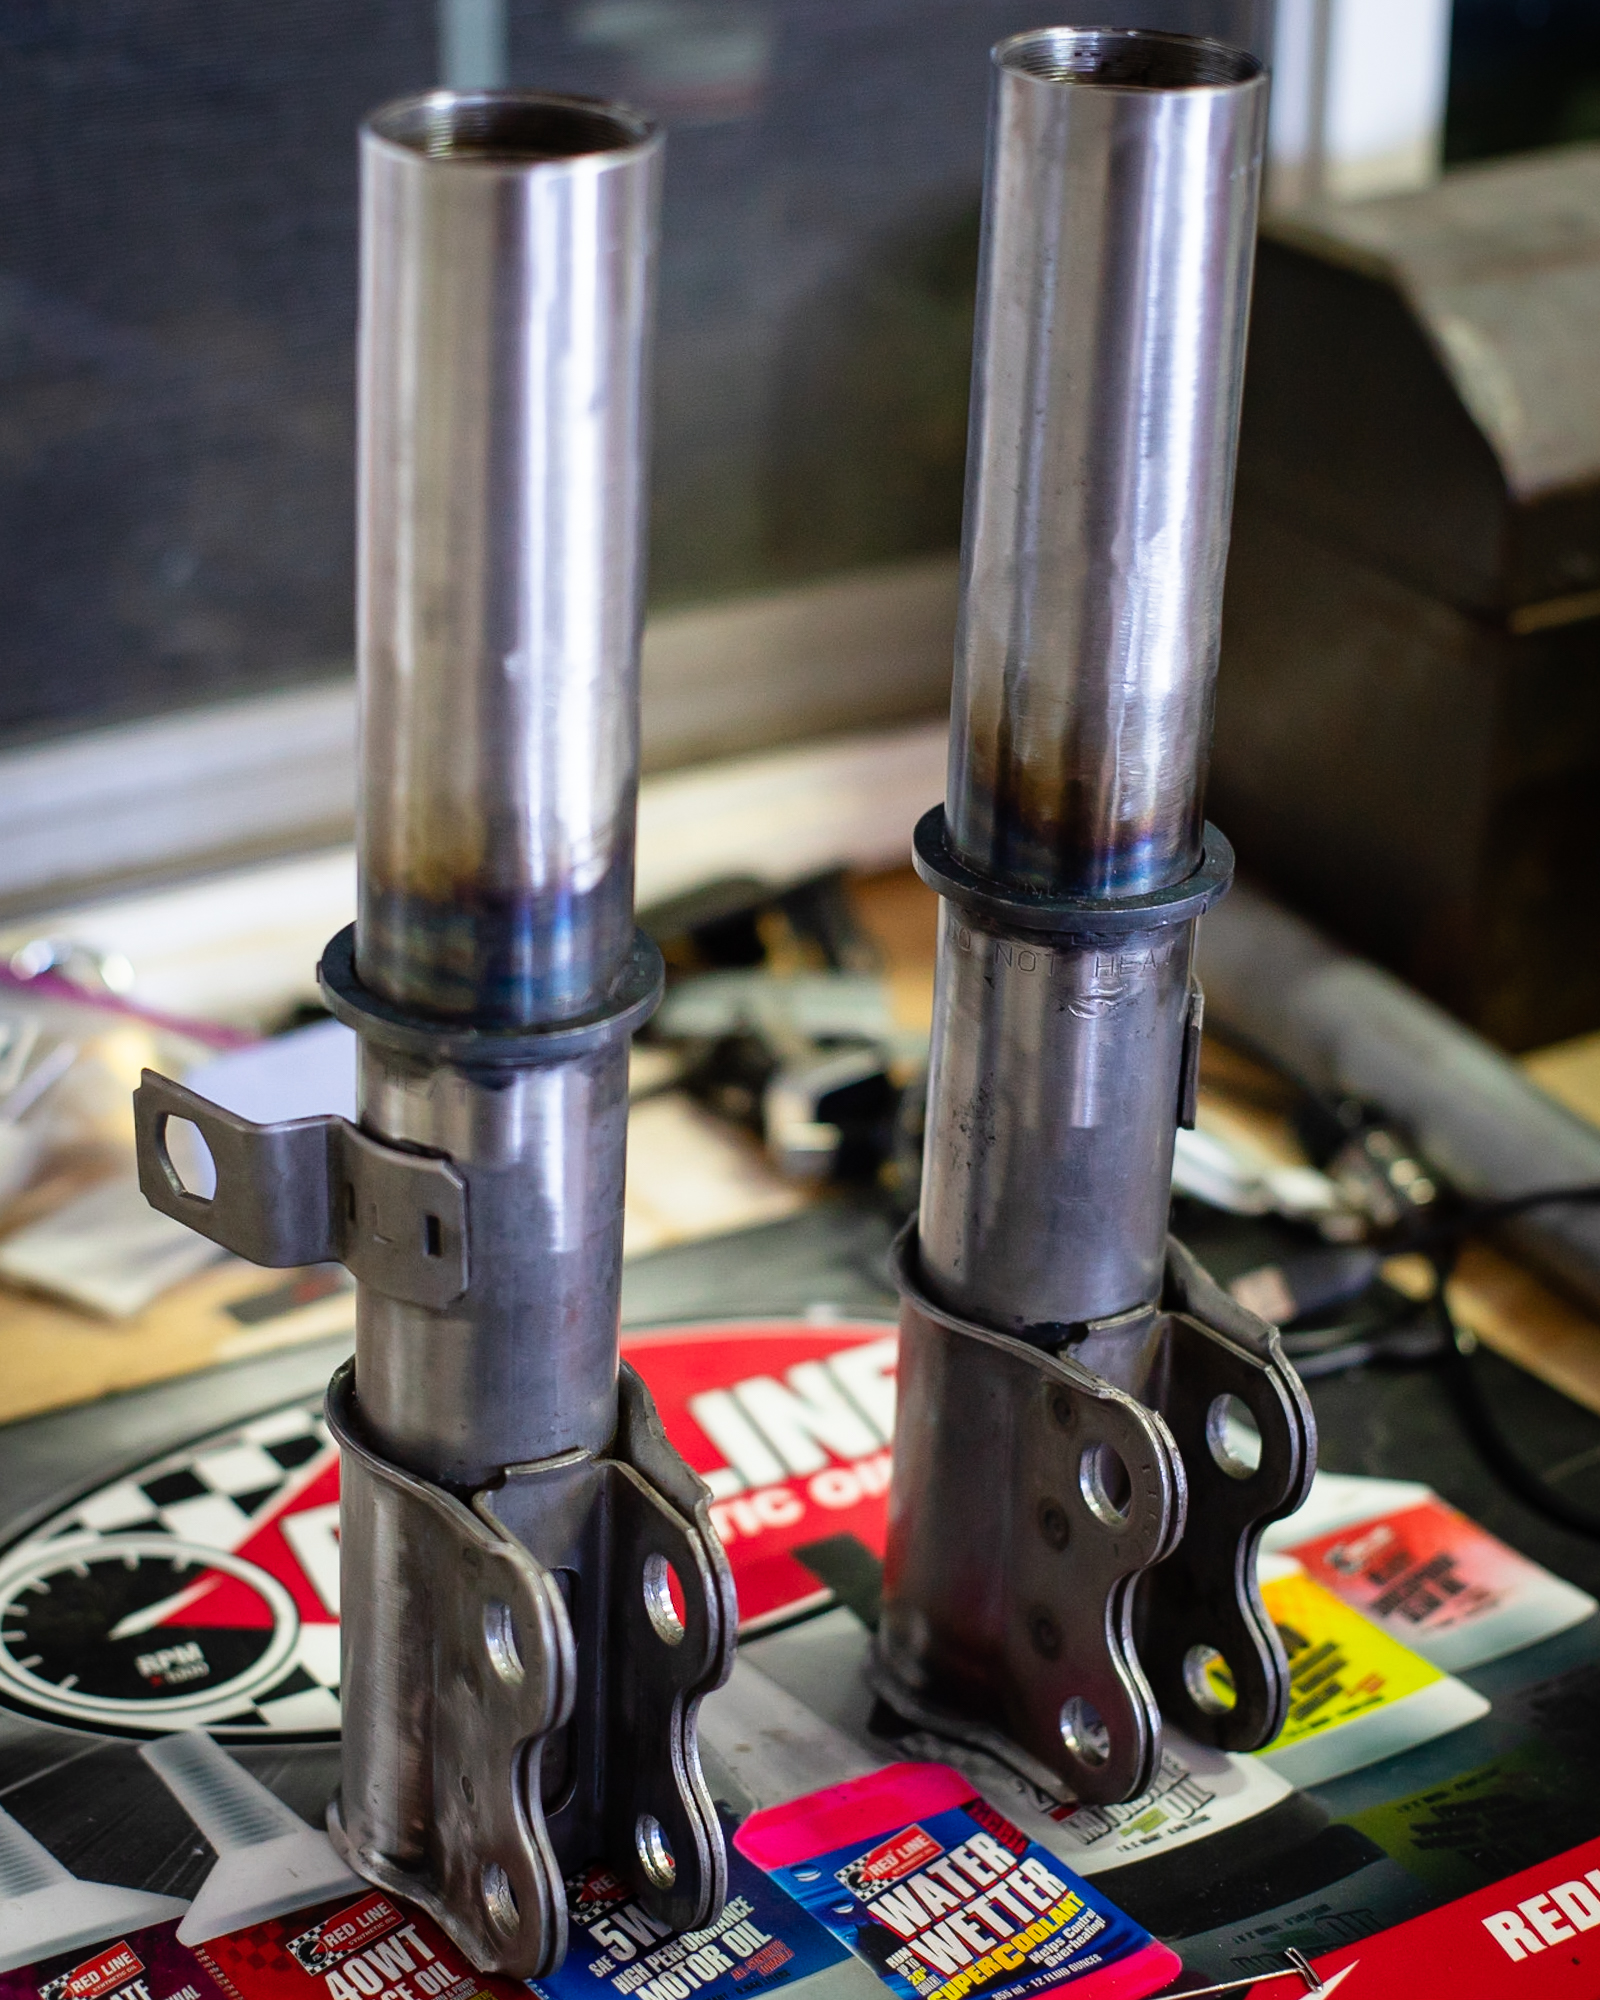
After the hand off to Jamie, she gave them a nice bath in some aircraft stripper, and then cleaned up any additional rust. 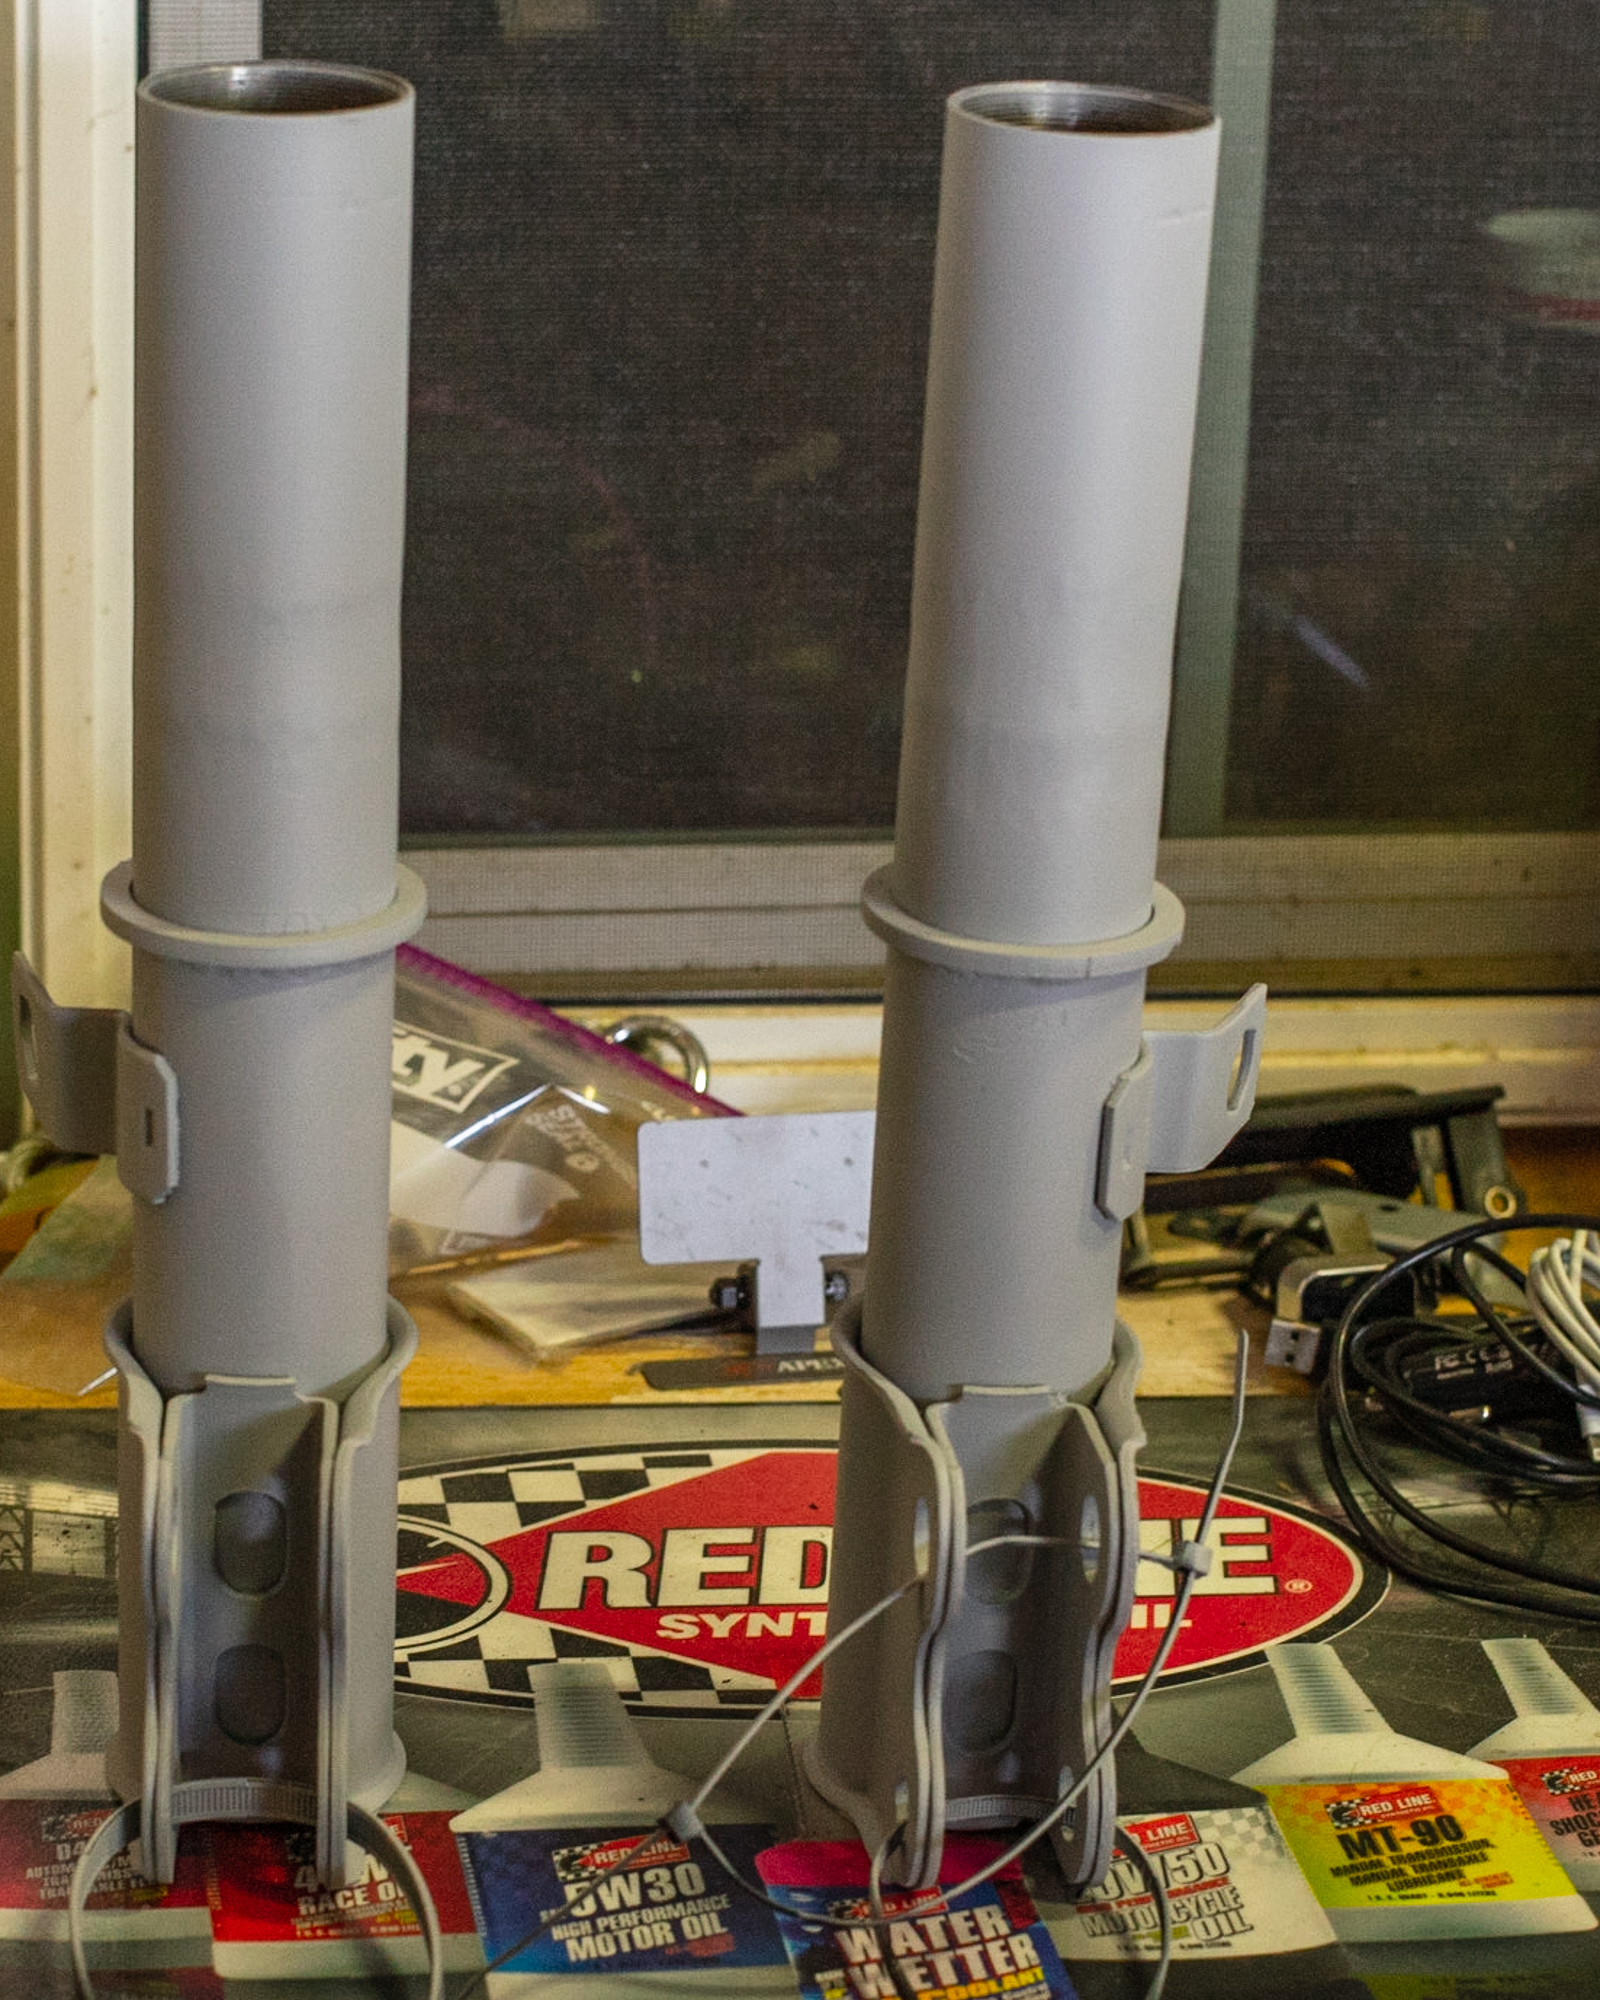
Prime time! 
And magically assembled. 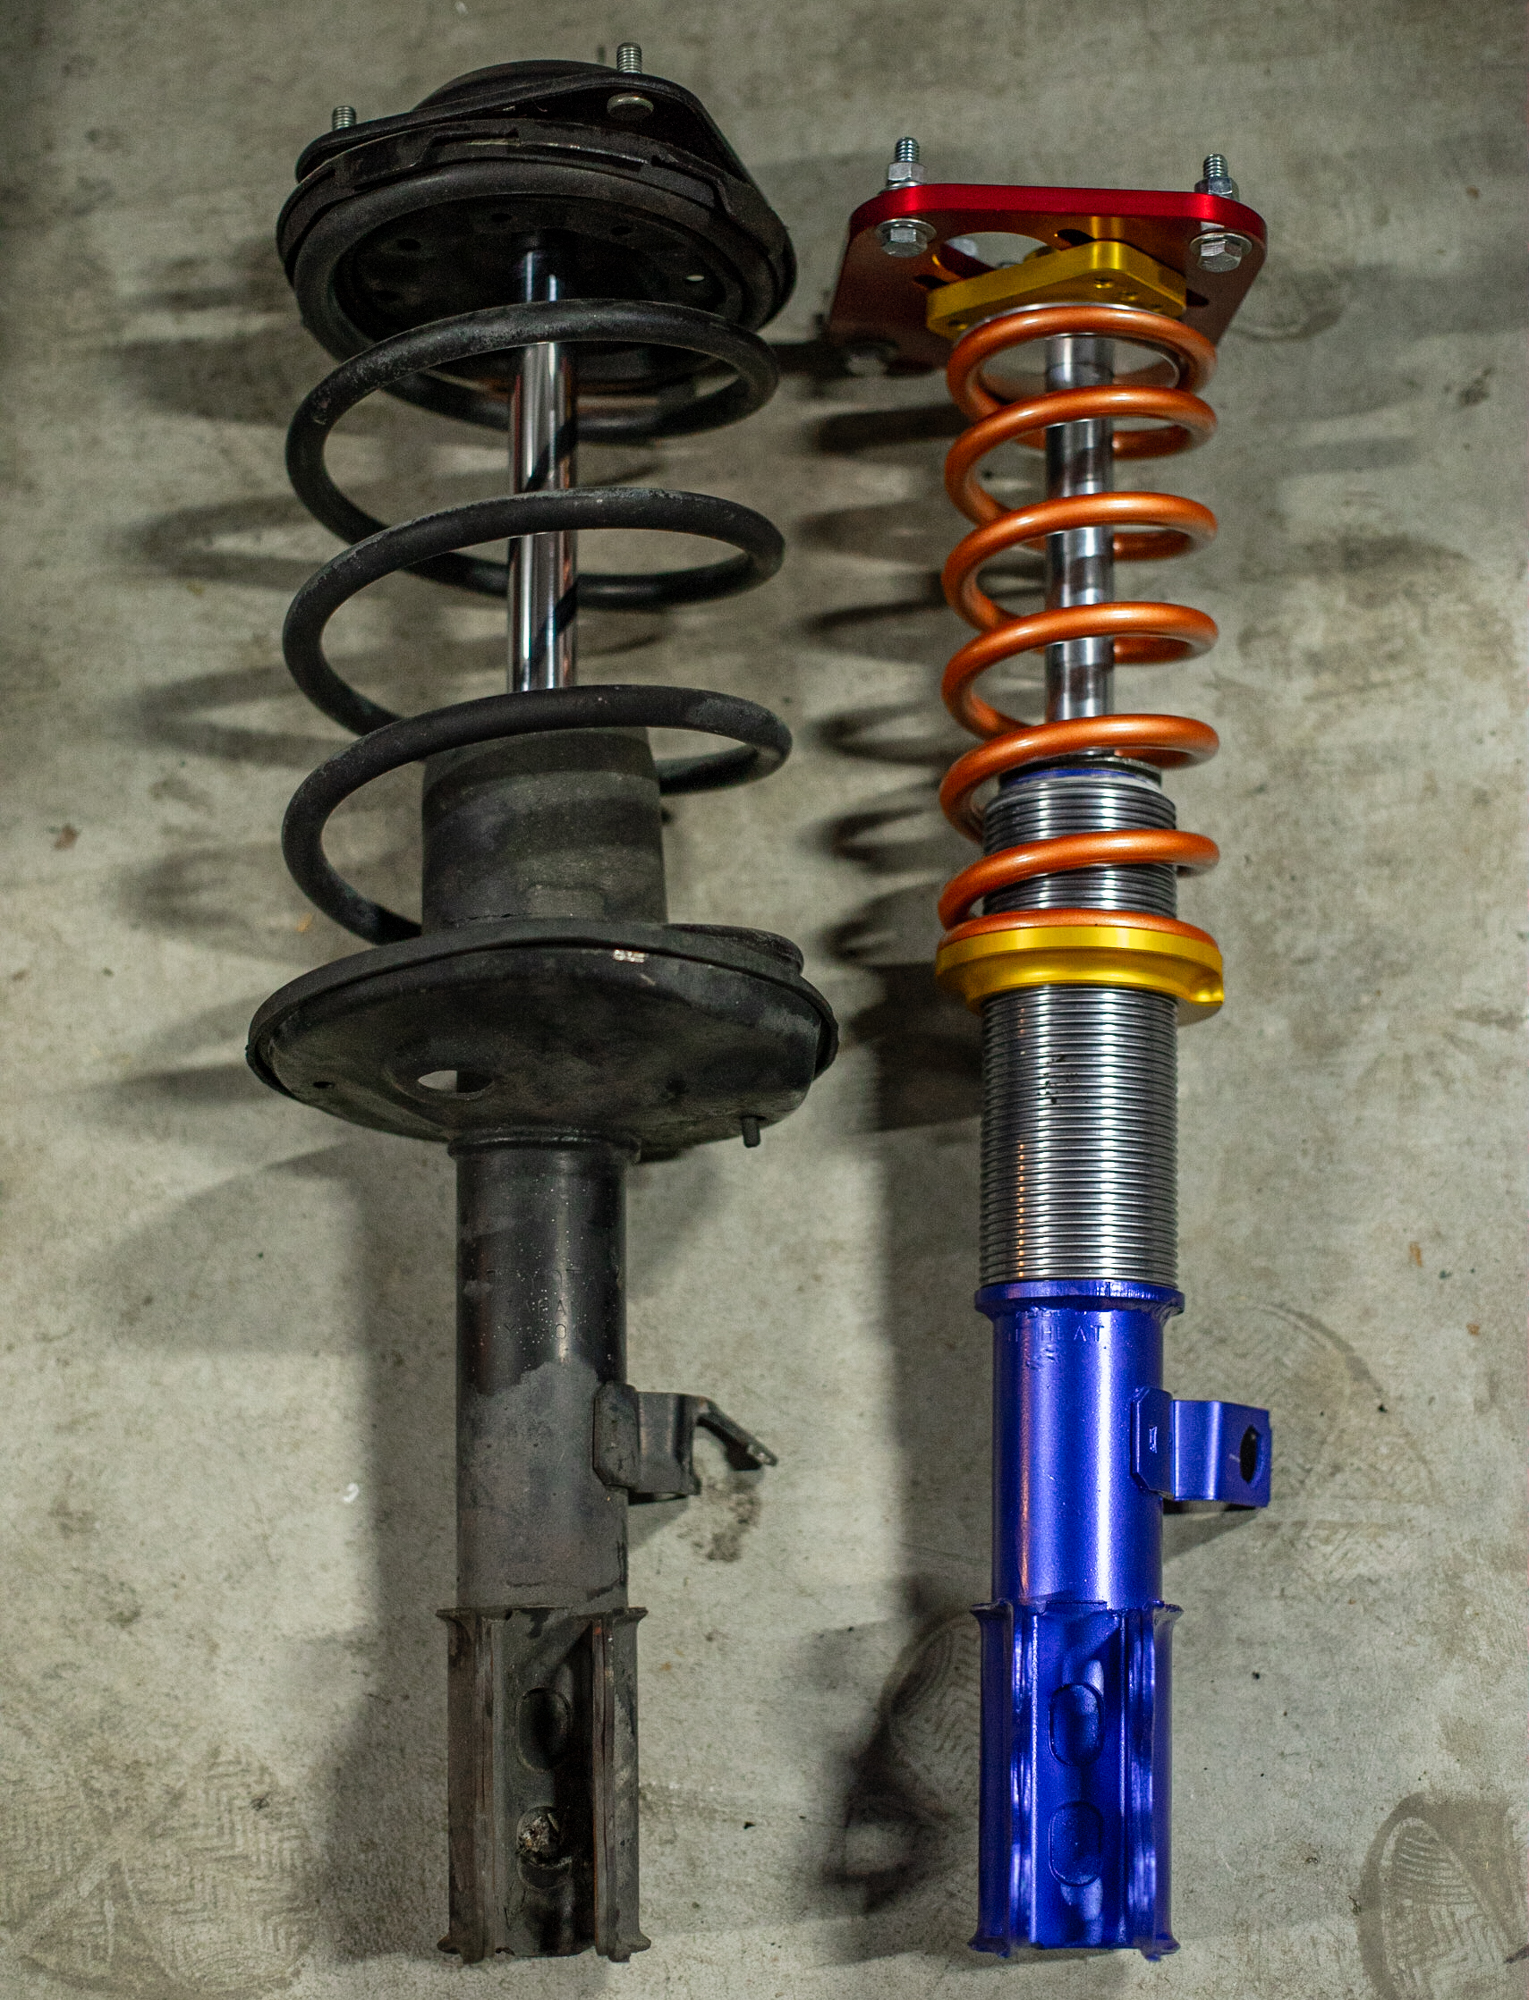
Comparison to the factory unit that came off the car.
The Rear:
The rear was a completely different adventure. I started with a spare set of rear struts and cut them to see what my options were. Since they were too narrow to except most of the off the shelf Toyota style strut inserts, I decided to start with blank tubes. I made this even more complex by deciding to try and add some camber adjustment as well.
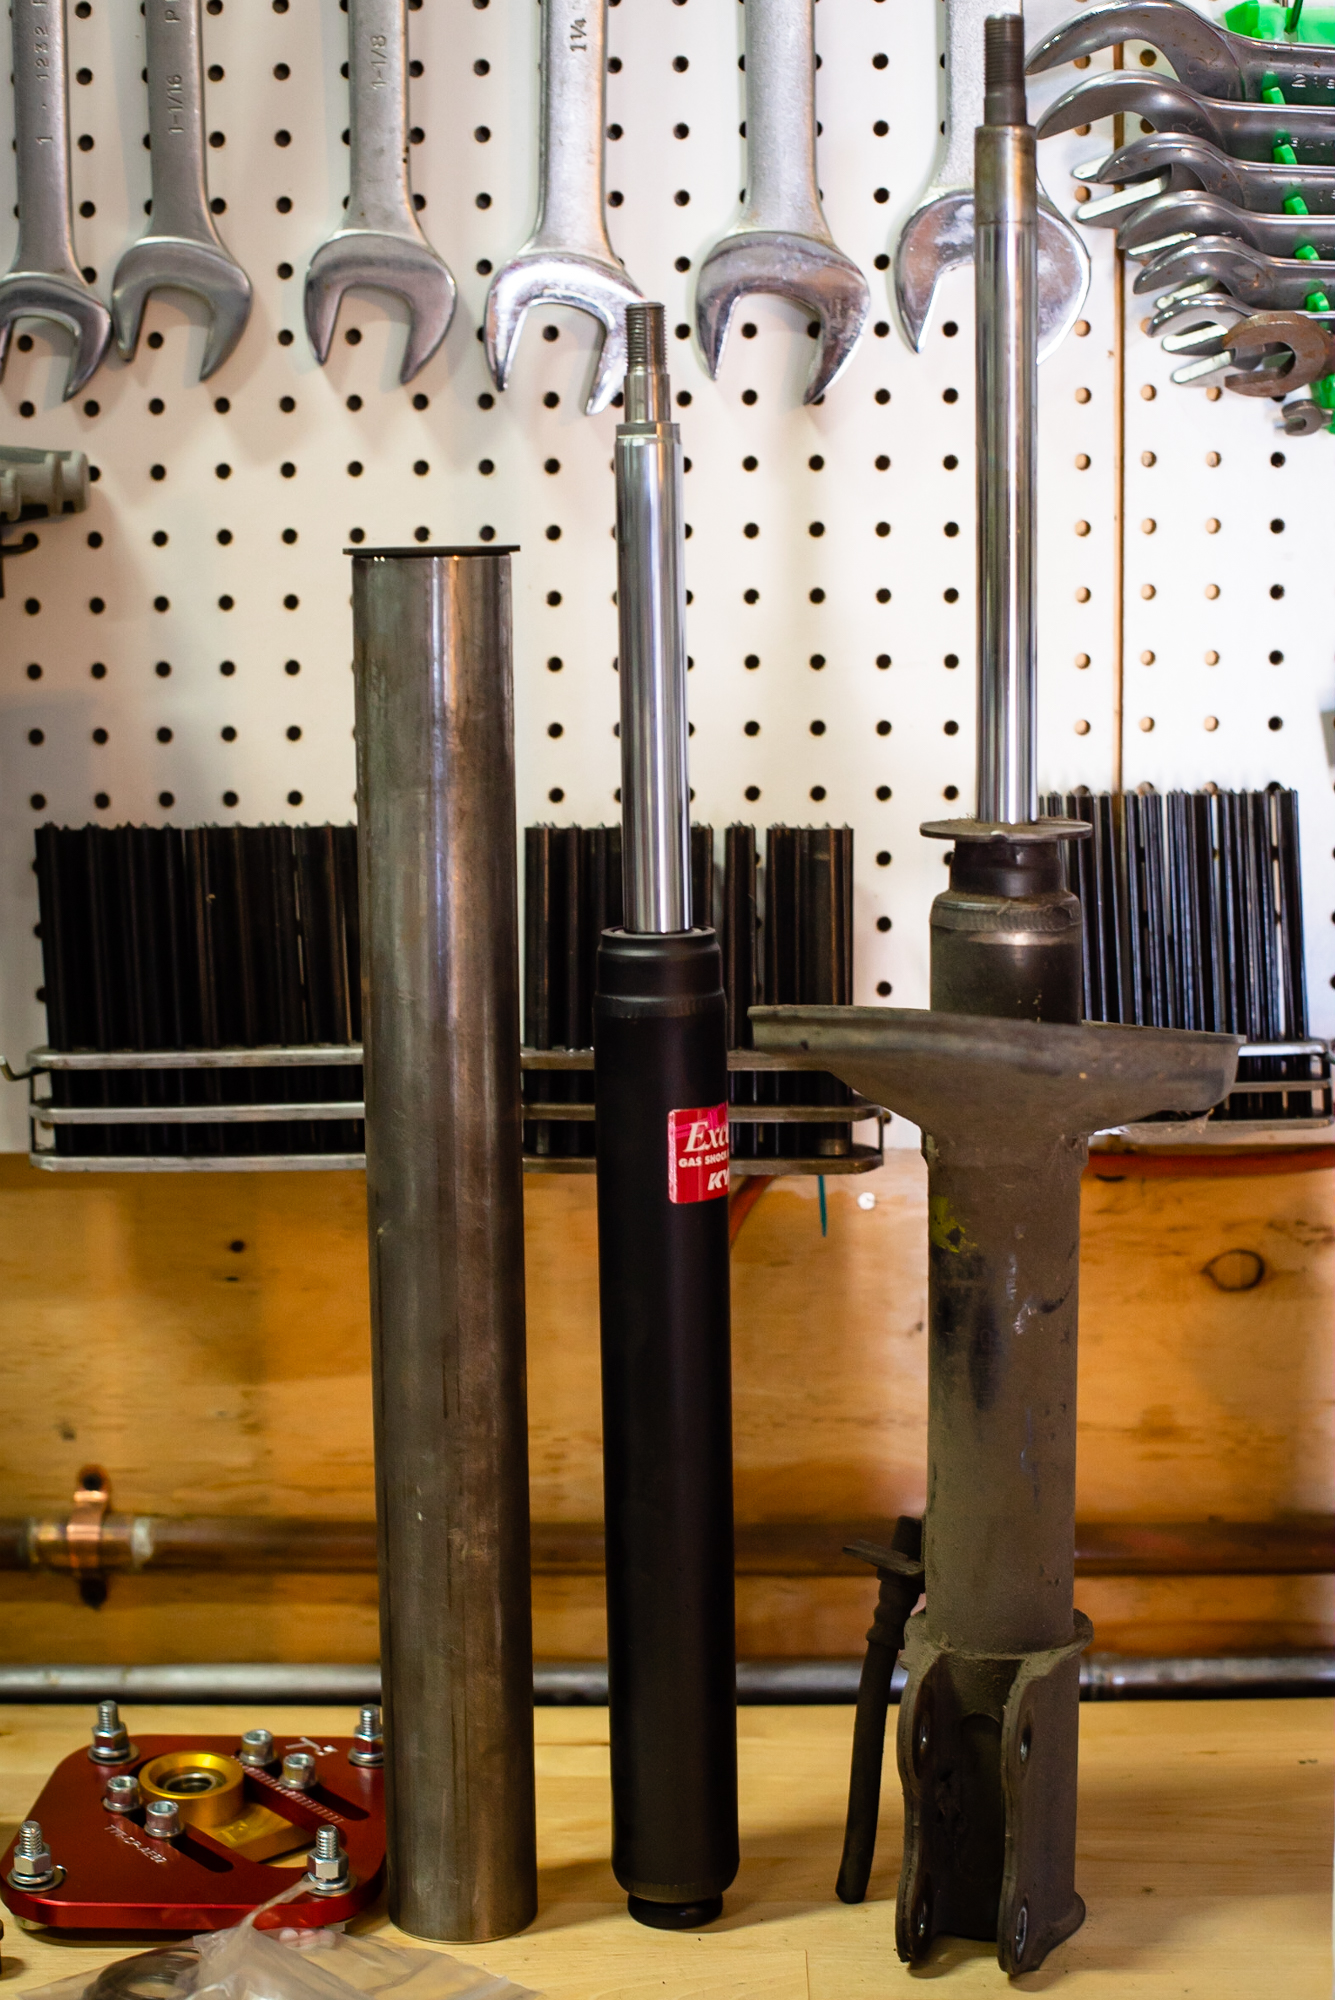
Left to right: T3 threaded tube, KYB Strut insert, stock rear strut. 
Same thing with an assembled rear strut. A bit of height difference here! 
The rear insert was measured and then I added just over an extra inch to allow a longer insert to be used if needed to make up the height difference. Once cut the provided plug was welded into place. 
Plugs welded, and new perches welded in place. 
Pretty short! 
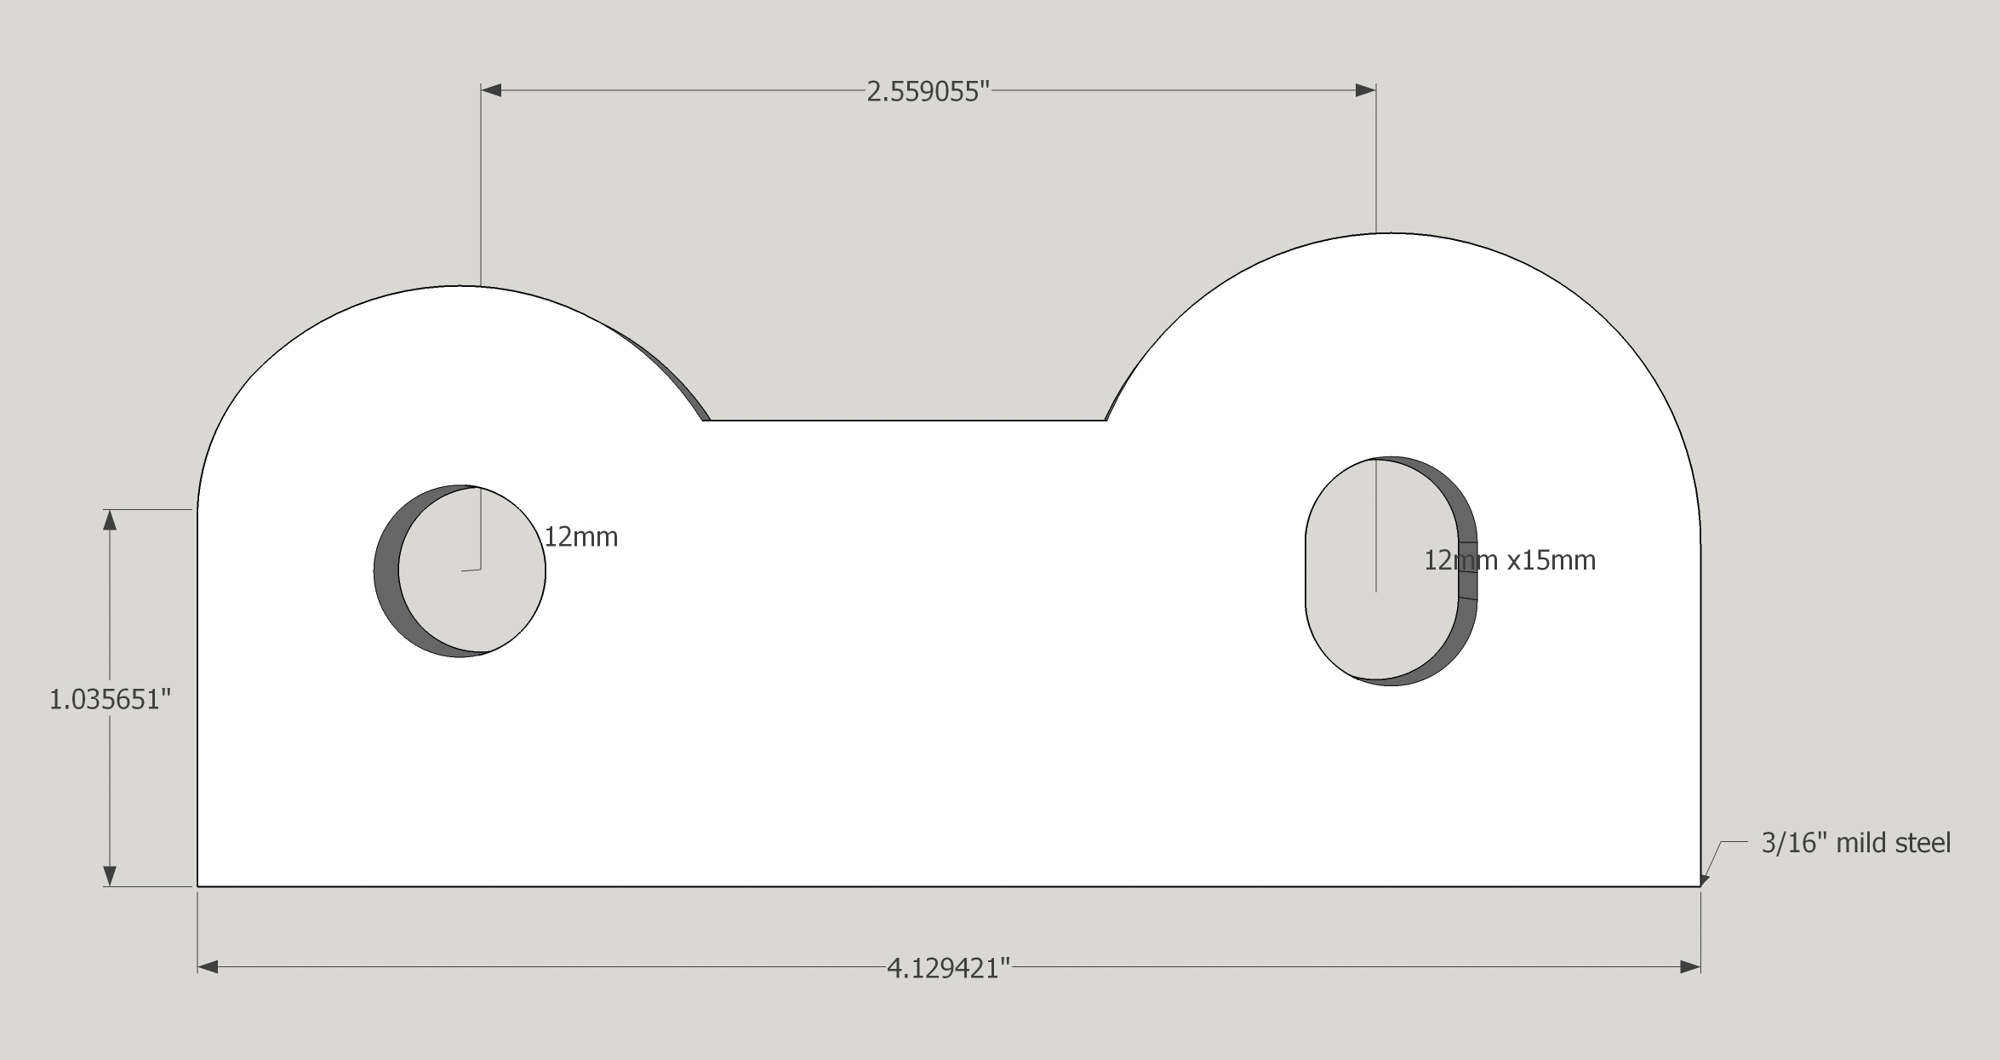
Time to make some tabs to mount this thing. 
A rough sketch of the shape. 
After some time on the band saw and disk sander. 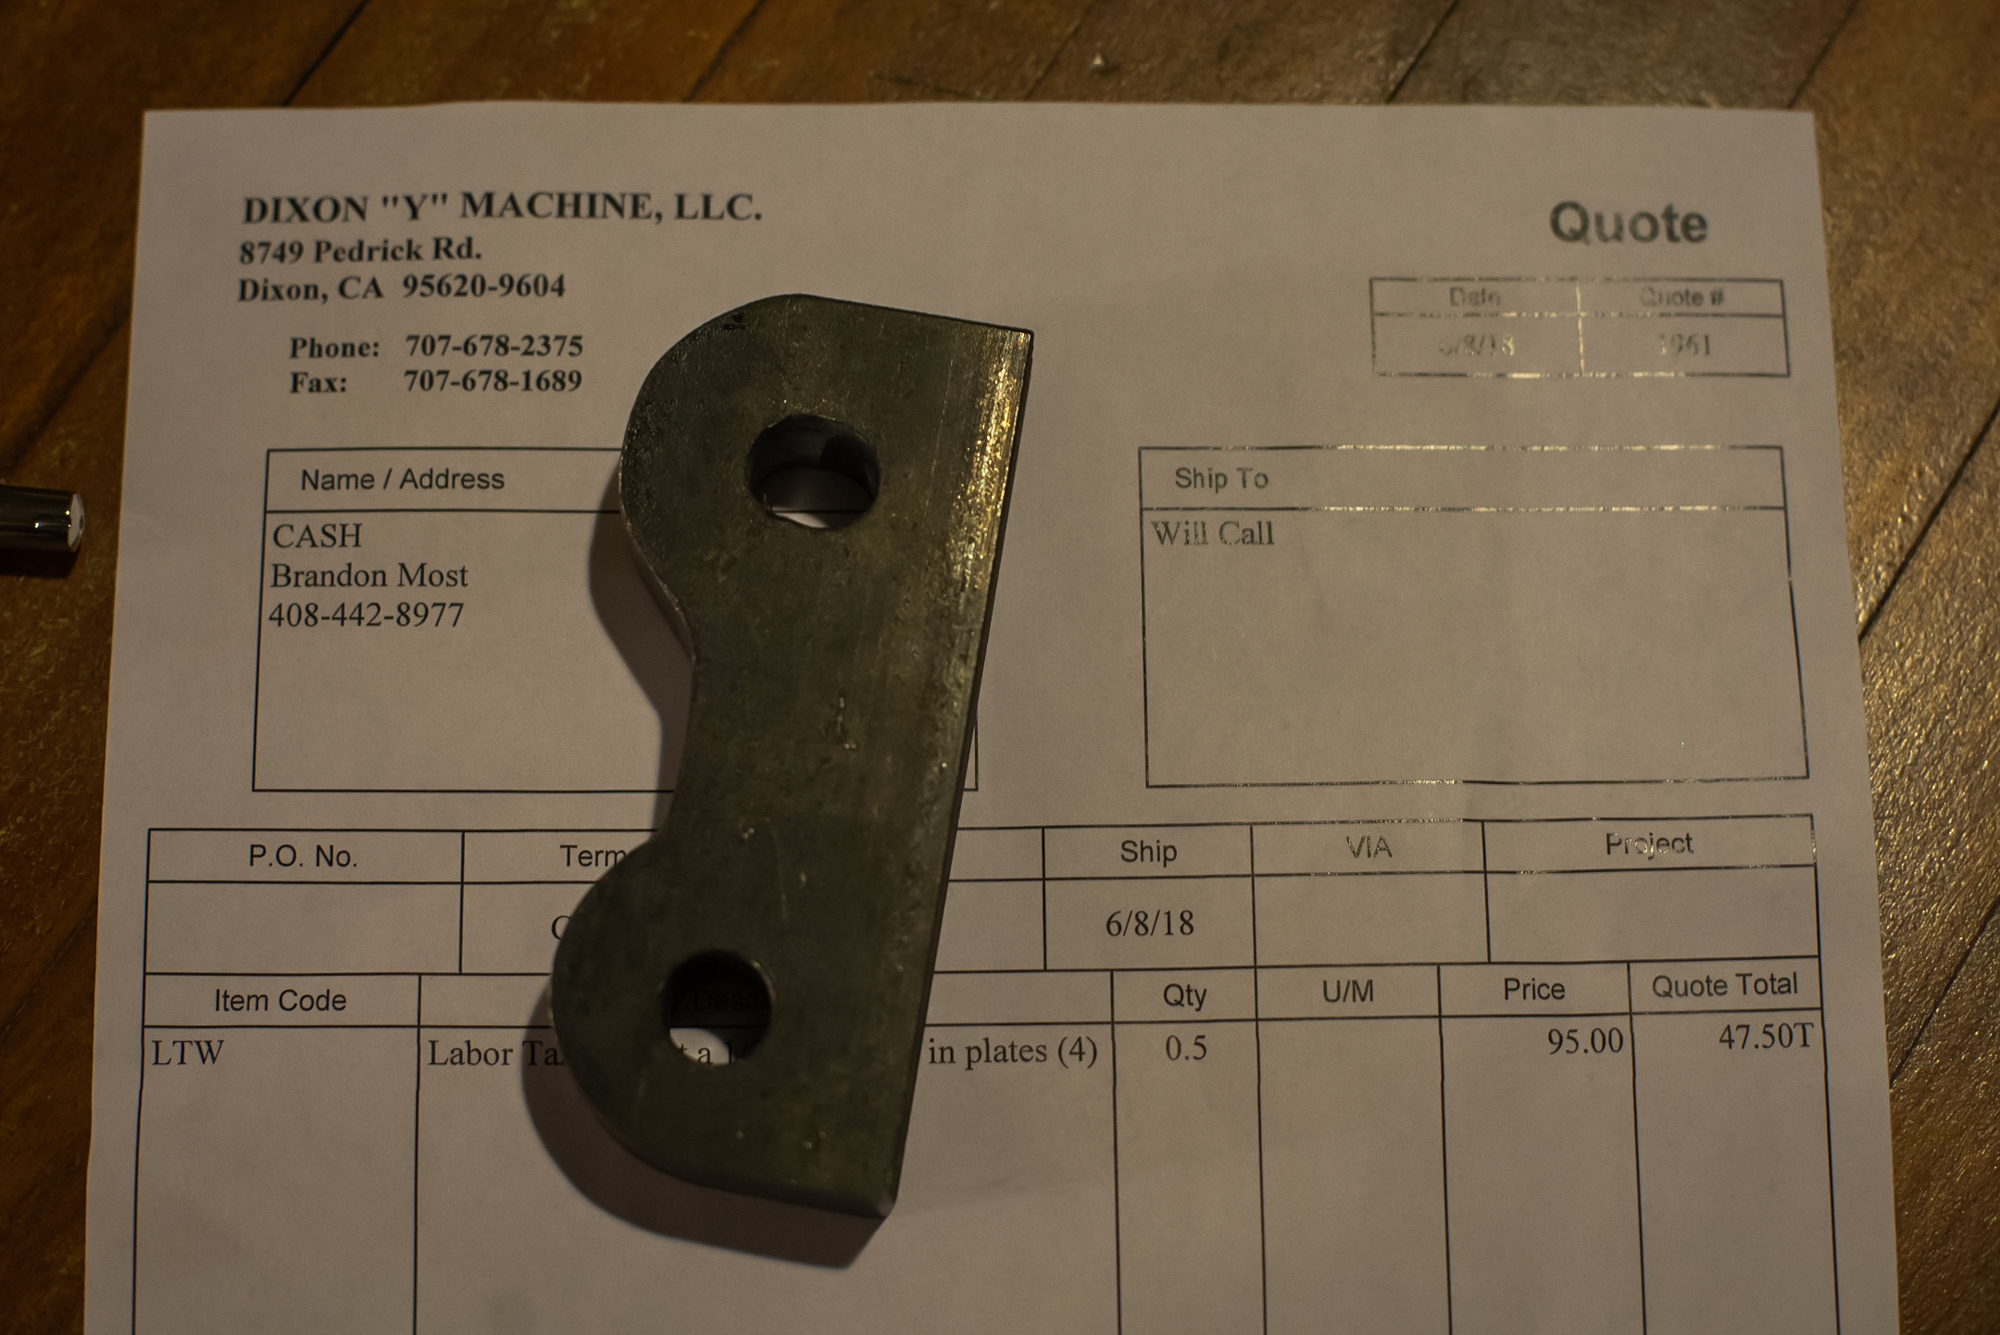
If these look slightly different, well they are. I junked the first ones trying to slot the hole in a way that I really didn’t think would work anyway. Luckily I found a local machine shop to cut the slotted hole in. 
The new tabs mocked into place using some custom machined spacers to keep the distance between them just right. 
While I was on the lathe, I chucked up the rear upper mounts and removed the D shape as well as opened it up by 1mm to fit the new inserts. 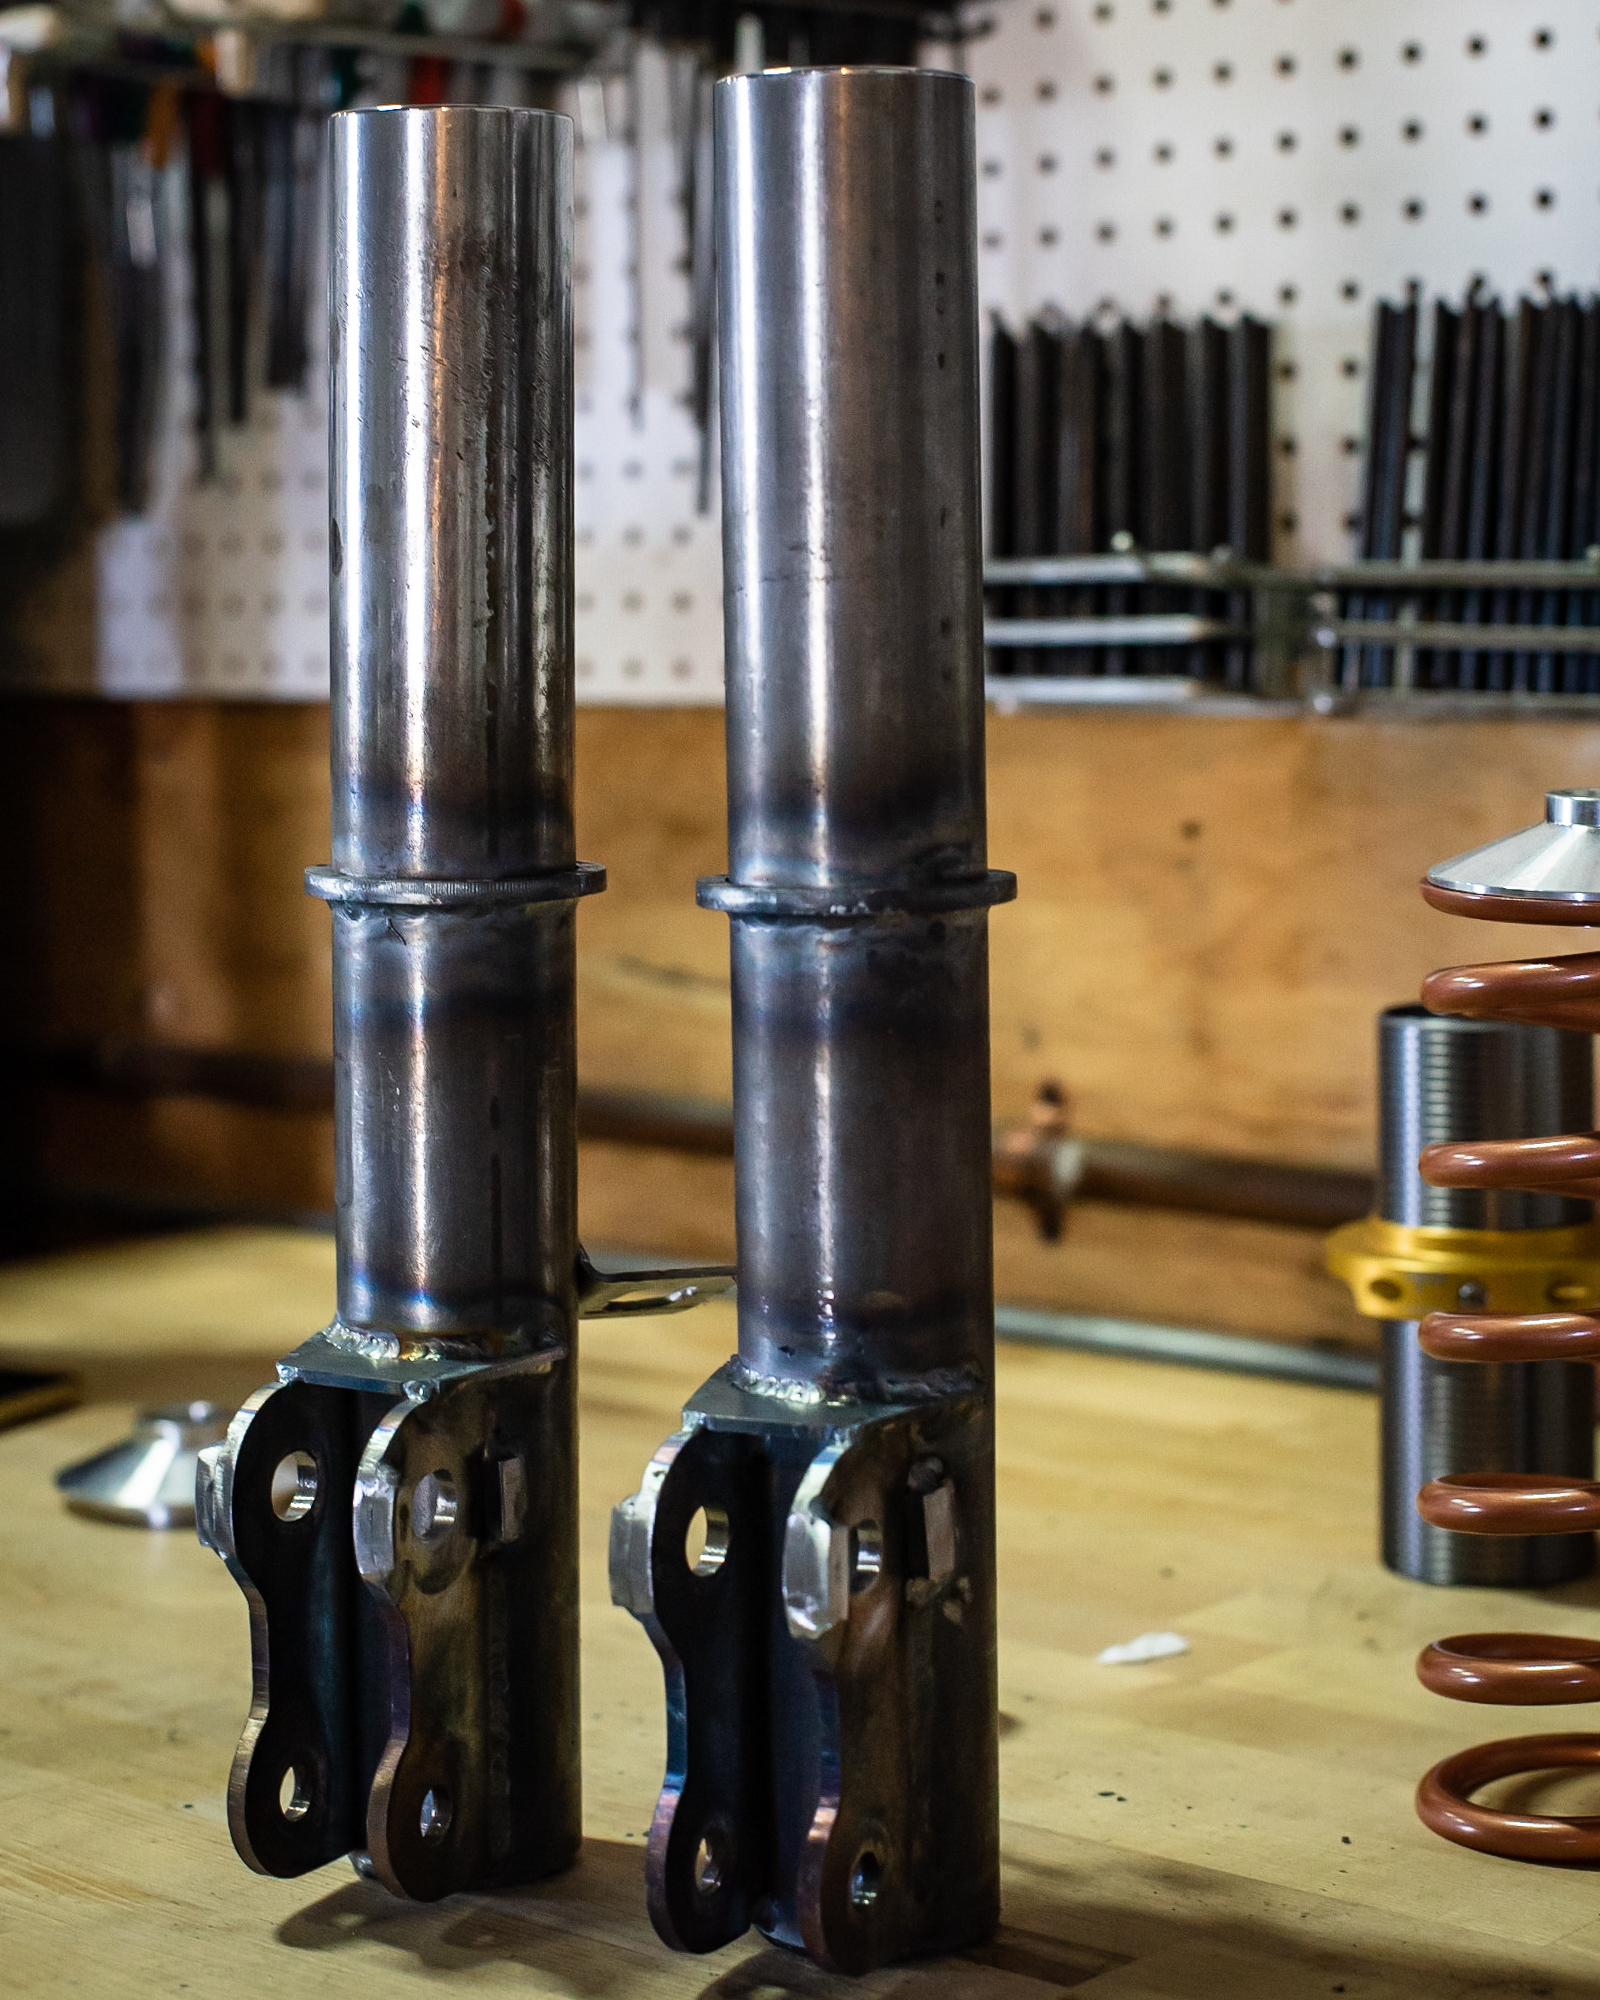
Fully welded 
A better look at the upper gusset that probably wasn’t needed, but makes me sleep better at night. Also noticeable are the stops that were added to allow the cam bolts to work giving some ability to adjust camber. 
Rear components all laid out and ready for assembly. 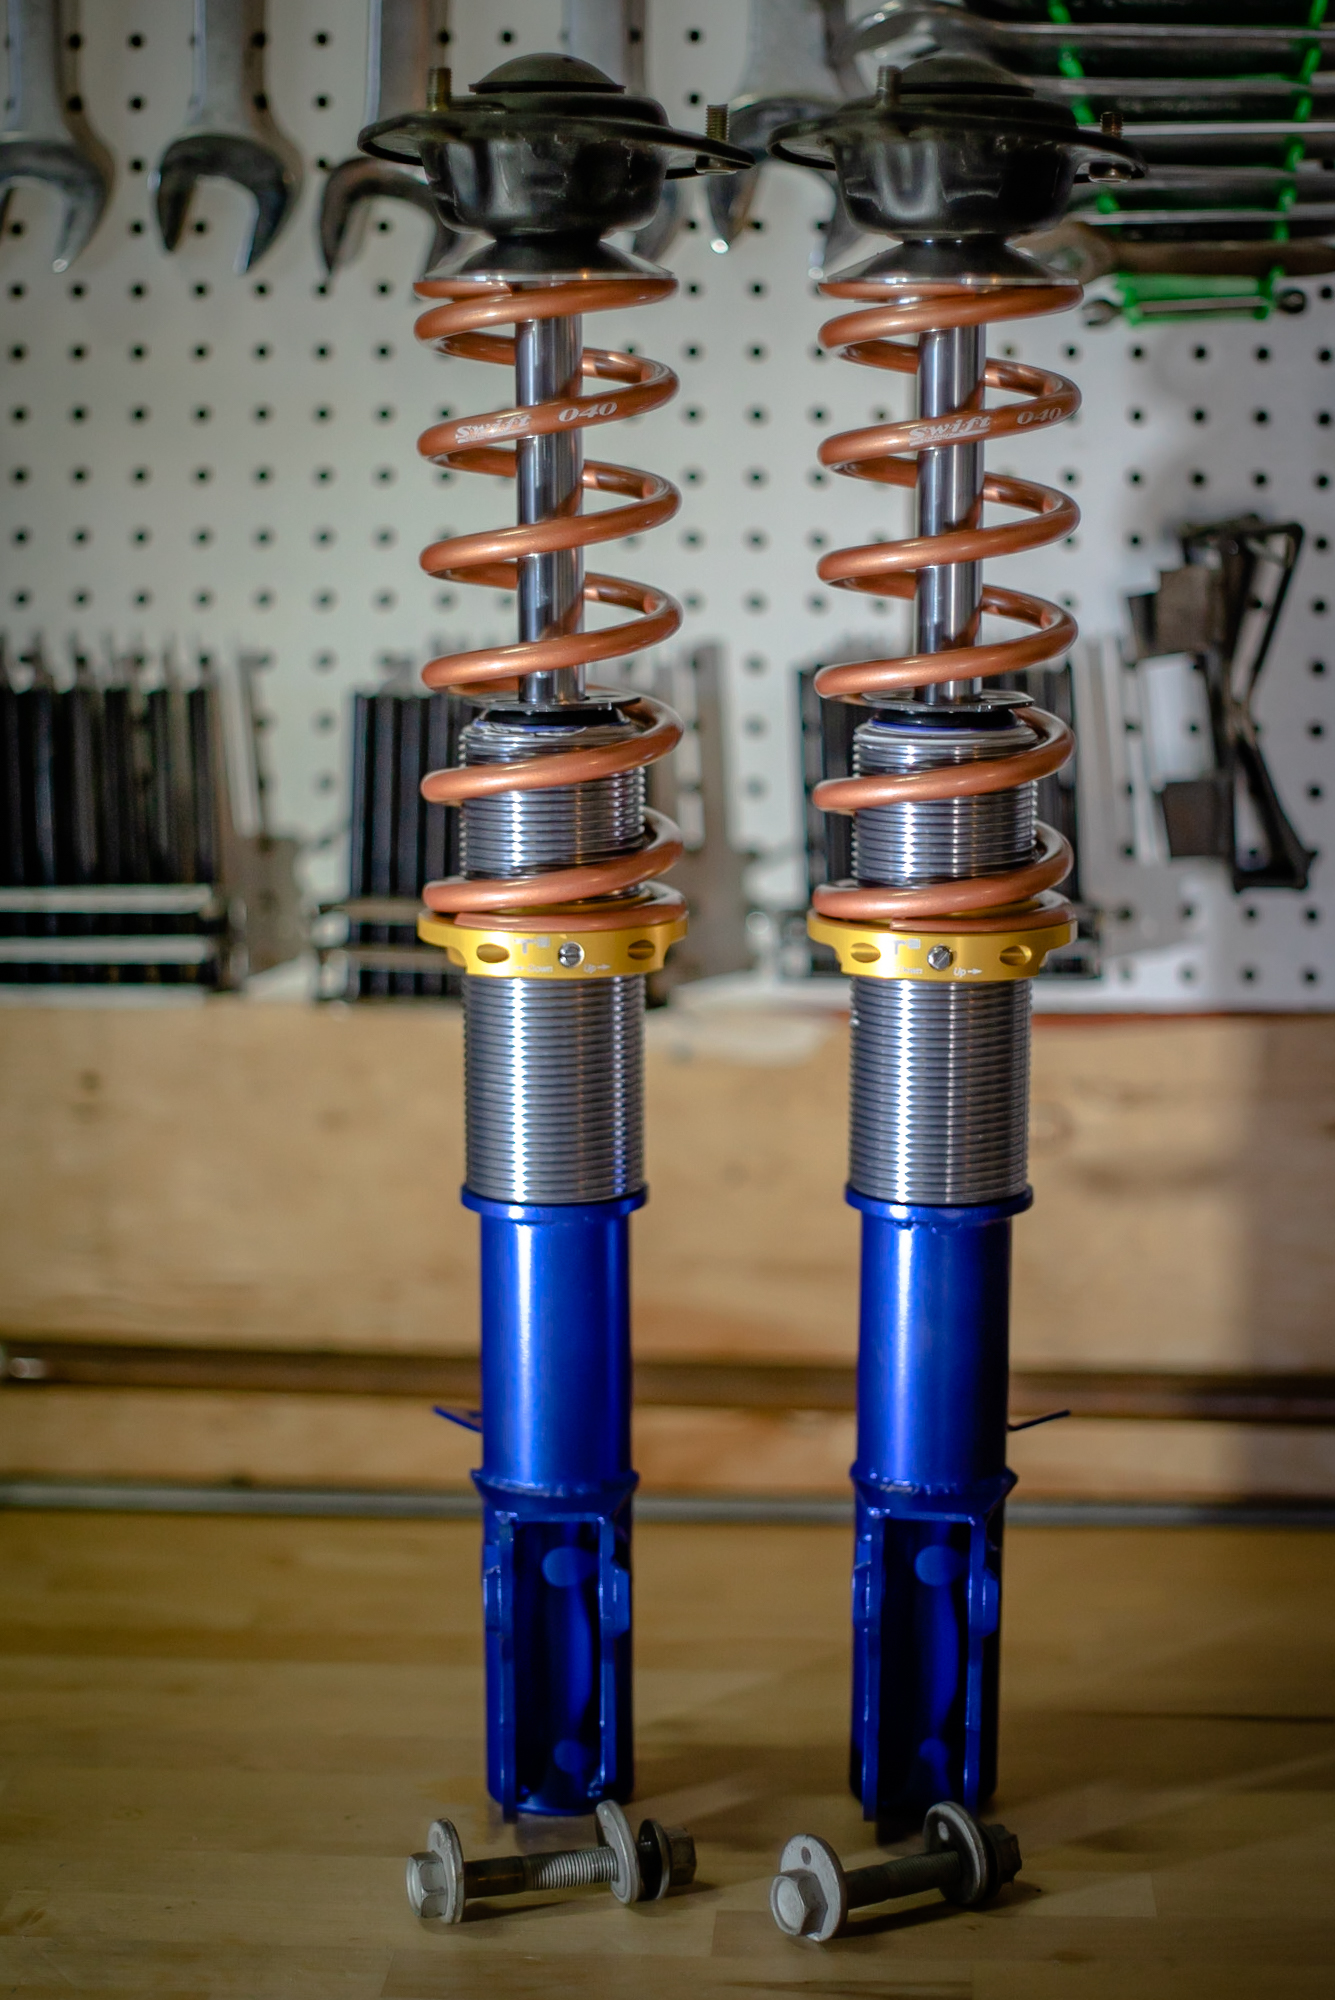
Two complete rear struts ready for fitment.
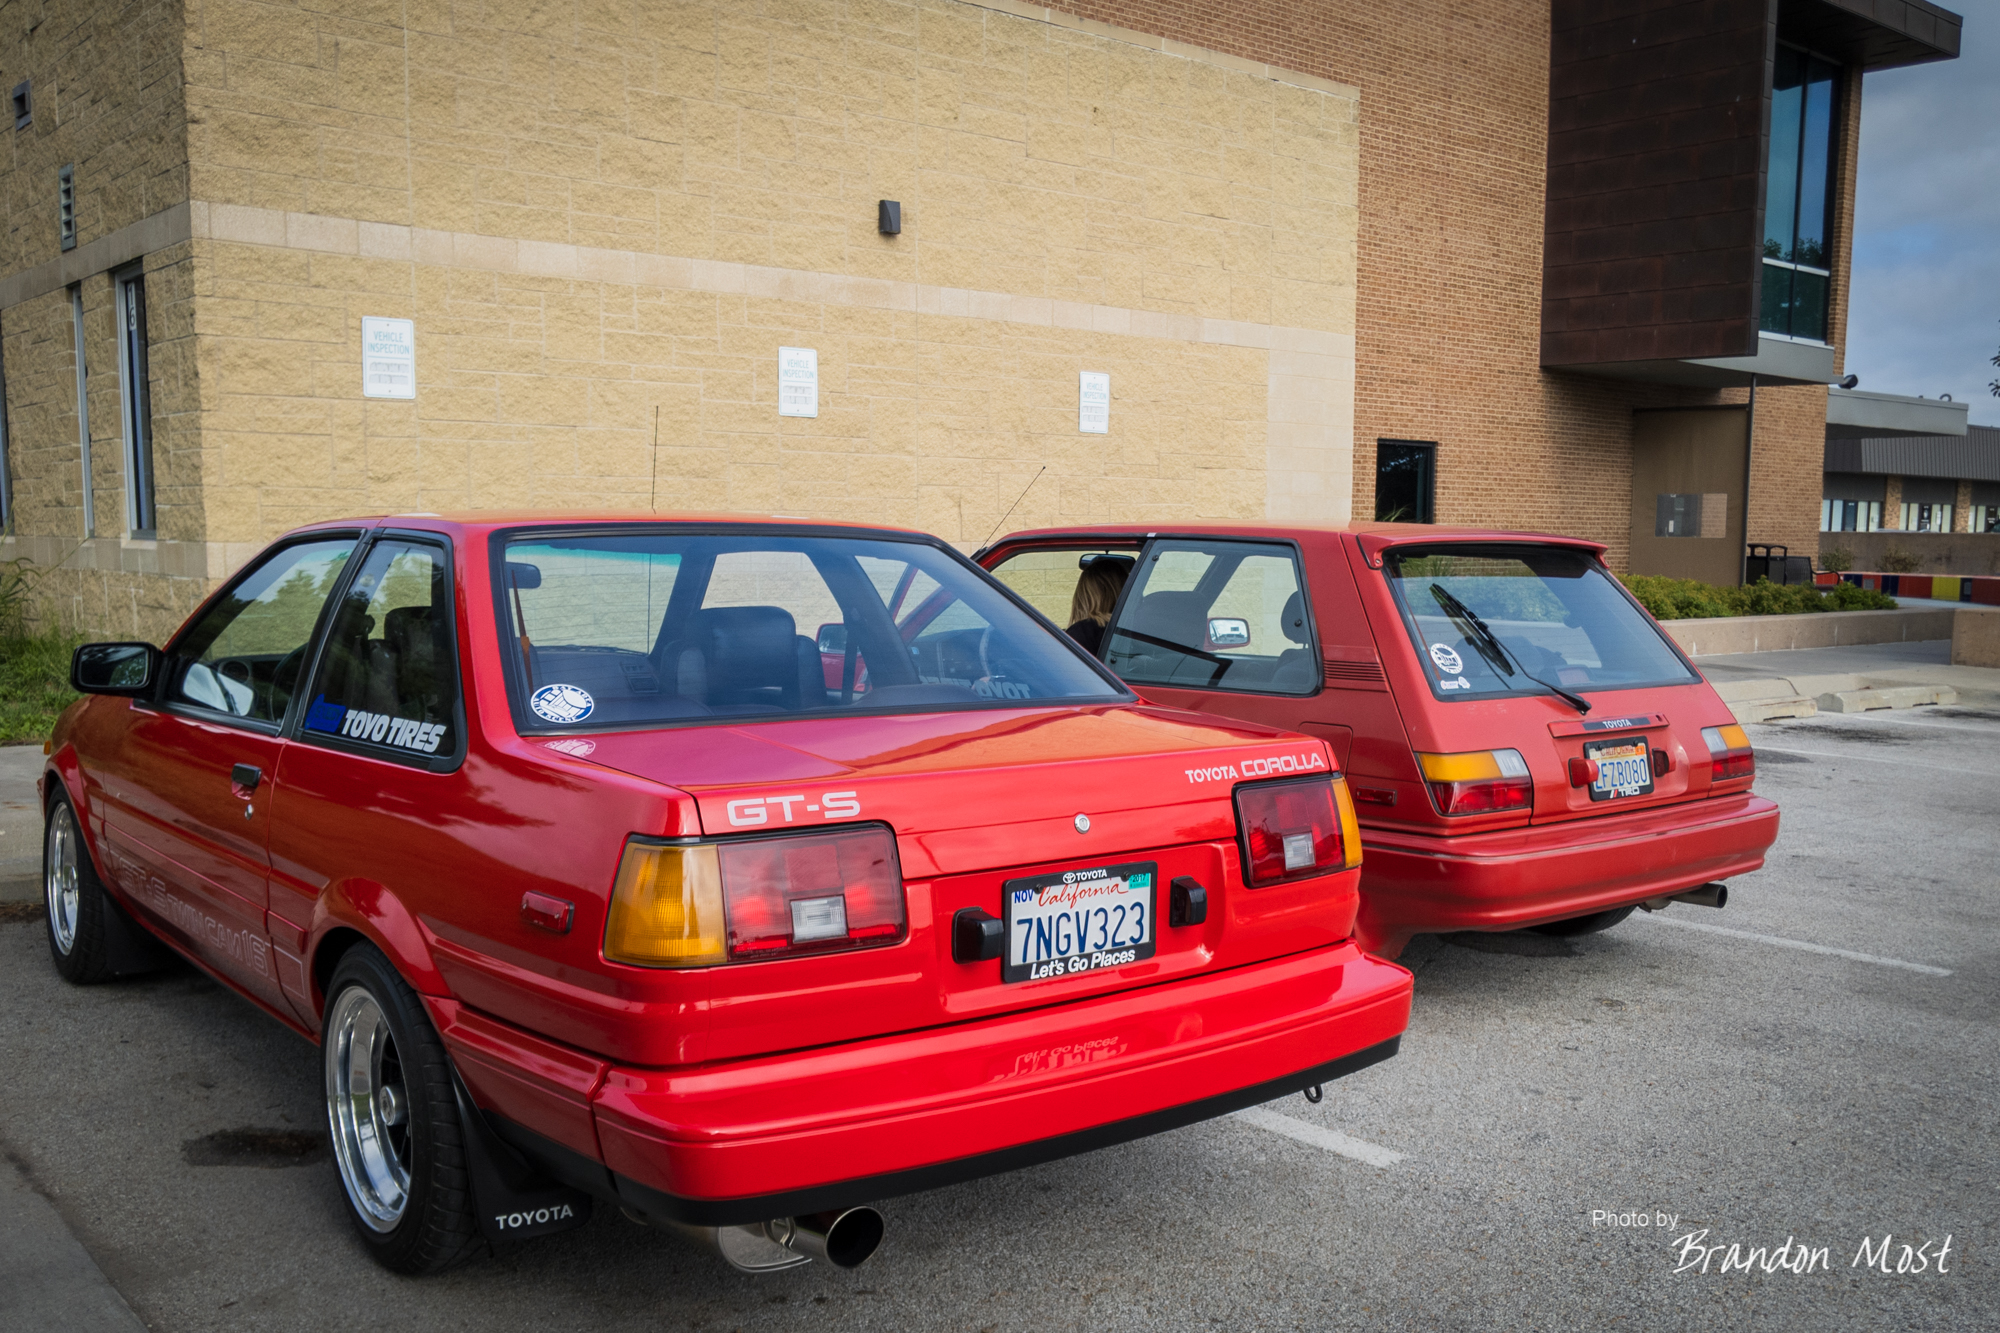
The Current Stance:

With a about an inch of slack in the front and a few turns of preload in the rear things are setting pretty close to where I would want them for the street. The transmission pan has about 4 inches of clearance which should be enough to keep me out of trouble. The camber is at maximum negative at all 4 corners in the photo. Now for the down side. The toe is absolutely crazy. What you can’t see in the pic is that the wheels are actually turned about 3/4 of a turn to appear straight. A quick tape measure check across the tire tread showed about 4″ of toe in. FOUR INCHES! I have new inner and outer tie rods here already, and have some more parts on the way to give me some stuff to play with, but I’m not sure what it will actually take to dial this all in.

Current Parts List:
KYB 365064. Originally meant for the front of an ST162 Celica, AE92 Corolla, or rear of and SW20 MR2. I started with 4 as a starting point.
T3 Upper camber plates for an AE92 Corolla (yes the Corolla shared the same upper strut mount).
Swift 5k and 4k spring rates for front and rear respectively, as part of the T3 “ST162” Weld On coilover kit.
T3 Strut Tubes. I never did find these on the website, but they are available if you need them.
With this much toe in, we aren’t test driving it yet, so many of these specs could change sooner than later. I’ll try to update this thread if or when they do, but to be safe keep reading the new posts.