As I mentioned before the 4Runner woke up from the power steering work a bit cranky. Or more to the point a lack of “cranky”. The batteries were LOW. Like 8 volts low. I tried charging them a few times, we finally upgraded the alternator when we figured out that the stock one really wasn’t keeping with the now dying batteries. Well it was time to bite the bullet and buy some batteries. The problem is this wasn’t going to be just about swapping batteries. There was a lot of wiring that has been added over the years that needed to be refreshed. There was stock wiring that had 290k miles on it. Basically there was a whole lot more to this than just swapping out the batteries.

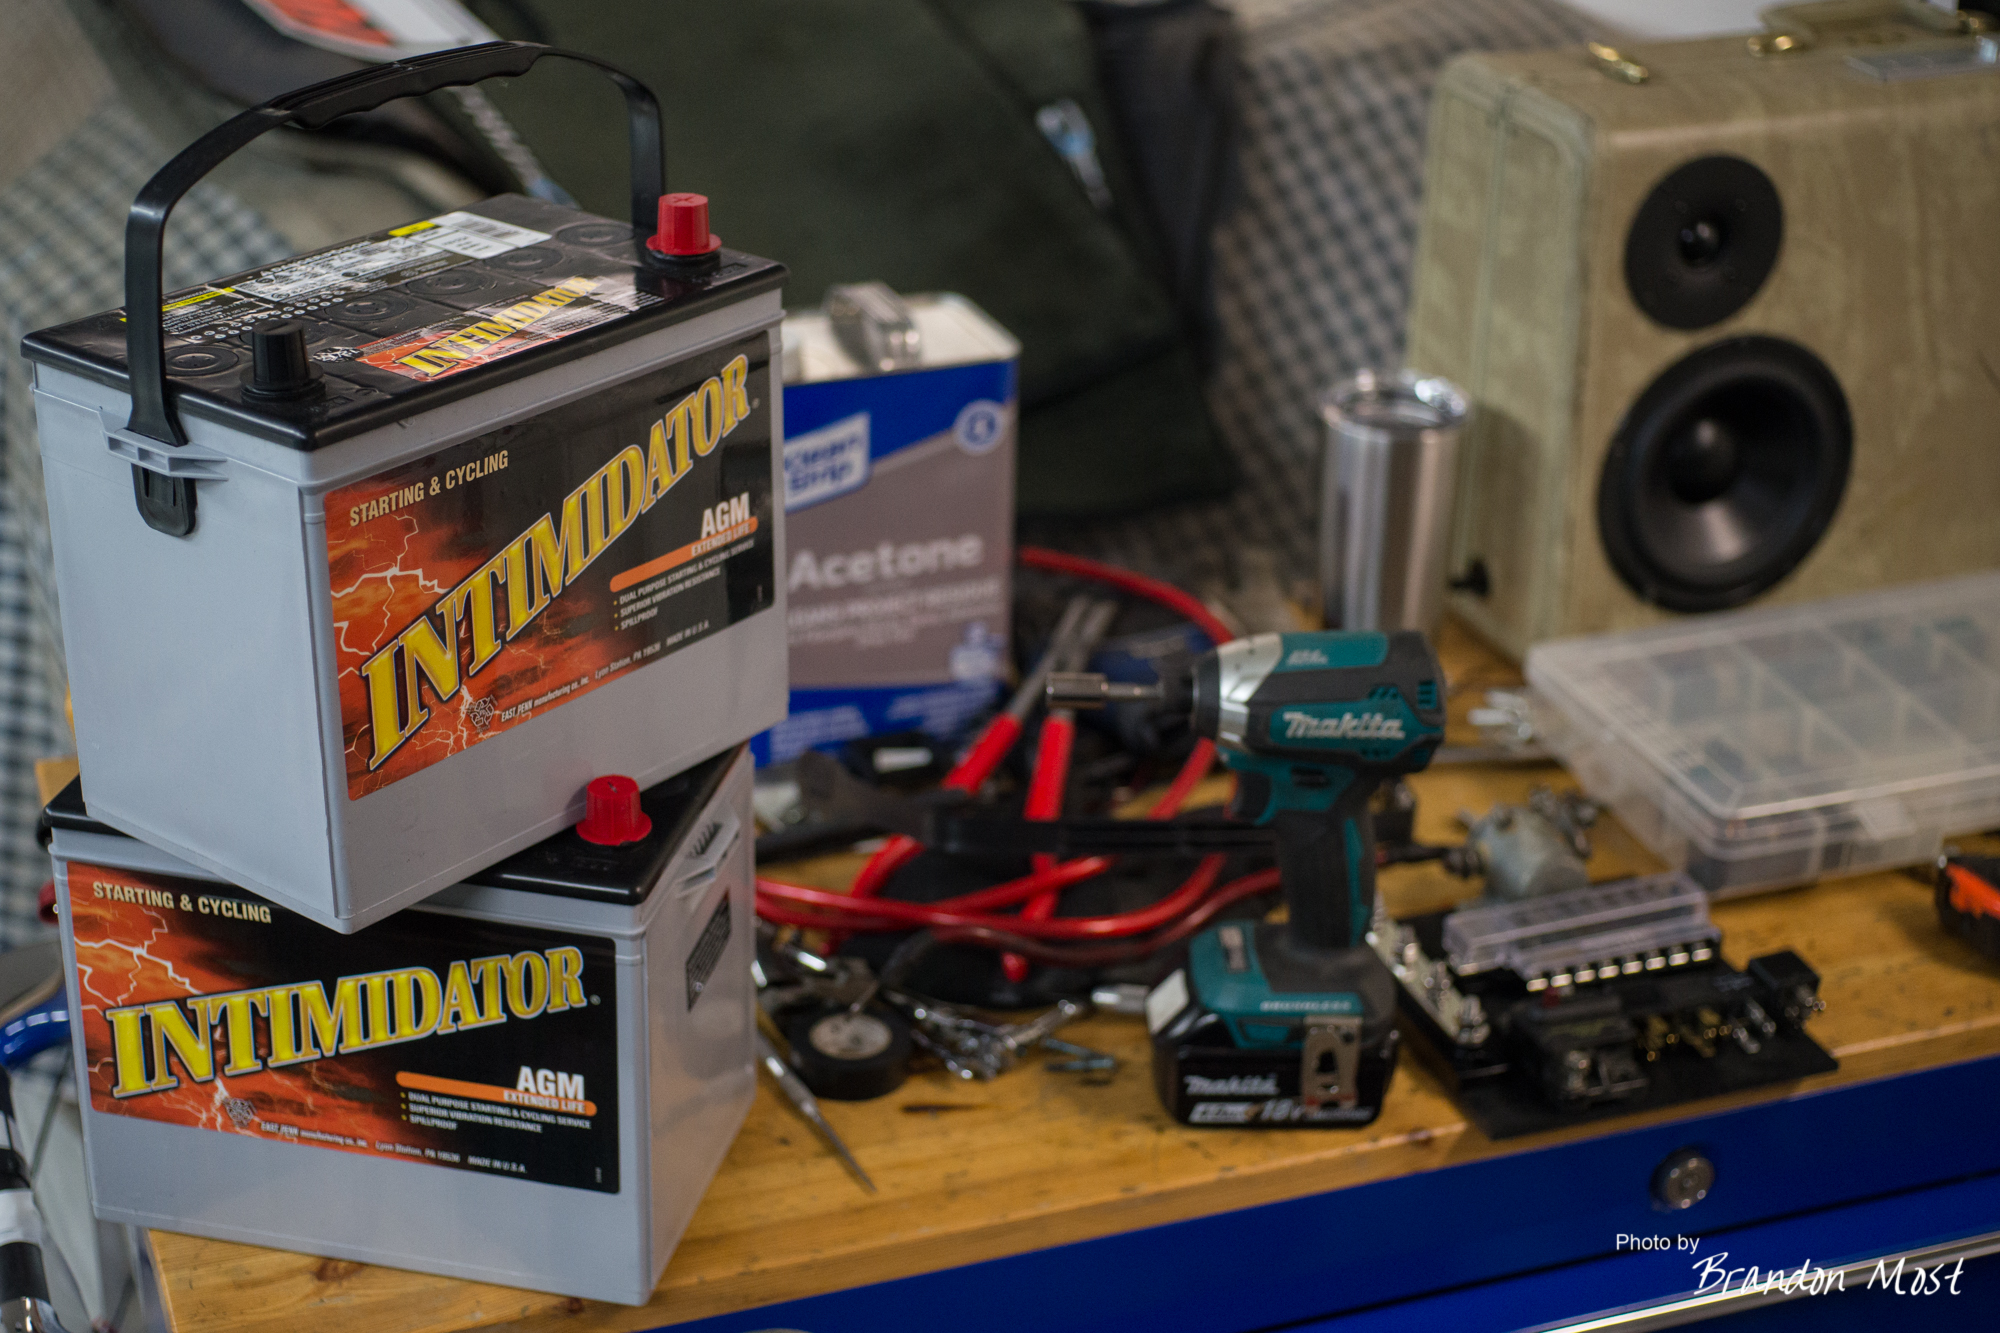
I started off by picking up a few items from Amazon.
Not only was I cleaning up wiring I was planning to make some changes to how things work.
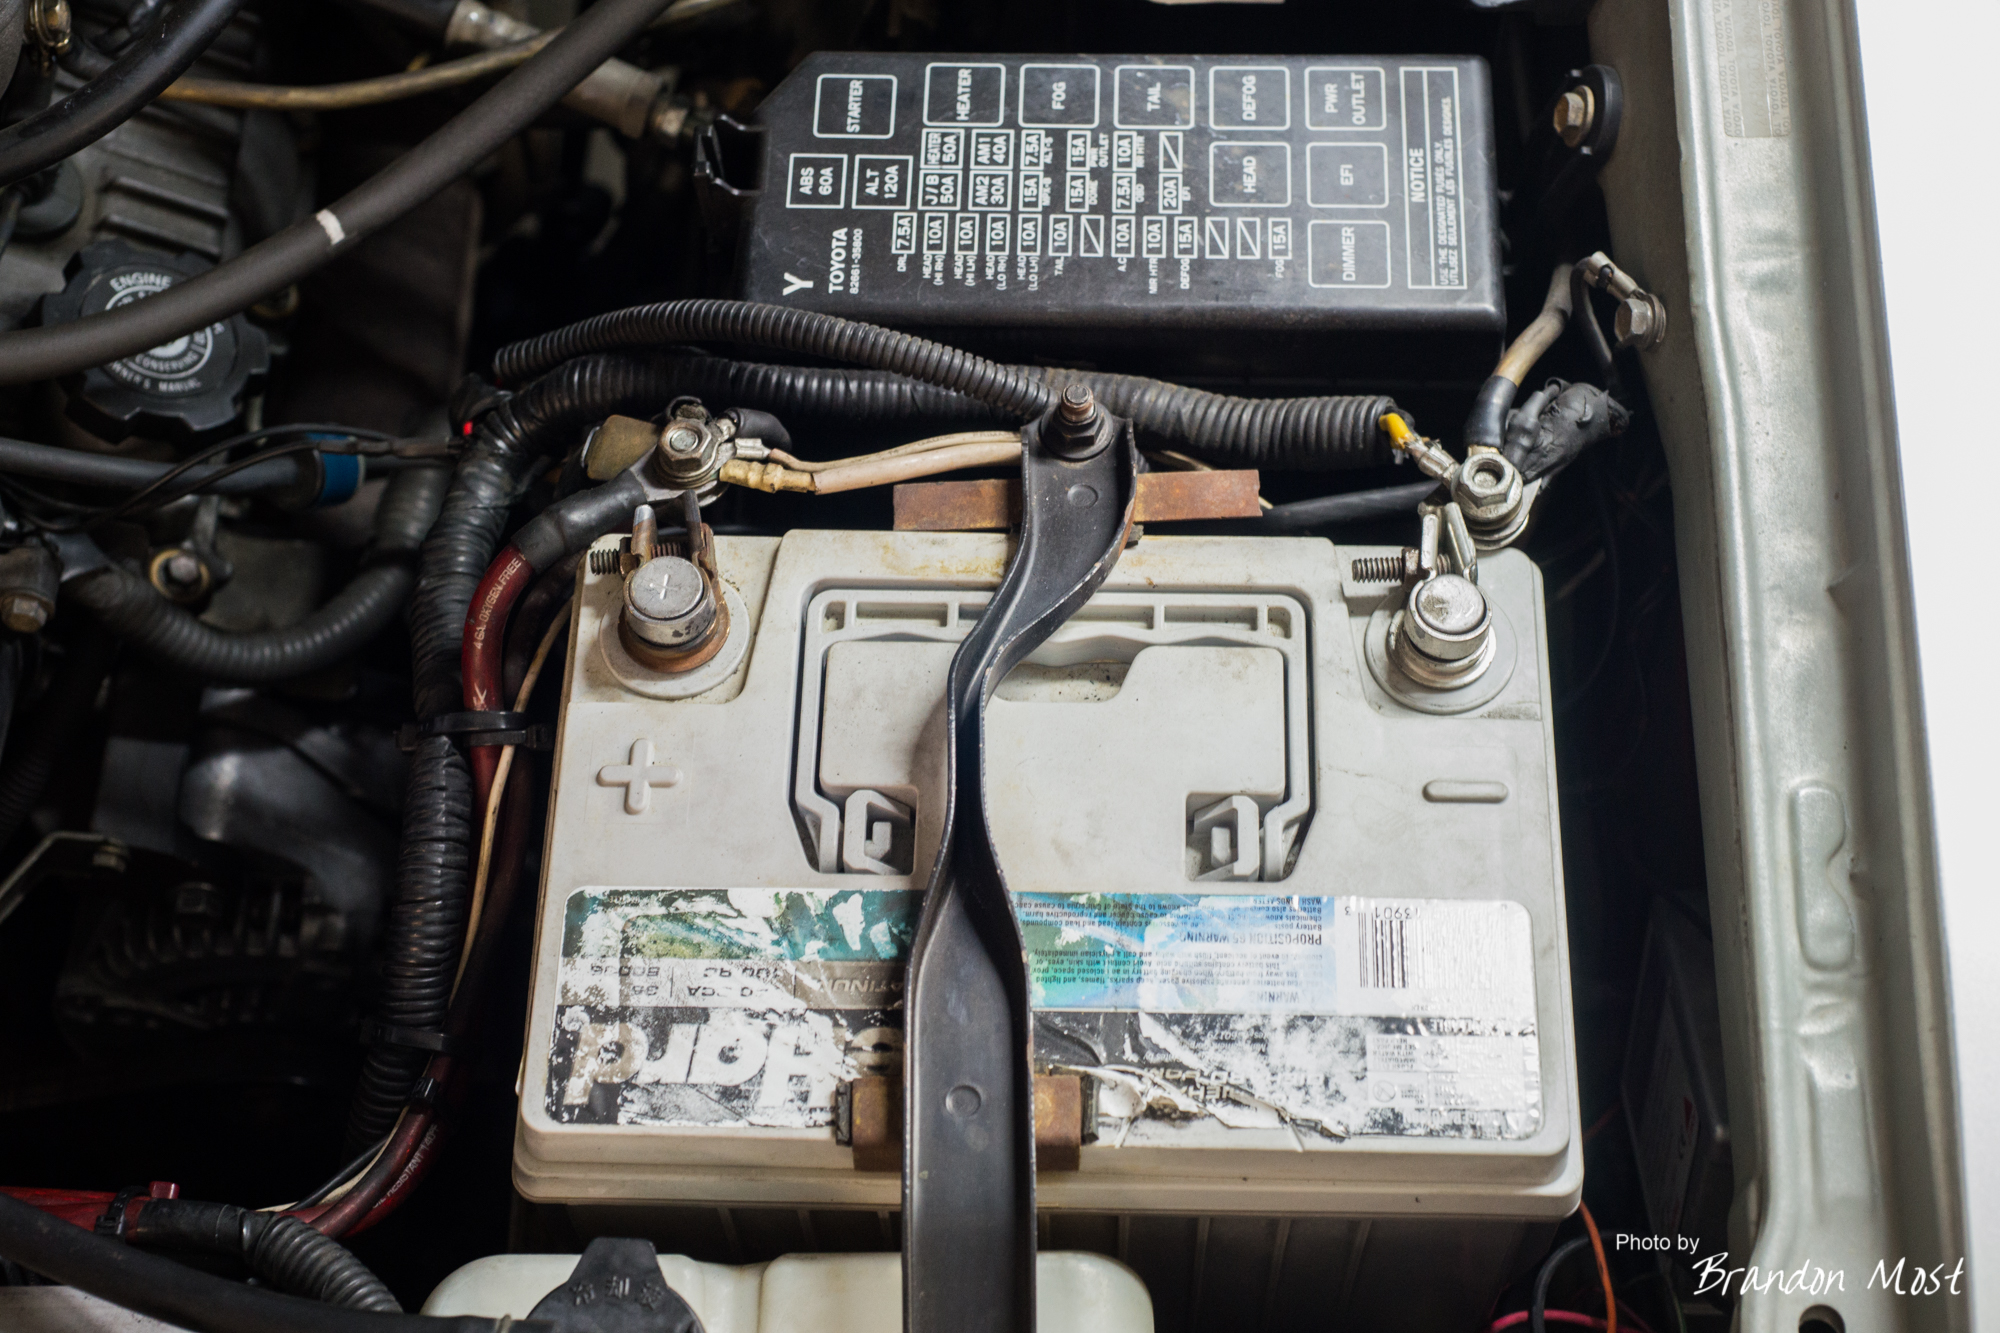

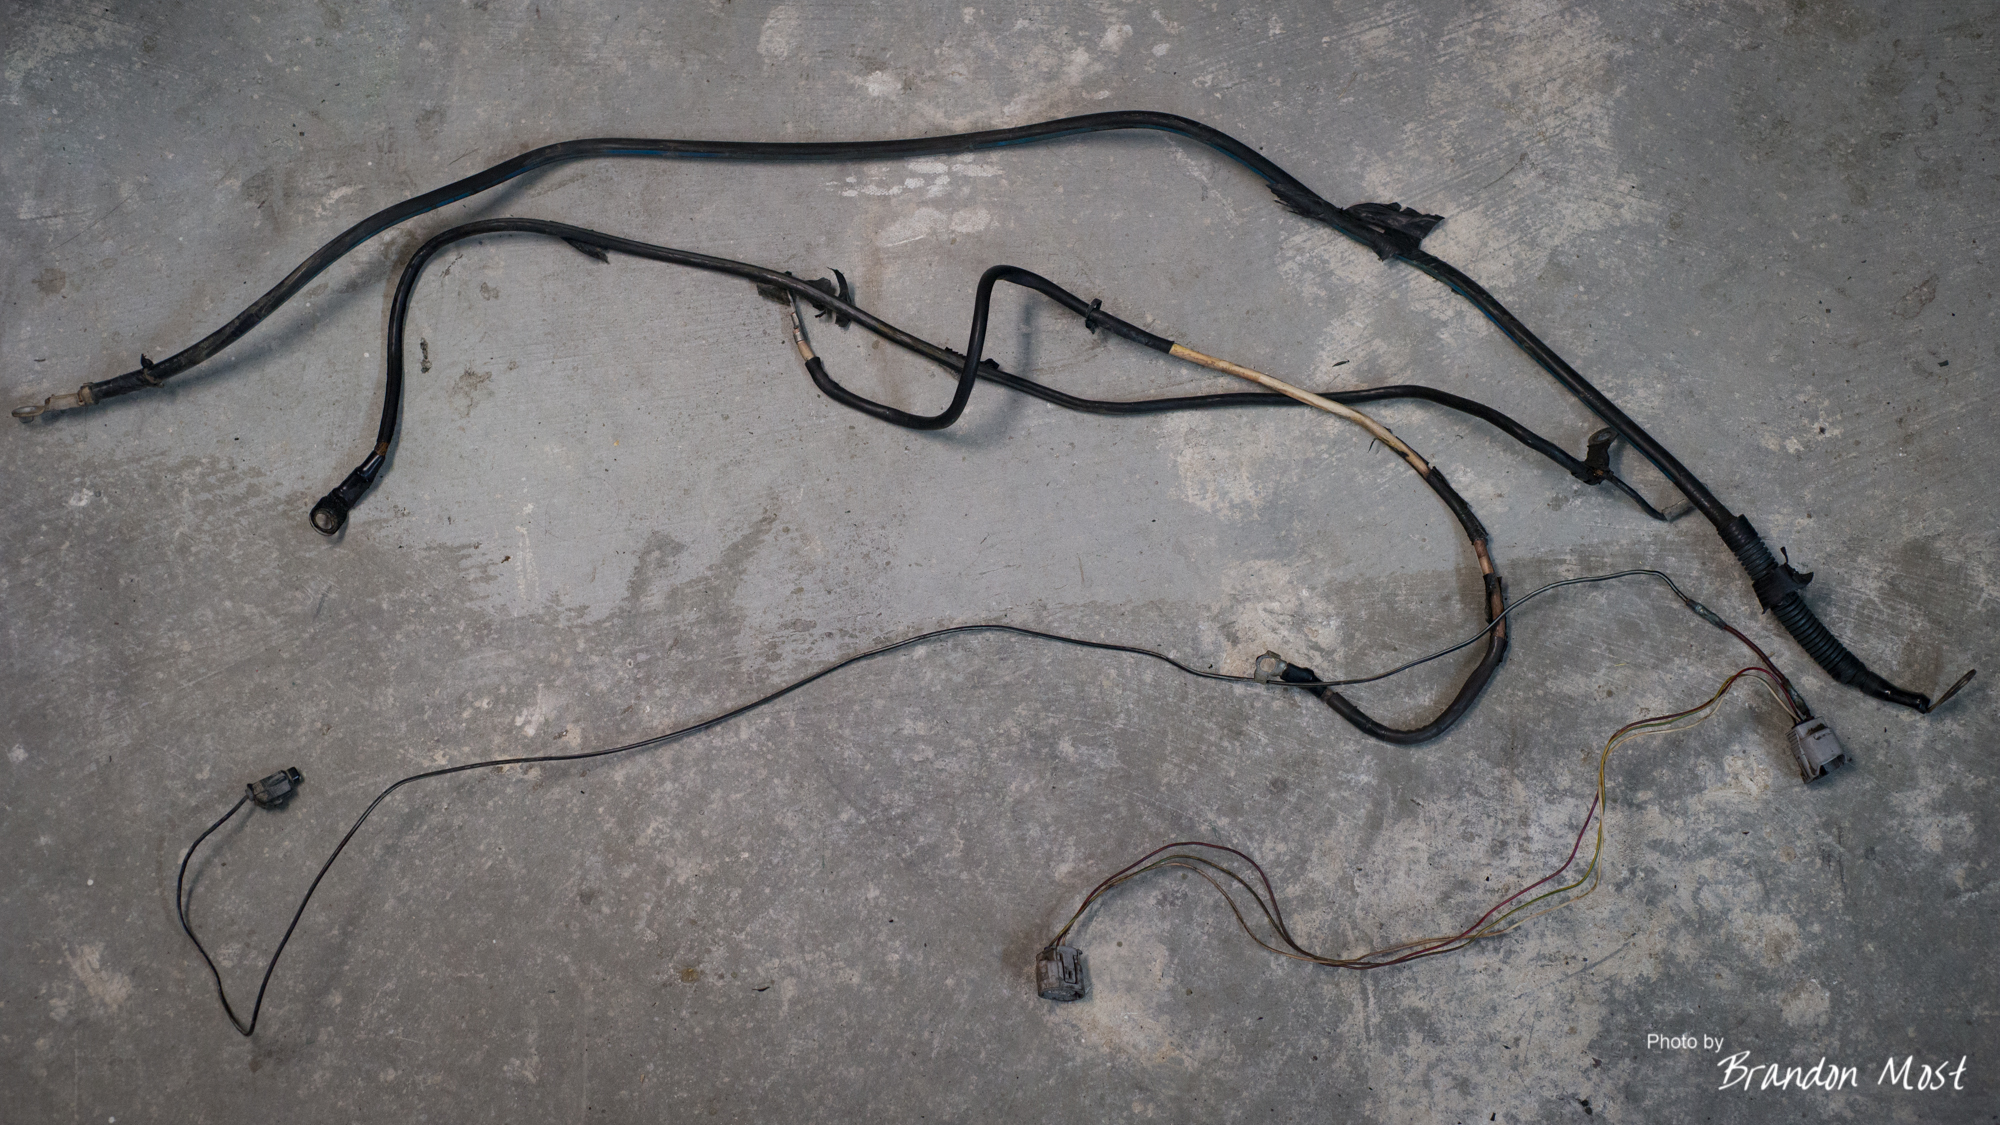
This is the mess we are starting with. I’m a bit embarrassed to say this was all my doing, but it also has never had a failure. It’s more just a matter of too many additions over the years of ownership. I started by gutting out most of this wiring. Then moved on to the “big three” wiring and got that removed.
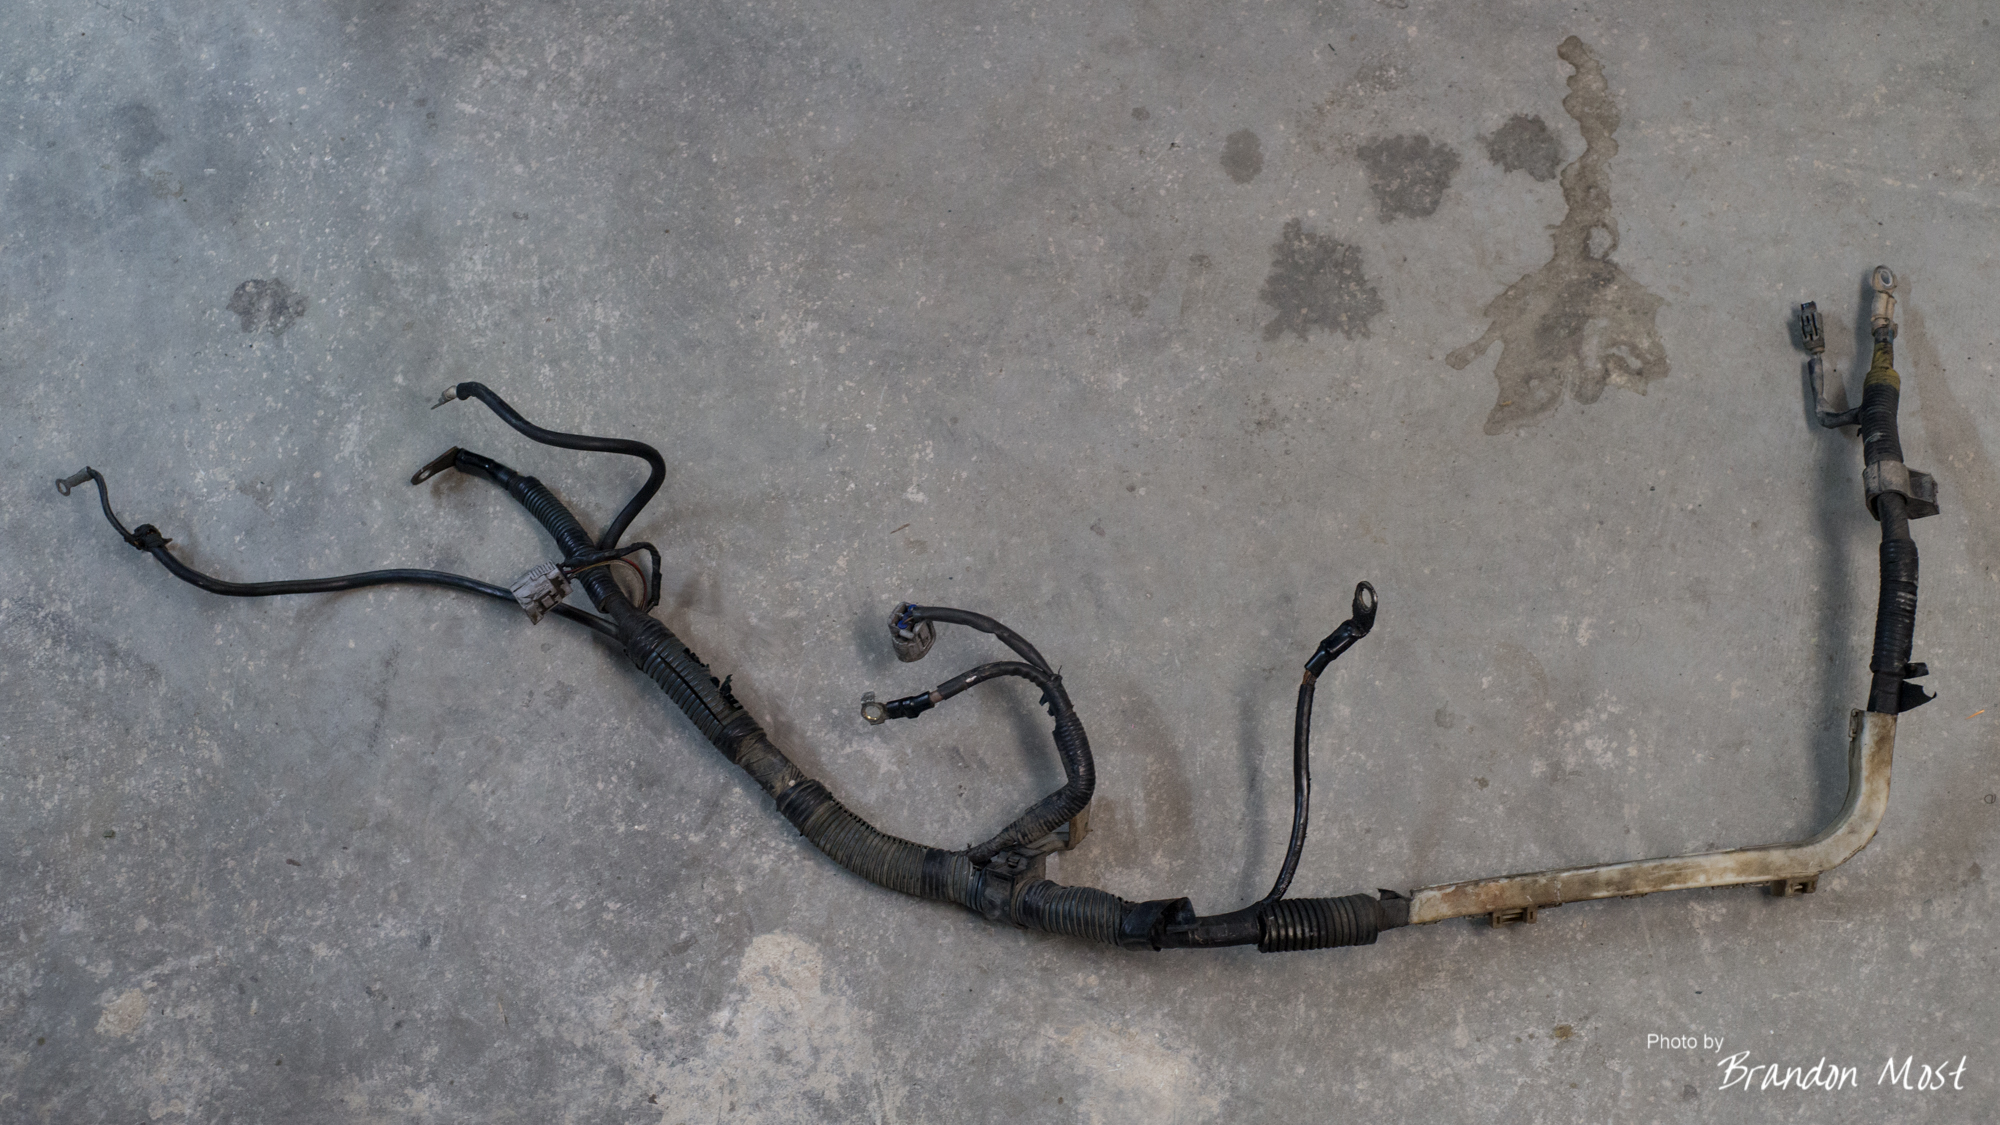
With 290k on the truck I can’t even imagine how much wear this poor harness has seen over the last 17 years.
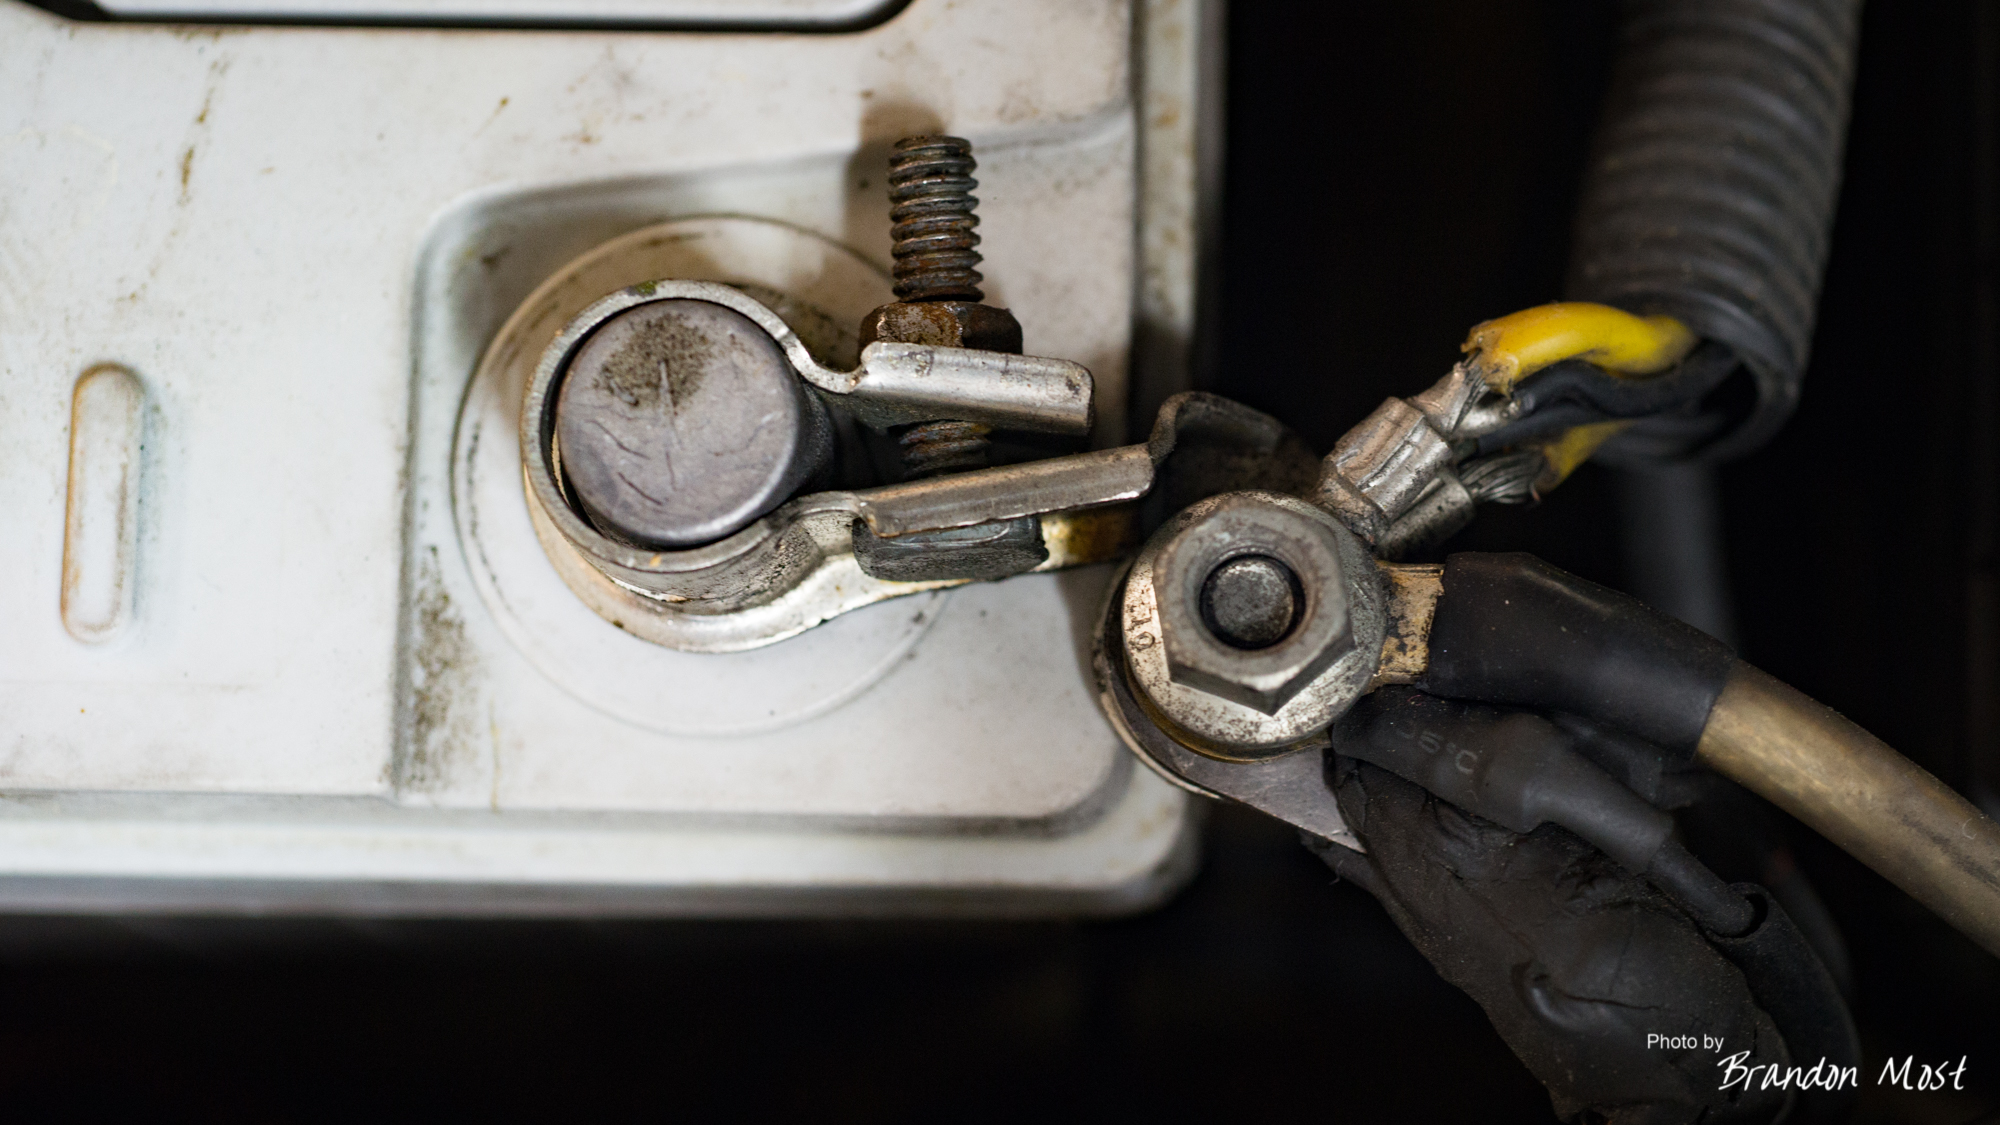
Unfortunately I wasn’t smart enough to source new plugs and pins for the alternator control and starter trigger wire. So those had to be re-used. At least for right now.
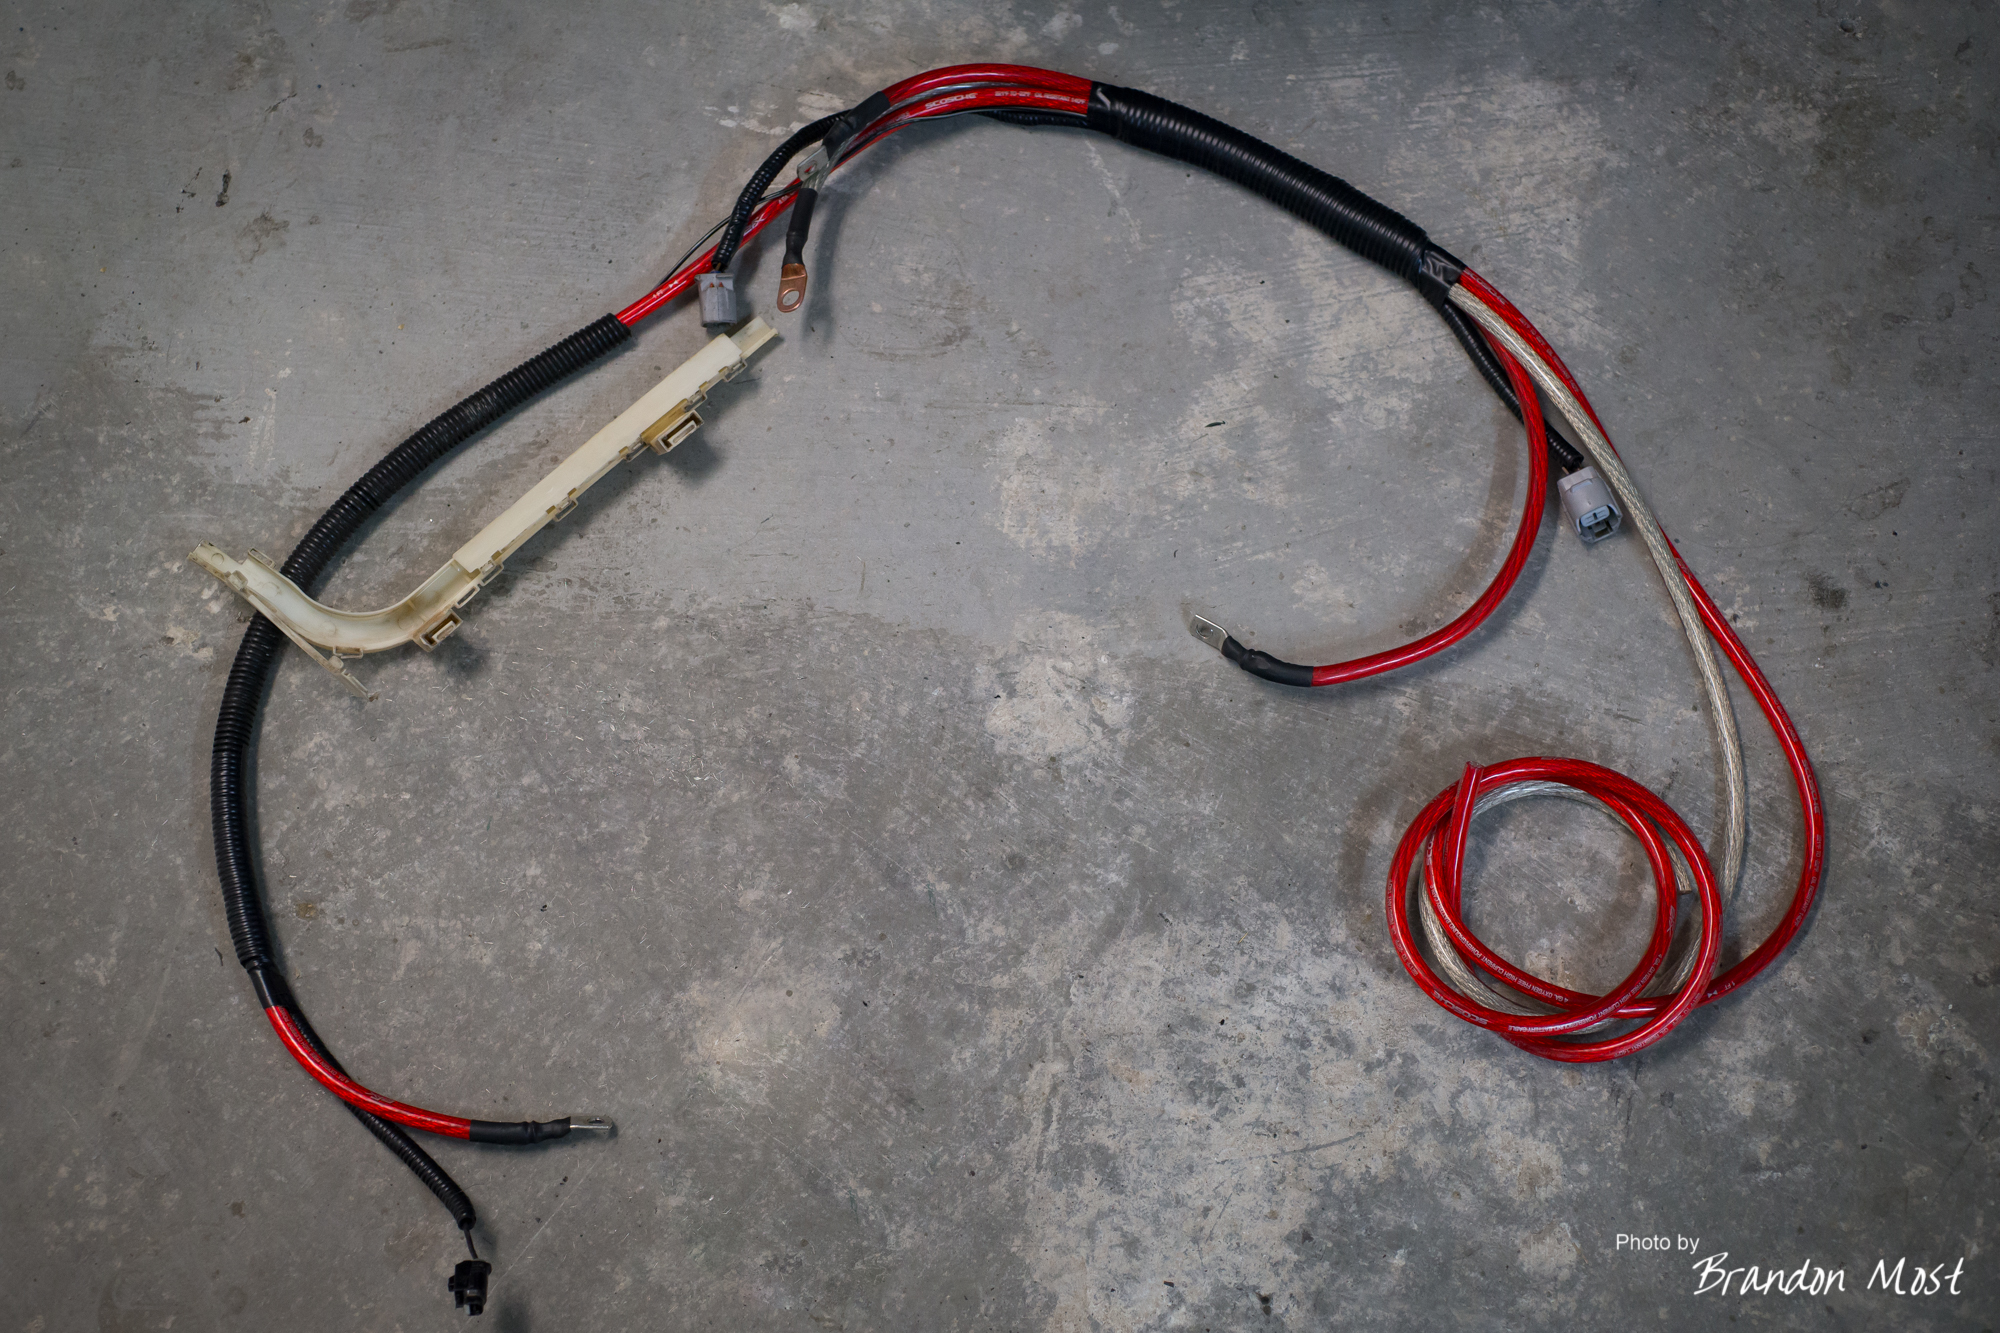
After a bit of work I was looking at a new set of wires that looked like that. It still took a few install and removals to get all of the wire stays and looming in the right locations. I also dug up some rubber boots to replace the Toyota hard plastic covers that no longer fit the alternator or starter.
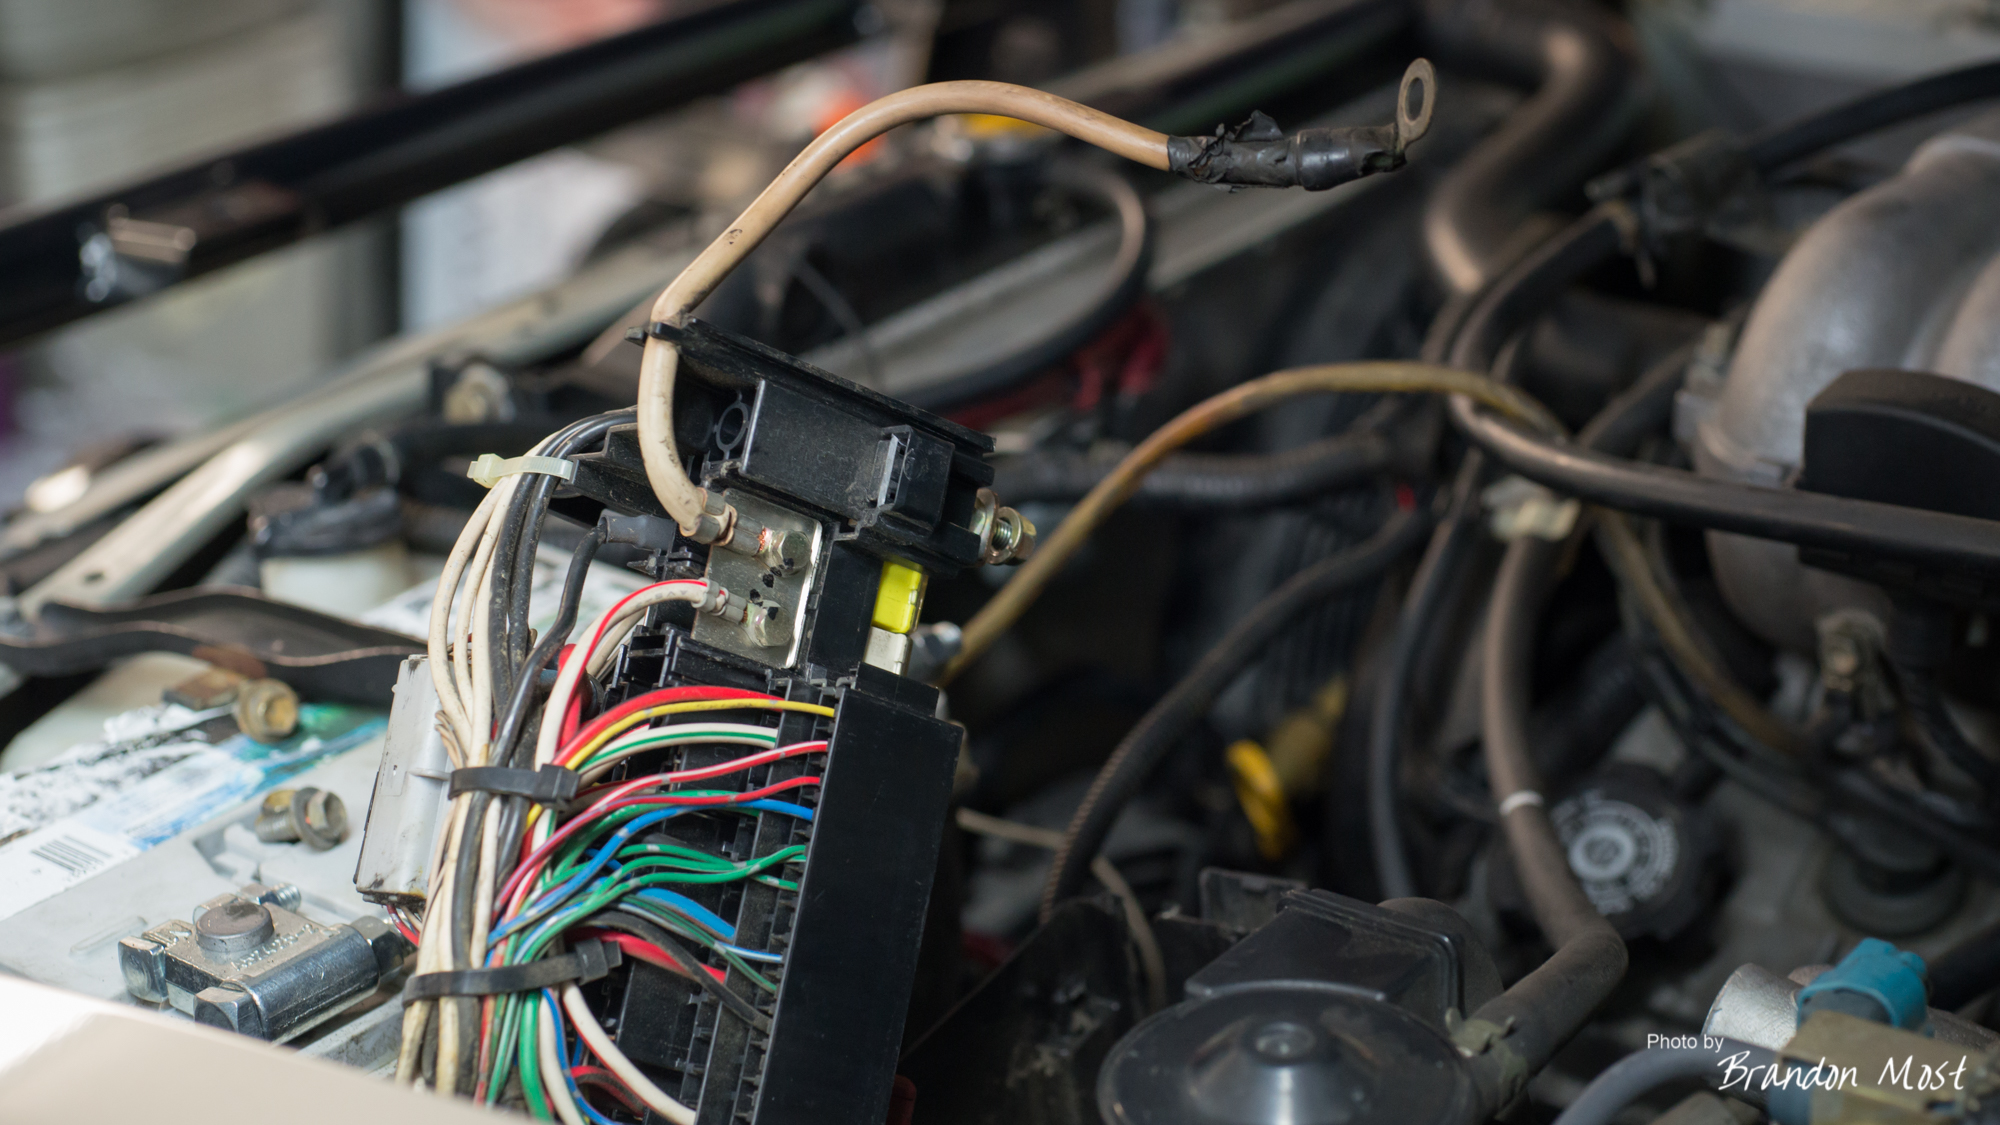

To finish up the alternator I slid the fuse box apart (3 tabs internally IIRC) to replace the wiring from the alternator fuse to the battery.

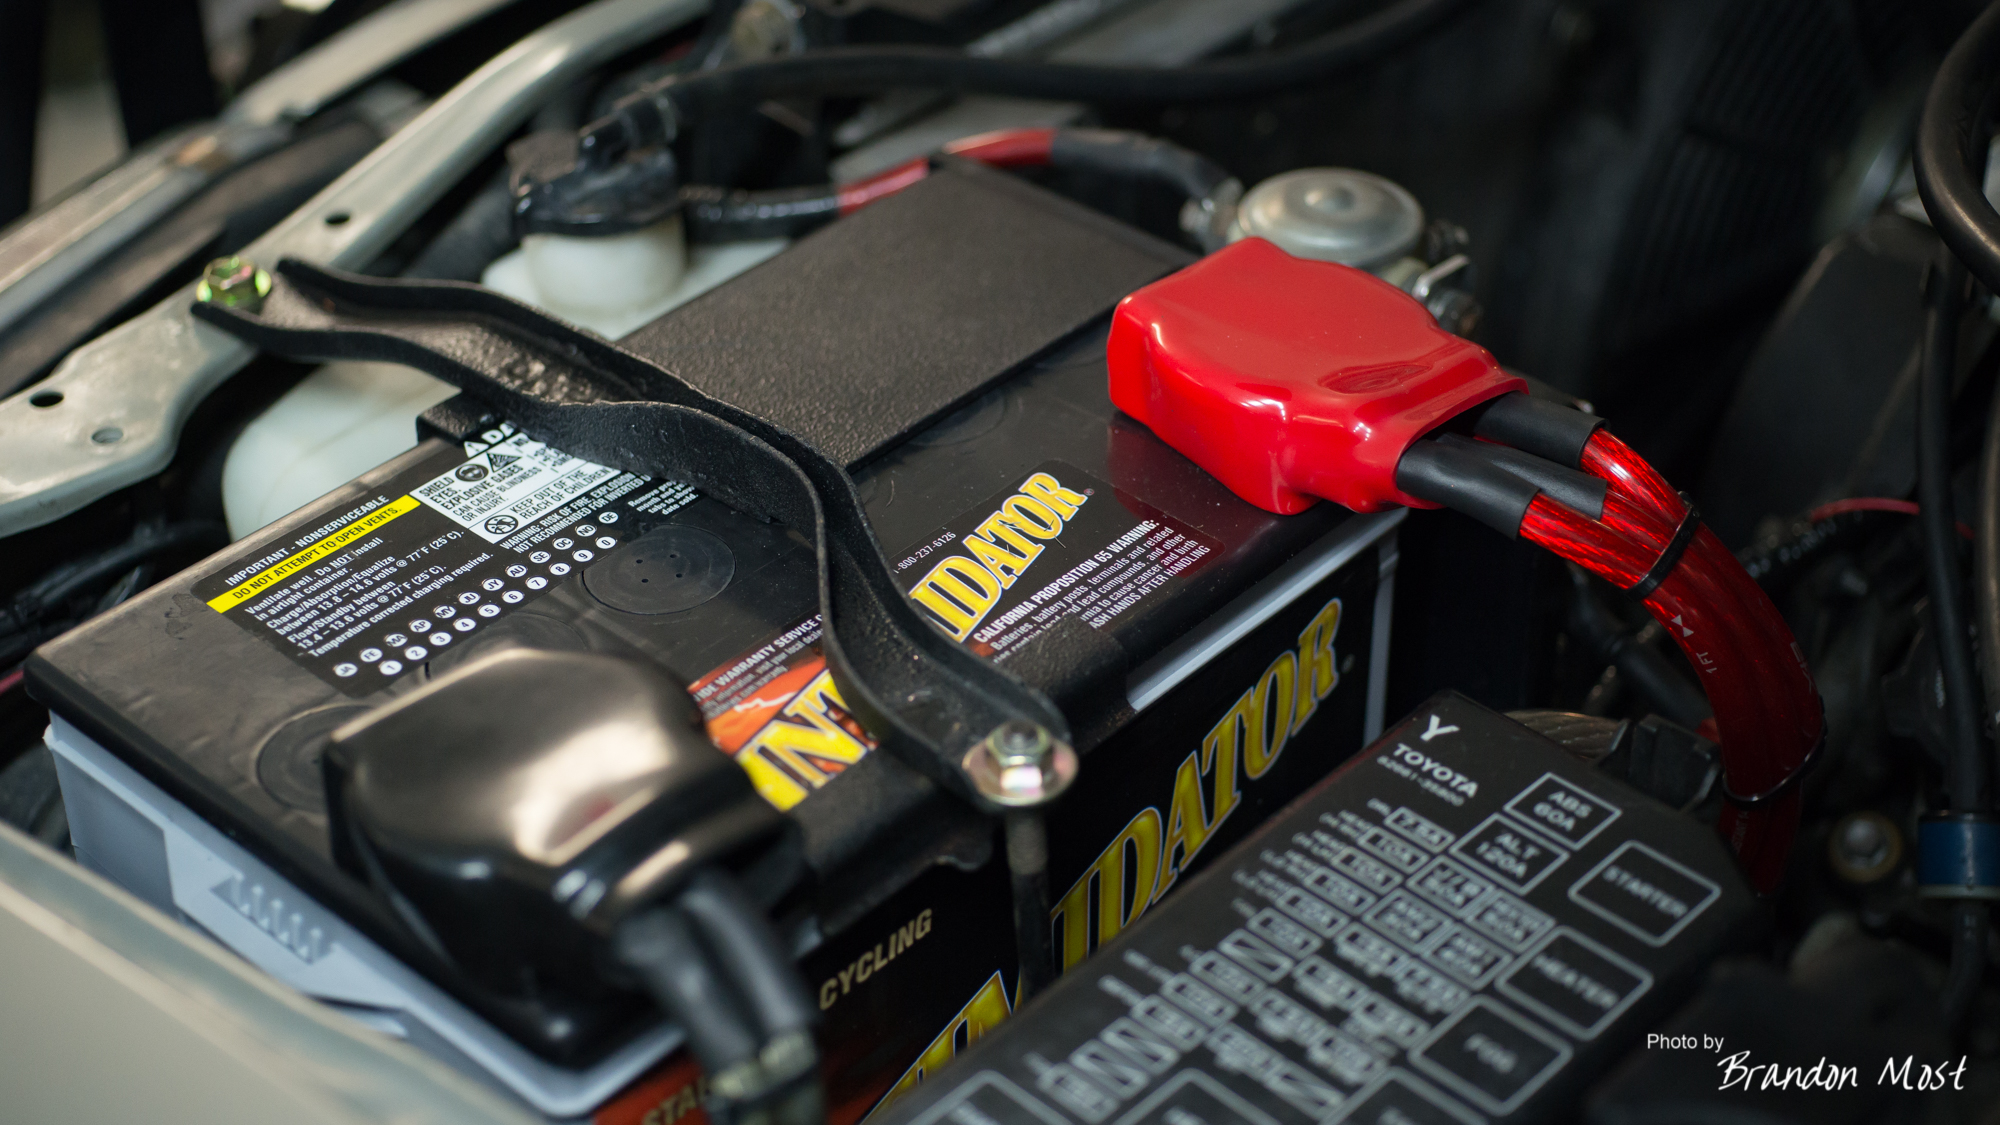
I was hoping to have my hands on the new batteries sooner than later, but unfortunately it didn’t work out that way. I was really happy with the performance out of the Sears Diehard Platinum batteries, and Sears if you happen to read this. I WOULD HAVE BOUGHT THEM AGAIN! Unfortunately Sears discontinued them. Most people say they were made by Odyssey so those were obviously on my list of possibilities. I had spoke with the Deka (aka East Penn) reps at a show a while back and learned about their AGM offerings. I reached back out to them to see what they recommended for my set up and after a bit of discussion the 9A24F was their answer. It doesn’t spec out quite as good as the Odyssey which is technically even a bit smaller, but it was a much better price point.
I debated for quite a while, but at the end of the day it was Odyssey’s charging requirements that made me choose the Deka. Comparing Toyota’s specs for a working alternator with the Odyssey requirements showed that there could be a chance that you wouldn’t be fully charging the Odyssey batteries all the time. With the previous set up I would occasionally have to top off the fridge battery with a charger anyway, and was hopping the new alternator would take care of that. I had actually thought about installing a an on board charger now that this isn’t being driven daily, but the Odyssey approved chargers are a bit pricey. Anyway the choice is made, and only time will tell if the new combination works better.

With the batteries in I could turn my attention to the new power distribution center. This contains the circuit breaker for the fans, the two relays for the fans, as well as a third relay to bring a single fan on with the AC. Relay number four is to control the lighting. Since I’m running HID’s I lost my high beams. I used the high beams switch to activate the PIAA lights. This is the relay that keeps the HID’s on when you activate the High beams.
The solenoid is the carry over from the previous install to connect the batteries together when you want them to. Currently this is still connected to the switch inside that allows the battery to be either: disconnected, on all the time or, connected with the ignition. The upcoming change is that the ignition option is going to be running the timer listed above. This will allow the starting battery a chance to be charged back up to 100% before the accessory battery is connected and adds that load to the mix. More or less the same strategy that the fancy battery controls use. Just using a much cheaper timer circuit. Hopefully this means less stress on the alternator, and happier batteries.
The bus bars are aluminum. I know I know, copper is the way to go, and I tried. I showed up at the metal supply store only to find a note saying they were closed and “hoped it wasn’t permanent”. I didn’t want to spend a day searching for a new source so I went with something easier to source. I may eventually redo these out of copper, but for now hopefully the aluminum is good enough.
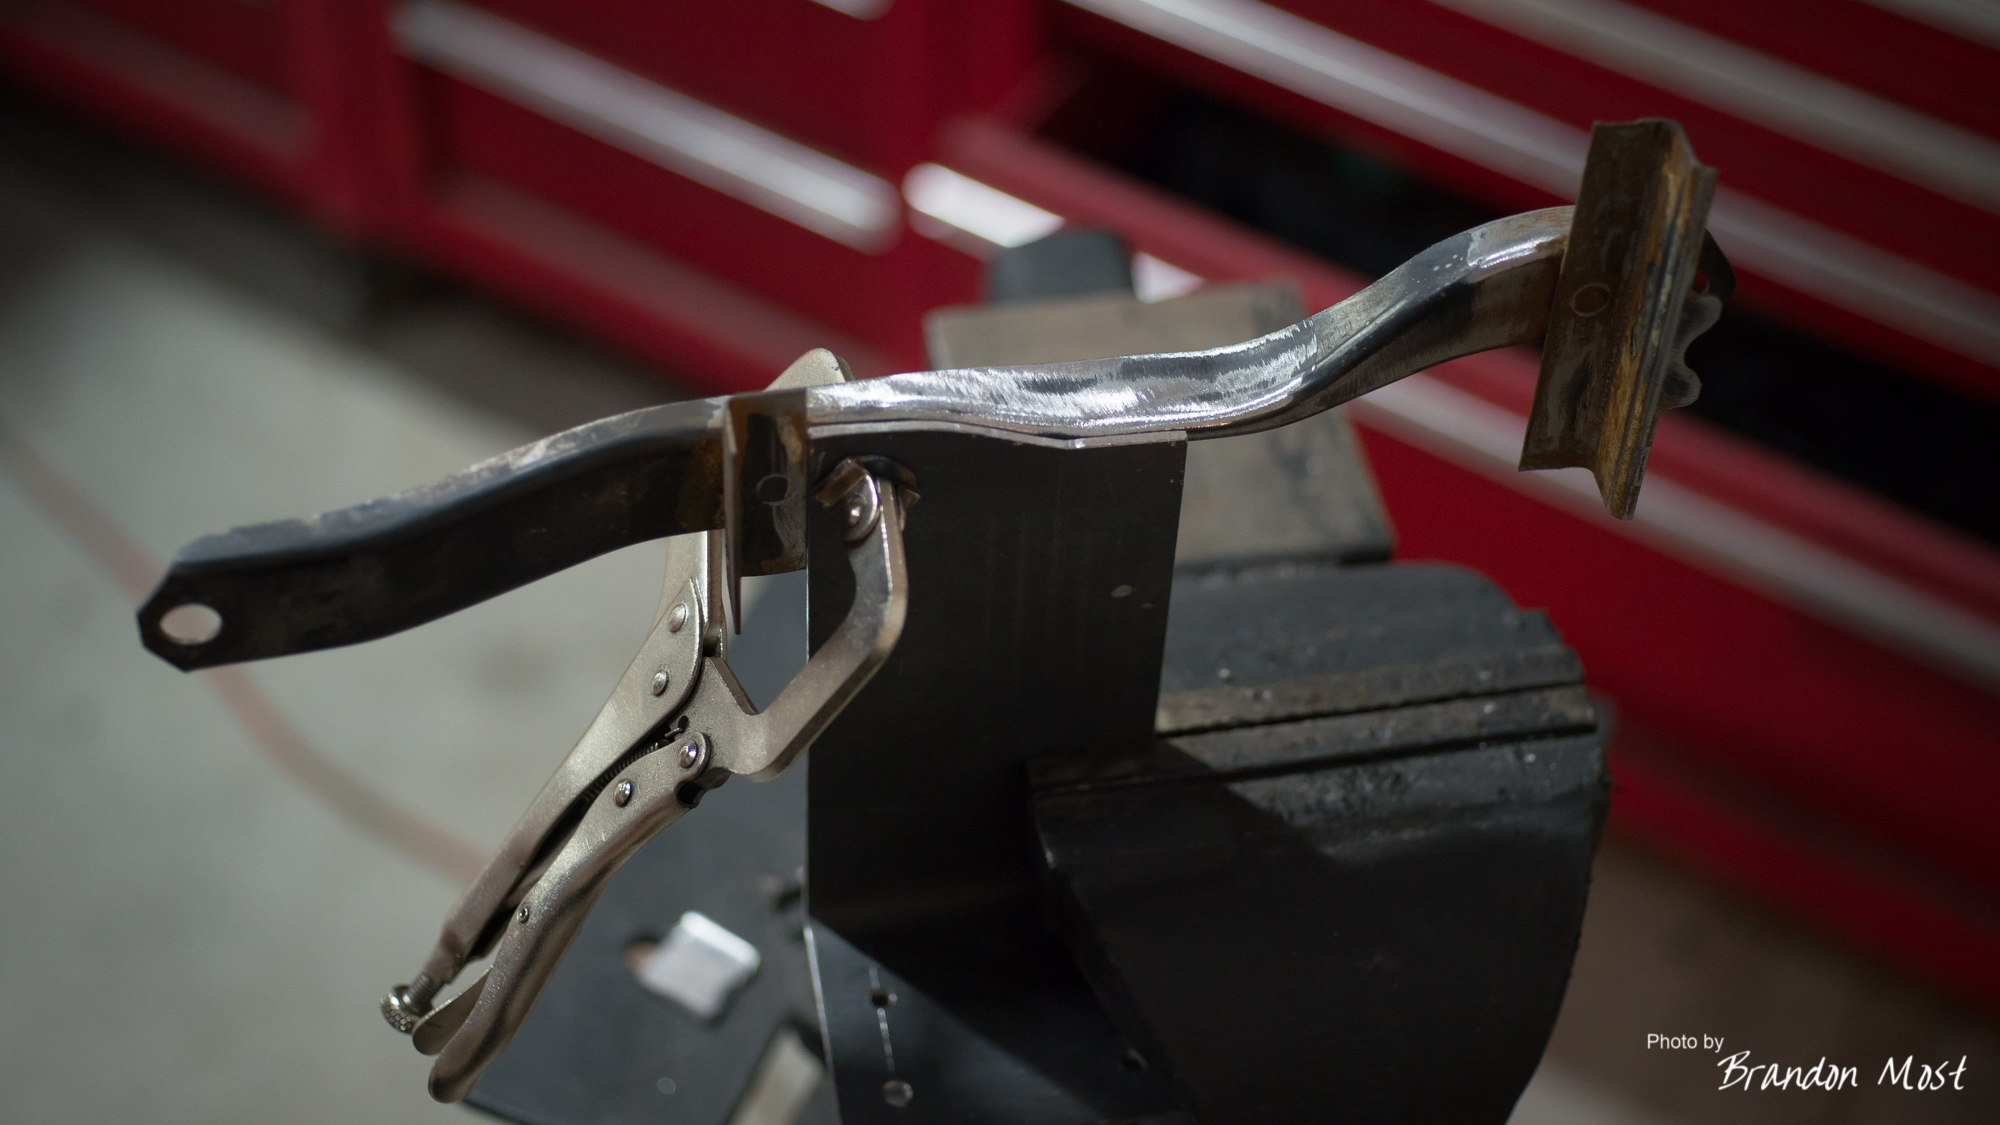
To mount this new distribution center I added an “L” Bracket to the battery tie down on the top. Then used a simple 1″ wide strap tied back to the body to help stabilize the bottom.

The current product. Overall much cleaner, and I’ve managed to clear the wiring off the fan shroud. I want to swap the fans sooner than later so this will make that a much easier proposition. About the only thing I’m not happy with is having a whole lot of +12v bus bar out in the open. I may try to do a shroud or cover of some sort to help protect things just in case.
Next up is wiring up the dual voltage gauges and that timer.