I won’t bore you with countless pictures of these wheels with multiple layers of paint bubbling up under the power of air craft stripper. Partially because it’s not very exciting and partially because that’s one area where I won’t risk my camera or phone. Aircraft Stripper is some nasty stuff.

Once they were stripped back to bare aluminum, it was time to start painting. Do to some minor casting issues I started with a few layers of filler primer. Followed by some sanding. The some color followed by more sanding. Then more color, and more sanding, and more color, and more sanding. Followed by several layers of clear, and then wet sanding and buffing.

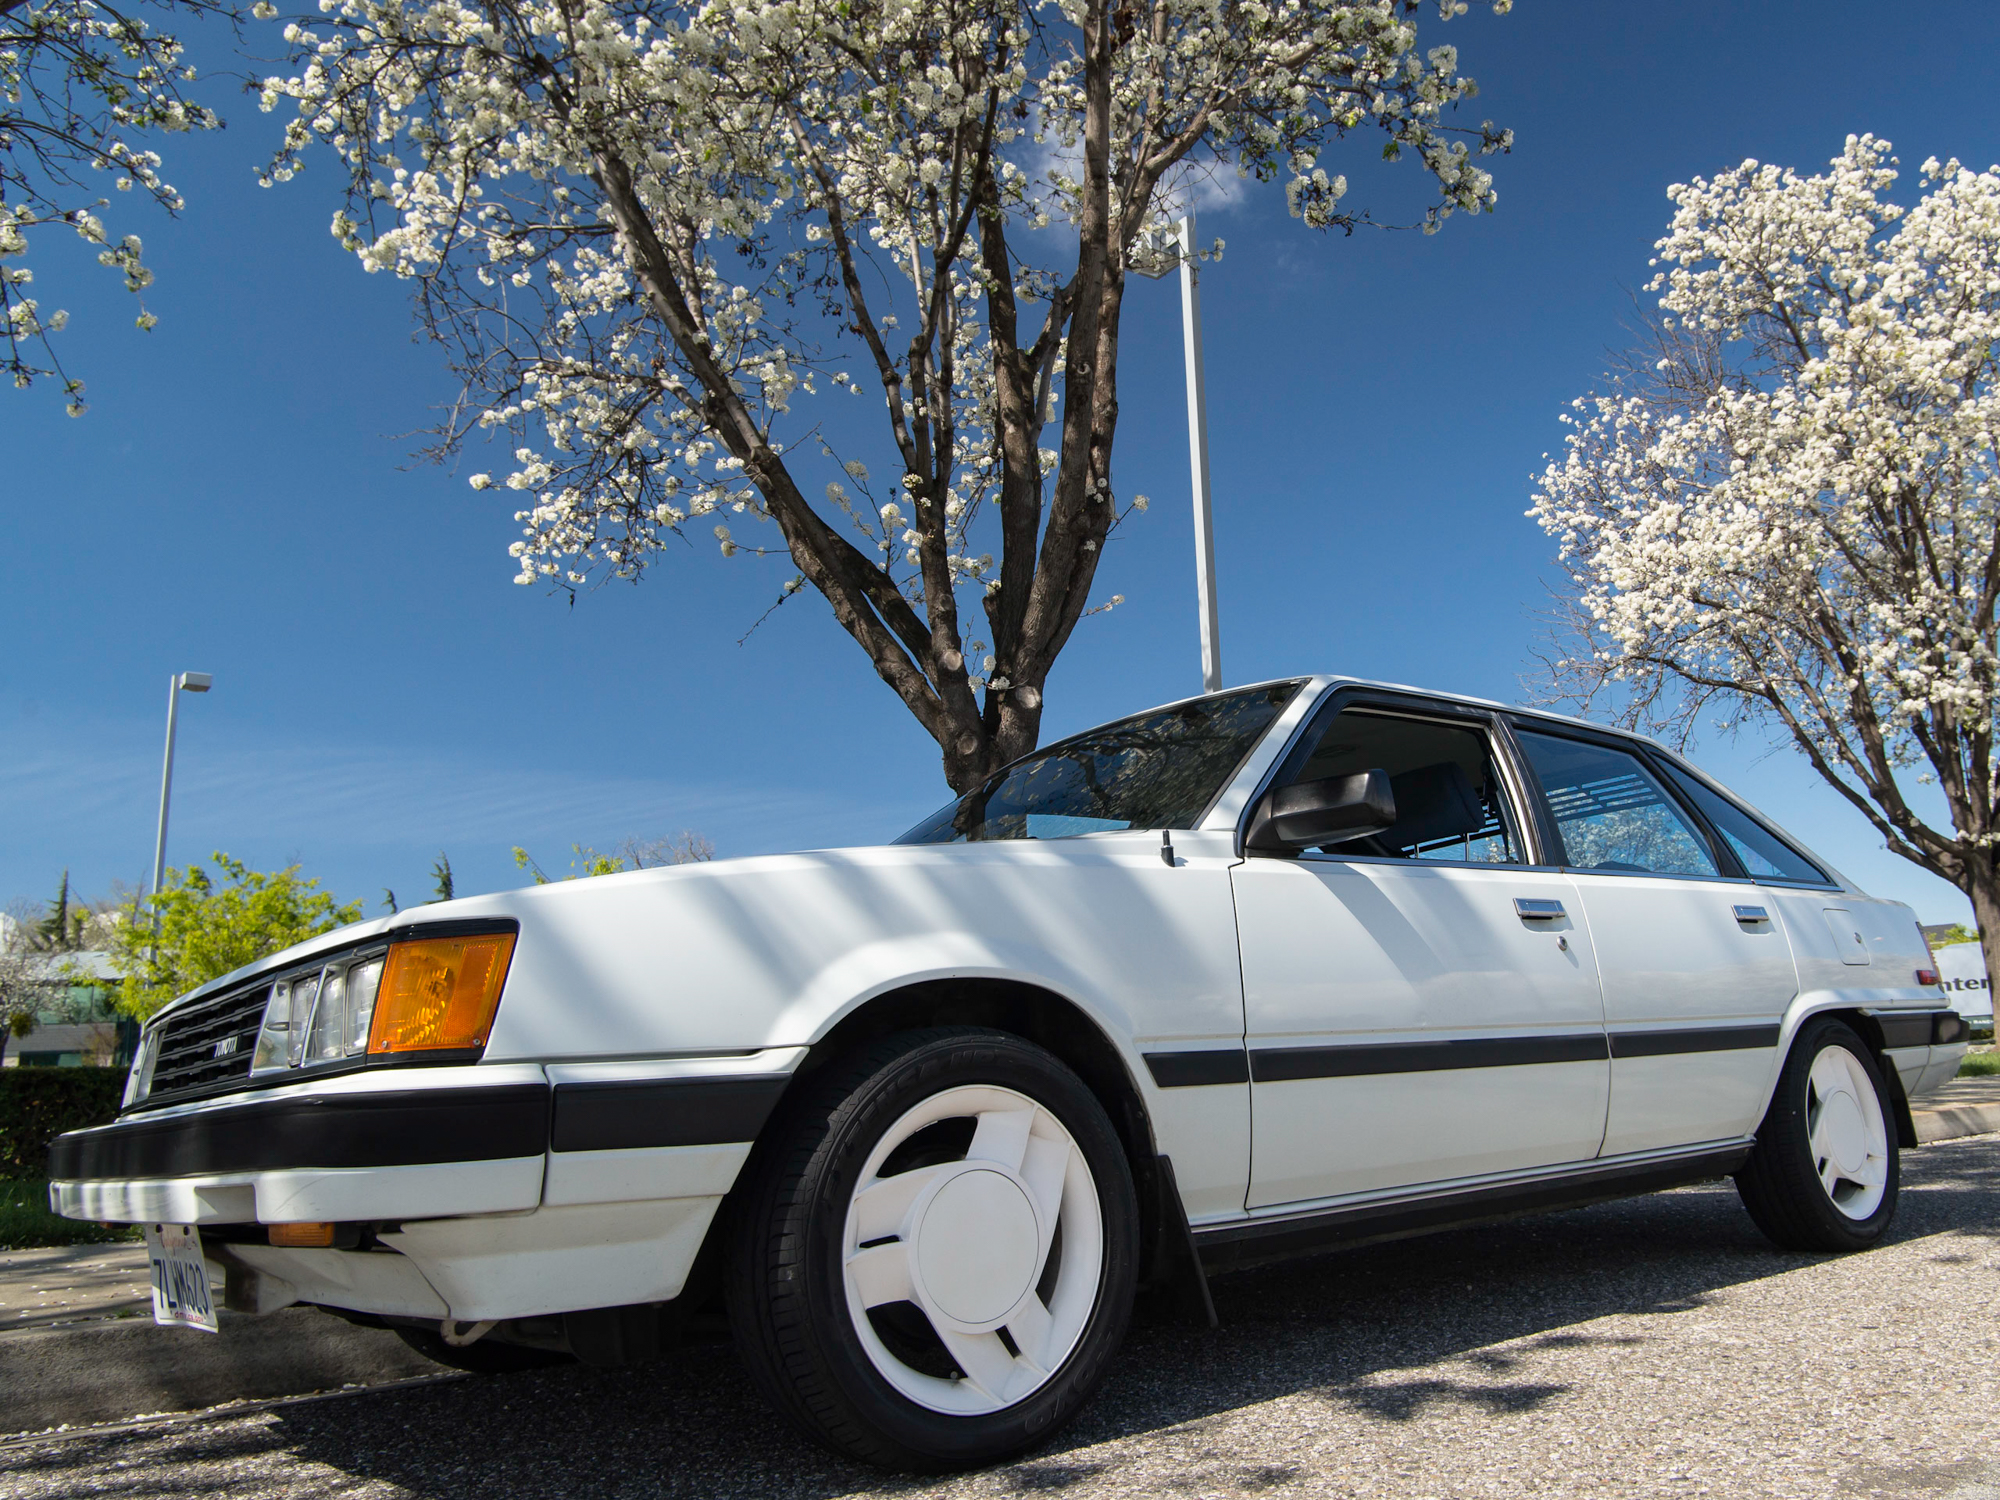
With the wheels done, it was time to wrap them in the new Toyo Tires. I went with the Extensa HP in a 195/50R15. I loaded them up and headed to Rennwerks in Campbell to make sure the tires made it on the wheels without any issues.


I bought these wheels with out the caps, and had been searching since then for the original caps. I ordered a set off of ebay but quickly discovered that the caps are not all the same size. I am assuming they change sized with wheel diameter. Either way I was only able to find one single cap in the right size. Damn did it look good though! Luckily I have been working on Plan B.

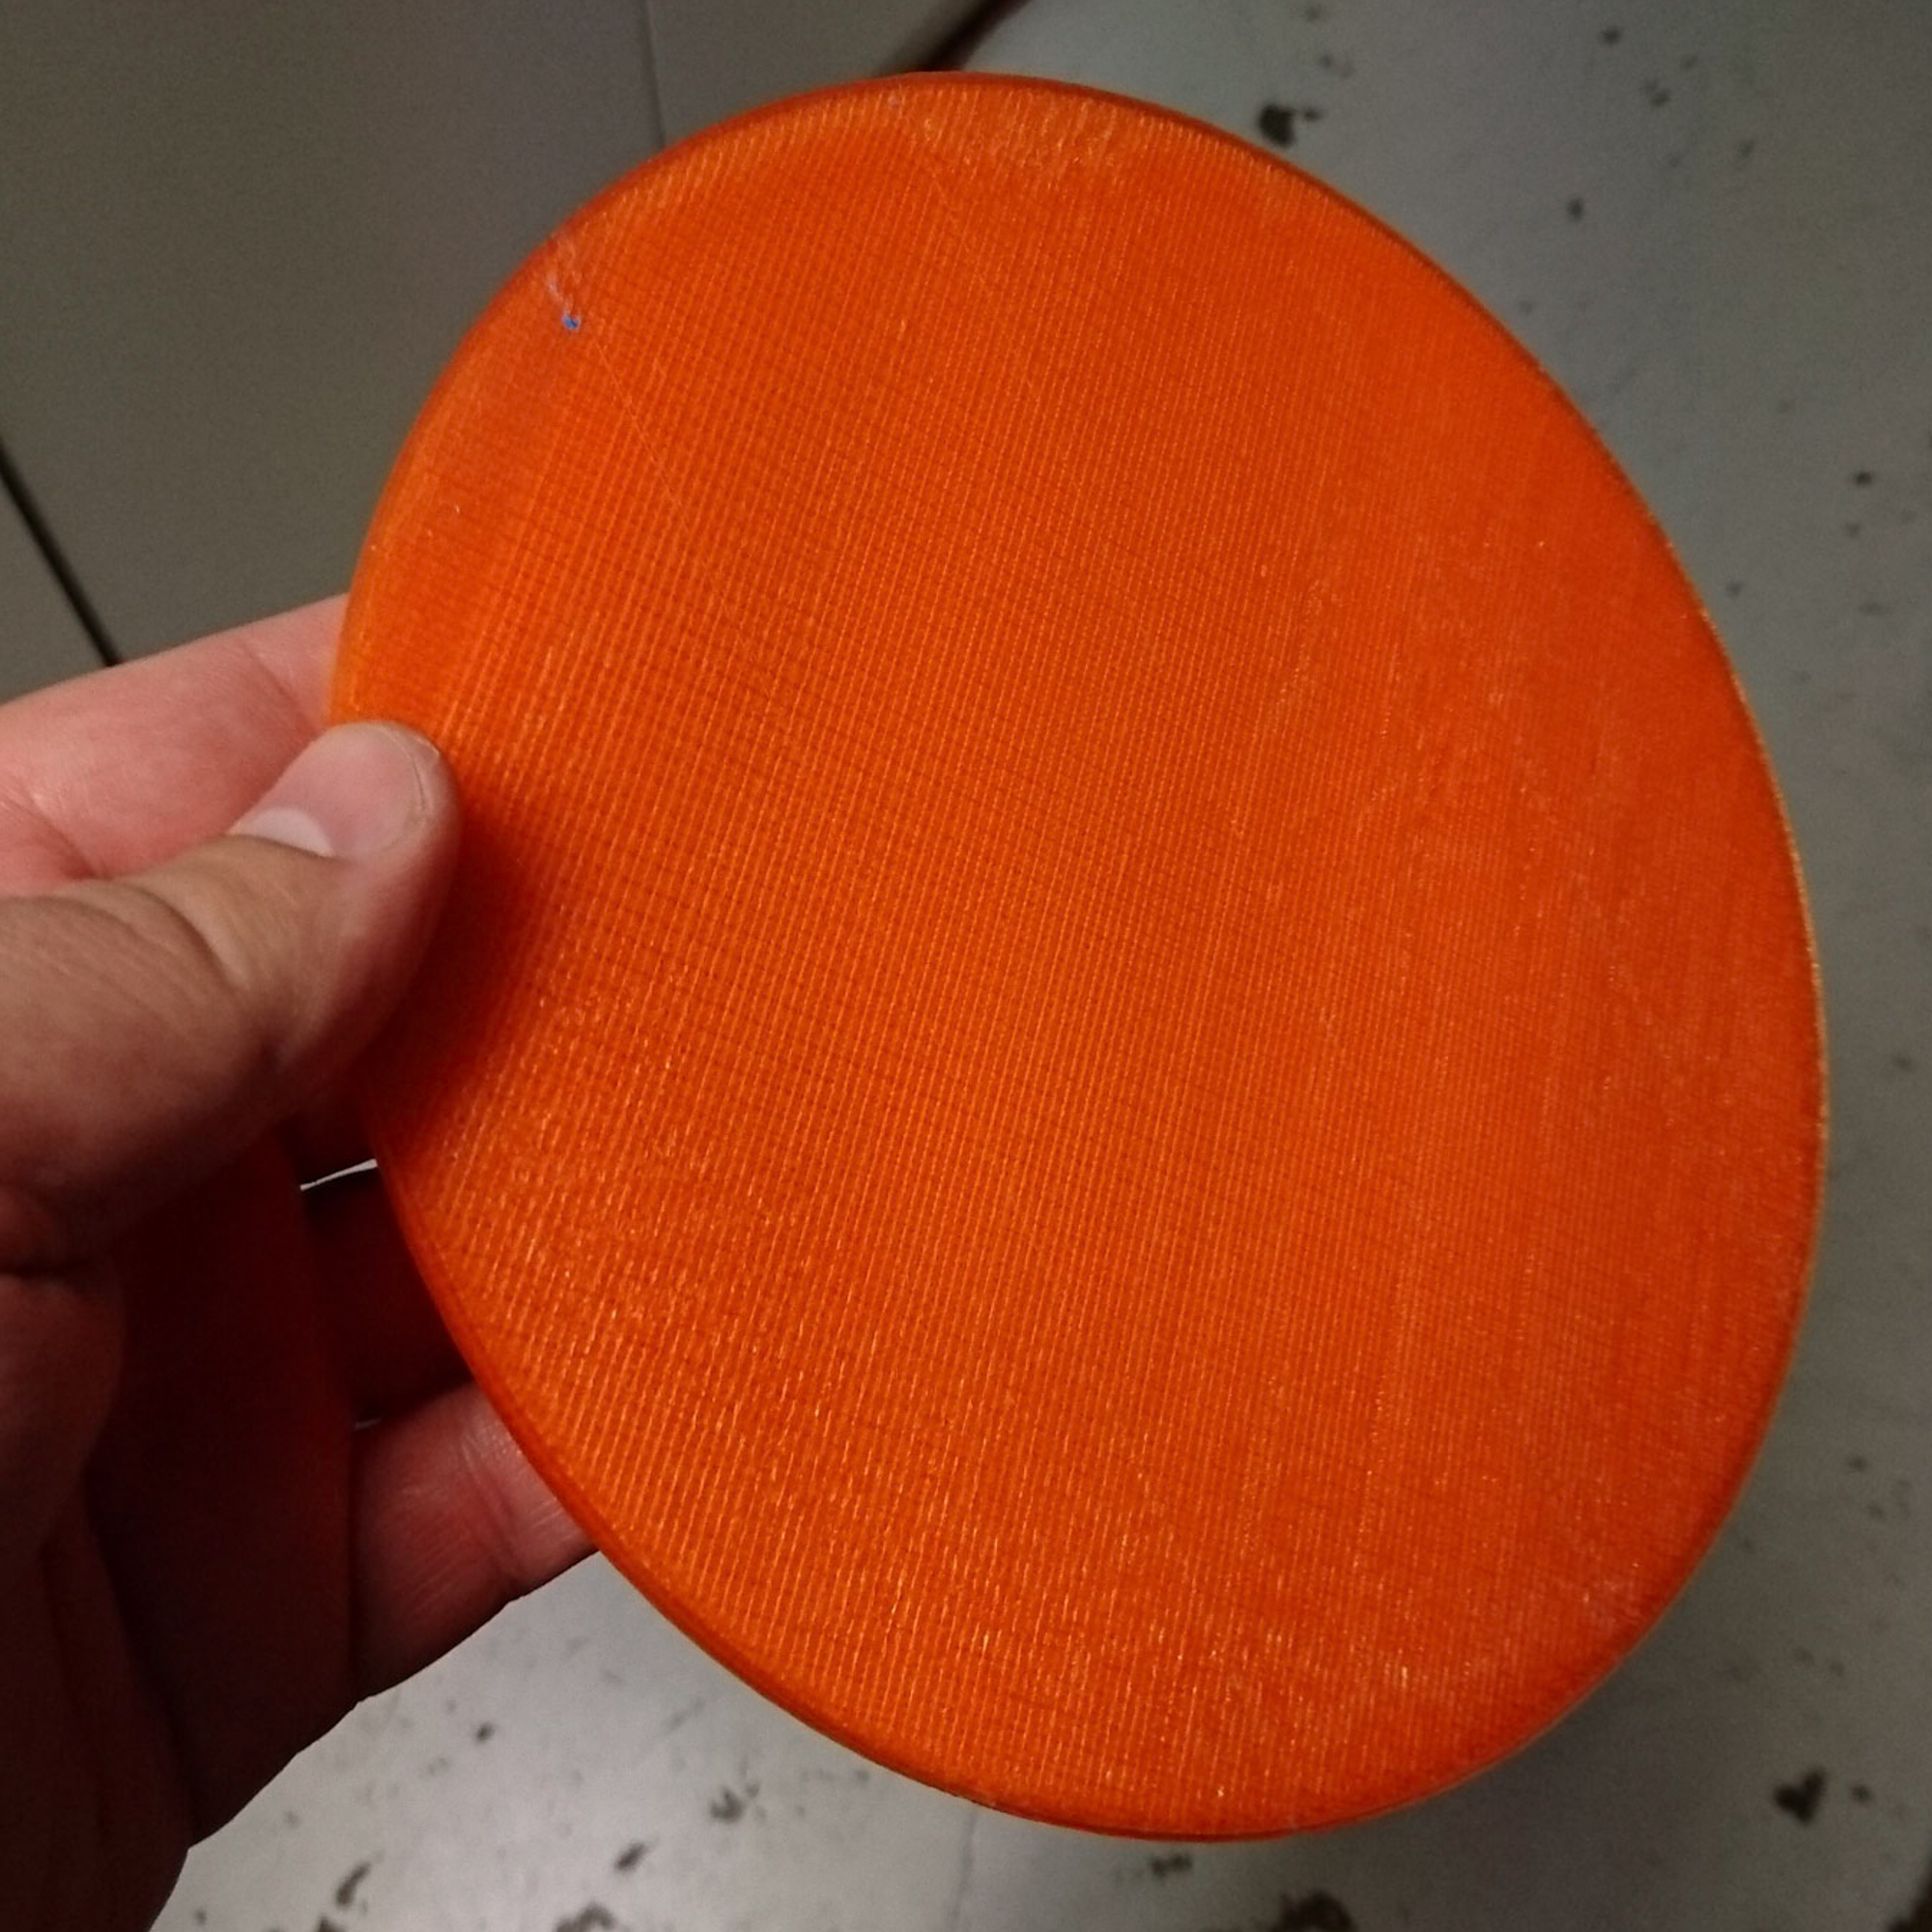
Plan B involves 3D Printing my own center caps from scratch. I had actually started this process before finding even the one single cap, and went through a lot of failed test prints for several reasons. I wasn’t sure how the original cap mounted in place, and failed at the tabs a couple of times. The biggest issue though was just trying to get the damn things to print.
While my printer is capable of printing the size I needed, I was still having issues getting the ABS filament to lay down properly.
I ended up switching to PLA and started having successful prints. Just unsuccessful cap design. The original caps are spring loaded into place with large 6.5″ wave washers or spring washers that allow you to push and twist the caps into place. If you’ve never had a need for giant wave washers, then you probably don’t know how hard it is to find these. Most of my go-to suppliers stopped between 1 and 2 inch diameter. After speaking with a few other people about the issue a co worker suggested a normal spring in the center. Obviously the center doesn’t work because of the hub bore, but if you can find a large enough diameter spring to go around that bore, maybe we have something. No I couldn’t find a spring that worked in that way either. Everything with a large enough diameter was too long to ever fit in the small space between the cap and the wheel.
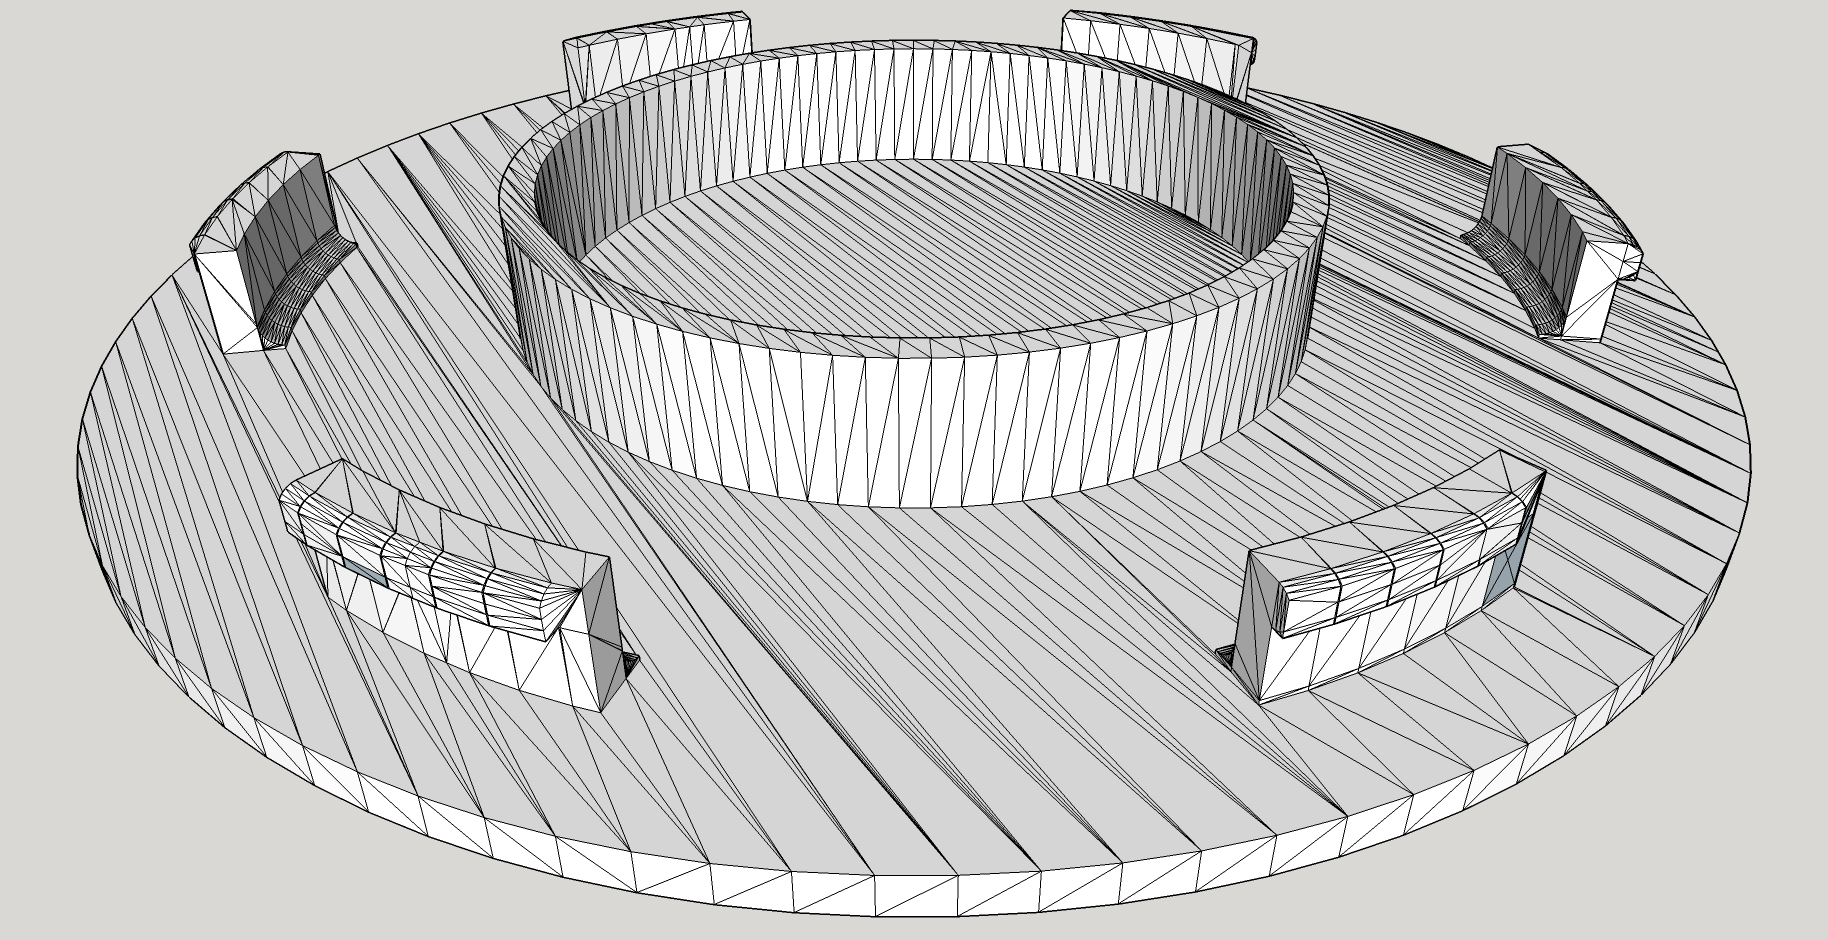 This gave me an idea though. If I couldn’t find a spring, maybe I could print one. Well Sort of. I added a spacer near the center of the cap and I am using the cap itself as the “spring” to hold tension against the wheel.
The caps still needed a bit of body work to smooth out the 3D Printed factor, and for that I used 3M Structural Adhesive. I forget who or where recommended this, but I first used it as the filler for the front lip of the Red MR2 and had good results with it flexing and not cracking so I figured it would be perfect on the caps that needed to be able to flex as well.
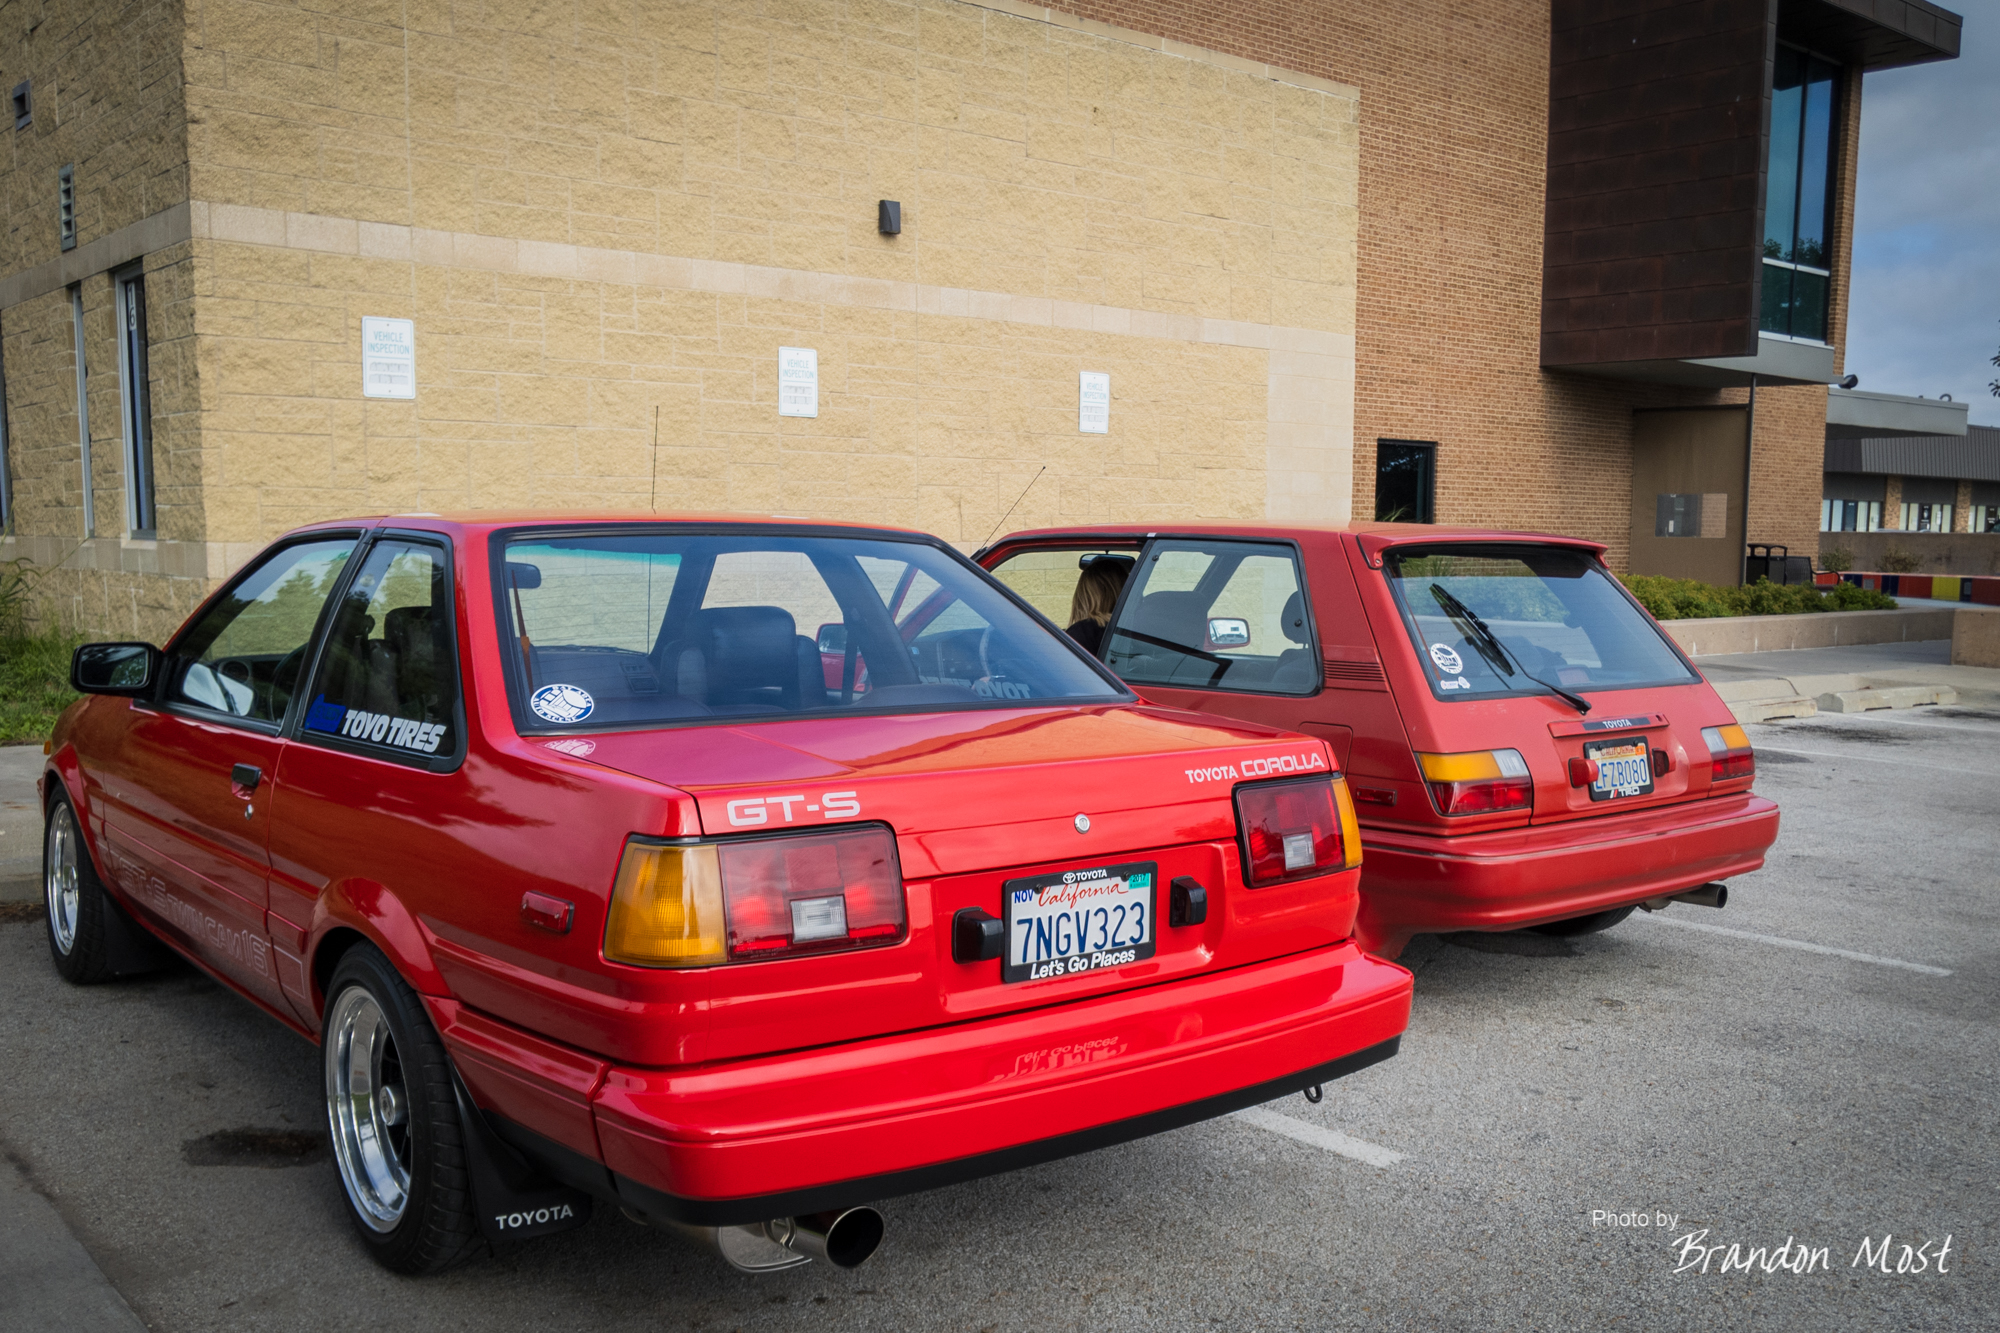
So far it has all be working very well, and I love the look of them. The 80’s at its finest!
